

































































 Author: Radomskyi Maksym Vasyliovych
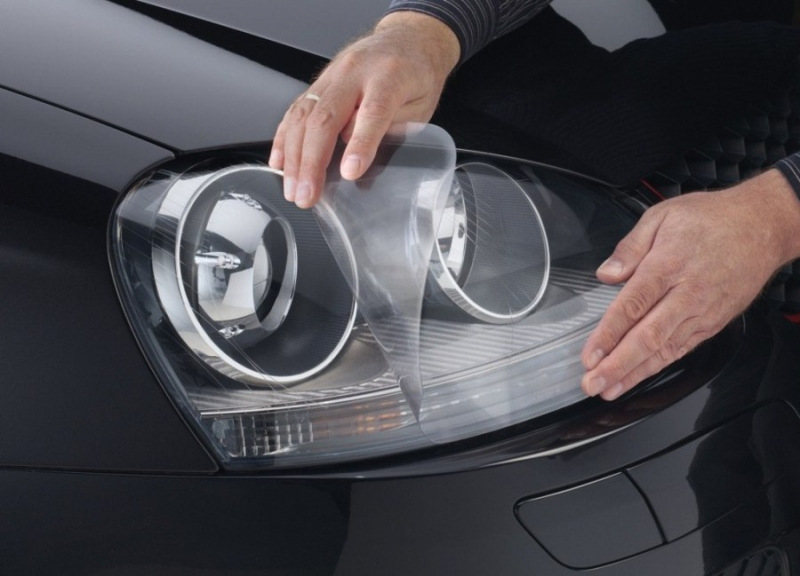
In the previous article, we examined the advantages of a protective film for the headlights and how to make the right choice of this accessory. In this description, we offer a step-by-step guide for self-gluing the film on the front optics. In addition, you can make the car more catchy and outwardly expressive with the help of tuning , the accessories of which are in the assortment in our online store.
Tool for work
Before starting the process, you need to make sure that the factory film is no longer on the headlights.
So, for work you will need:
- Degreaser;
- Clean rags;
- Cutting tool (scissors, knife);
- Atomizer (spray);
- Car shampoo;
- Water;
- Rubber or plastic squeegee;
- Building hair dryer.
Process
Before work, you must read the instructions for the armored film, and in the process, adhere to all the manufacturers recommendations.
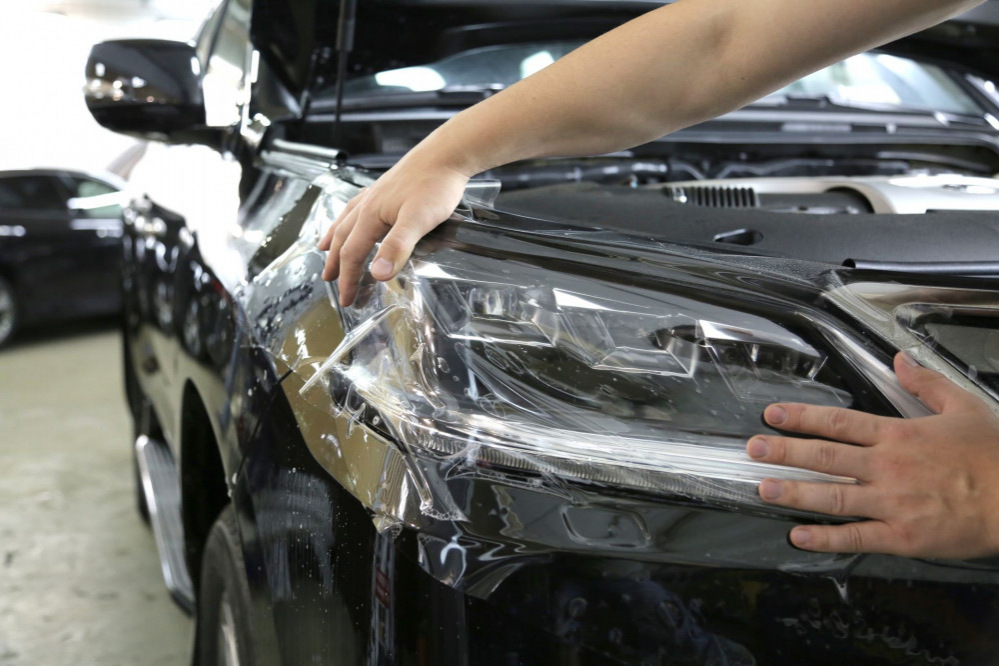
The work on armoring the headlights with a film is performed in the following sequence (most often, the removal of optics is not required):
- Before gluing, the headlights must be washed with car shampoo, dried and degreased.
- Then we cut out the piece necessary in size from the film, while making a margin around the entire perimeter of about two centimeters.
- Prepare a soap solution using water and car shampoo. Pour the resulting composition into a spray bottle.
- Spray on the headlamp with soapy water.
- We apply the cut out piece of film to the headlight glass.
- Next, remove the protective layer from the armor film.
- Starting from the center and moving to the edges, smooth it out, pay attention so that there are no air bubbles and residues of soapy liquid.
- After that, dry it with a hairdryer.
- Smooth it with a squeegee.
- We warm up the edges of the film and fix them.
- We cut off the excess remnants of the film with a cutting tool.
Thats all, the work on pasting the headlights with a protective film is completed.