
































































 Author: Radomskyi Maksym Vasyliovych
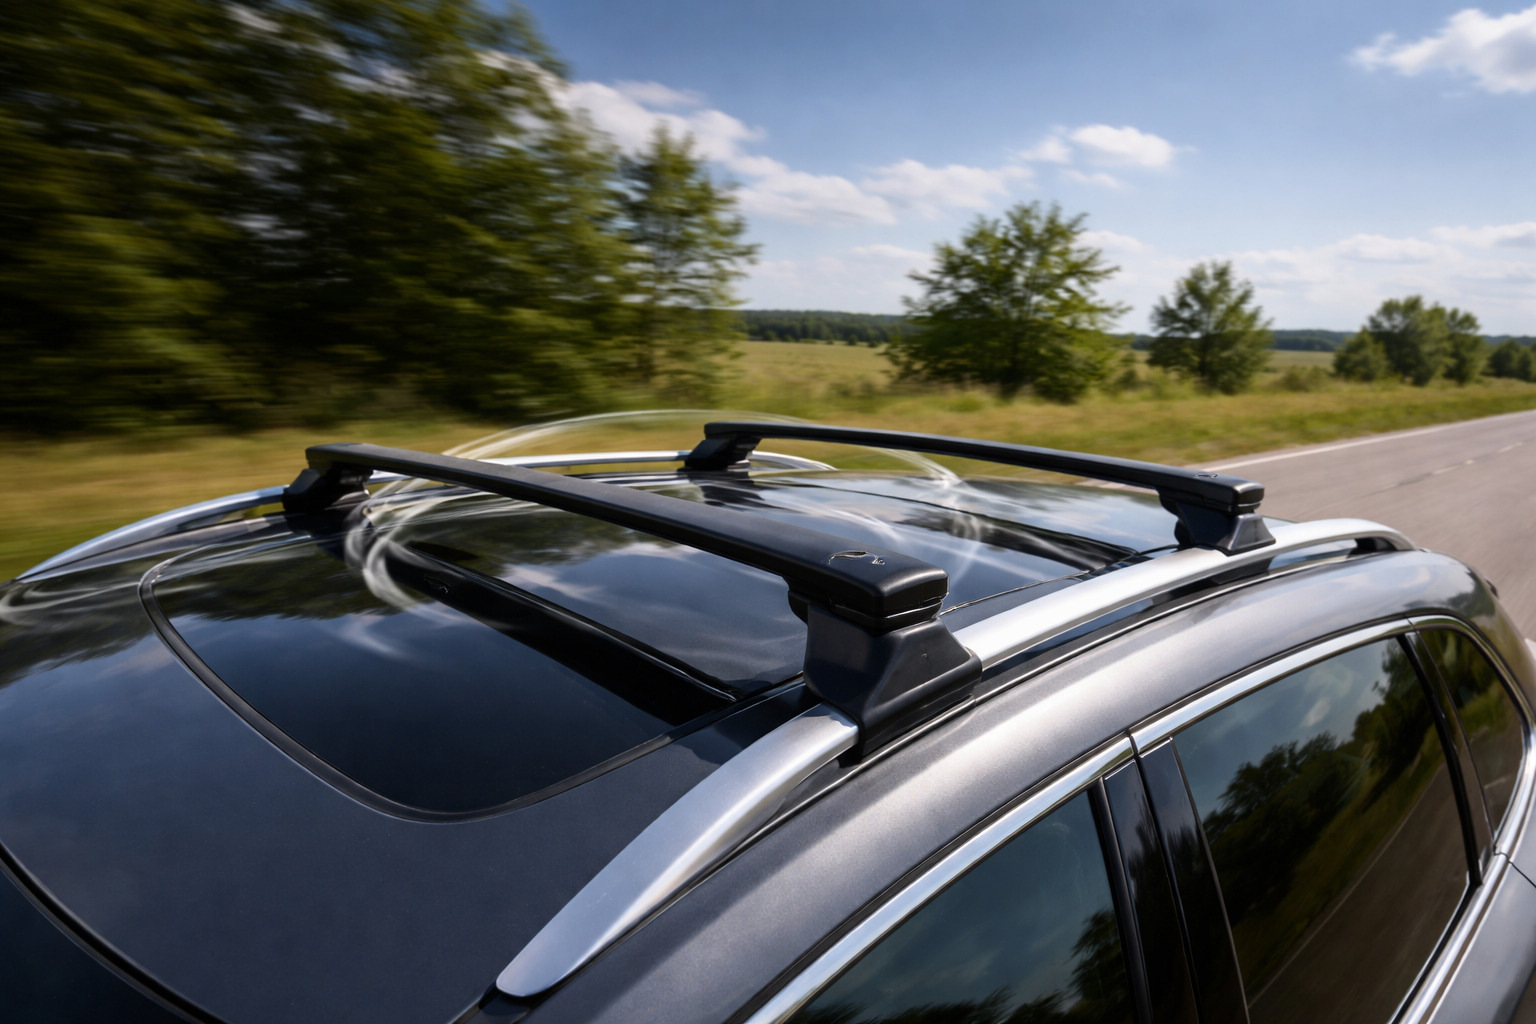
Whistling and a monotonous “wind noise” from crossbars on integrated roof rails usually appears at a certain speed. In most cases it’s not a defect, but the result of a small aerodynamic “gap”: air passes through an open slot, channel, or gap in the mounting area — and you hear the whistle.
To quickly eliminate the noise, it’s important not to guess, but to identify the scenario: why it’s noisy in your specific case, what actually helps, and what only works for a day. Below is a practical breakdown in a “problem / cause / solution” format.
Why this problem occurs
Any crossbar on the roof acts as an obstacle to airflow. If there’s a slit or an empty channel in the bar or foot, the flow starts to “sing” — the sound is sharp (a whistle) or dull (a hum). On integrated rails, the feet are often compact and sit closer to the roof, so even small gaps can sound louder.
Main causes
Open slots and channels in the crossbars
The most common cause of whistling is an uncovered top mounting slot or a lower service channel. The rubber insert may be missing, installed with breaks, or cut too short. A frequent trigger is installing an accessory into the T-slot: the insert was removed and then not put back, or large gaps were left.
Incorrect profile direction or misalignment
An aero profile is quieter only when oriented correctly. If the crossbar is installed “backwards” or sits at an angle relative to the body, noise usually increases. Use the markings on the bar or on the feet, if available.
Gaps in feet, pads, and end caps
Whistling can come from the “foot–rail” or “bar–foot” joint: the foot isn’t fully seated, the pad is skewed, play has appeared, the cover didn’t click in, or the end cap on the bar is missing. This is often louder on the front crossbar.
Flapping straps, tie-downs, and accessories
A loose strap tail, a slack tie-down, an empty mount, or an accessory with a part that vibrates can cause squeaking or “slapping.” Sometimes moving an accessory just a few centimeters is enough to make the noise disappear.
Rare scenarios
Roof shape, windshield angle, crosswinds, a sunroof, or a panoramic roof can change turbulence so much that even a correctly installed system will be clearly audible. In this case you’ll have to fine-tune the position experimentally or change the configuration.
How to understand the cause in your specific case
- Confirm the source. If possible, remove the crossbars or at least the front crossbar and take a short drive. If the whistle is gone — you’re definitely dealing with the crossbars.
- Check the channels. Are there rubber inserts in the slots, and are there any “windows” near accessory brackets? If the insert is there, make sure it sits tightly with no breaks.
- Check the ends. End caps and covers must be in place and secured. If they’re missing or don’t hold well, this can be the direct answer to what’s causing the whistle.
- Feel for play. The crossbar shouldn’t move by hand near the feet. If there’s clicking or shifting — start with reinstalling and proper tightening, not “fighting the wind.”
- Assess the profile direction. If the bar is asymmetrical, it must be installed correctly. No markings — refer to the instructions for your kit.
- Change the position. If the mounting allows, slide the front crossbar a few centimeters forward or backward and repeat the drive at the speed where the noise is strongest.
- Eliminate flapping. Secure strap tails, remove empty mounts, and check whether the accessory has parts that vibrate in the airflow.
If removing the crossbars doesn’t change the noise, you should look for another source (door seals, moldings, deflectors) and contact a service center.
Table: symptom / likely cause / what to do
| Symptom | Likely cause | What to do |
|---|---|---|
| A high-pitched whistle appears at a specific speed | Open slot or a gap in the insert | Close the slot with a rubber insert without breaks; between mounts — use insert segments |
| Whistling started after installing an accessory into the T-slot | The insert was removed or large “windows” were left | Put the insert back and leave only the necessary cutouts for the mounts |
| Whistling is stronger on one side | Misaligned foot/pad, a gap near the cover or at the end | Reinstall the foot, check end caps, and ensure a tight fit |
| A dull hum and “air pulsing” | Poor crossbar position or interaction with an accessory | Shift the crossbars; change the accessory position on the bars |
| Rattling over bumps | Play in the mount | Reinstall and tighten according to the instructions; make sure everything is seated in its mounting points |
| Squeaking or “slapping” | Straps/tie-downs/accessory parts are flapping | Secure strap tails, wrap the strap around the bar once, remove unnecessary mounts |
| Noise increases sharply with the sunroof open | Turbulence from airflow over the roof | For quiet, drive with the sunroof closed; if critical — move the crossbars farther back |
What actually helps
Quick actions
- Close all slots and channels. Inserts must sit tightly. If you use a T-slot, don’t leave long open sections.
- Put end caps and covers back. Especially on the front bar.
- Check for play and proper seating of the feet. Any movement by hand is a signal to reinstall.
- Change the position of the front bar. A few centimeters often solve the problem at no cost.
- Remove straps and “empty” accessories. Anything not in use is better taken off the roof.
Proper solutions
- Replace worn inserts, pads, and end caps. Whistling loves tiny gaps, and missing small parts happens more often than it seems.
- Switch to quieter aerodynamic crossbars. If you have round or box-section bars and you drive highways often, changing the profile usually gives the most noticeable result.
- Remove the crossbars when you don’t need them. The most reliable way to eliminate noise completely.
Partial solutions
- Fairing/deflector. It can reduce or shift the noise, but sometimes adds a different kind of hum.
- Temporary tape for diagnostics. Helps quickly find the “whistler,” but it’s weak as a permanent solution.
- A spiral cord on the front bar. Sometimes removes the whistle, but it’s a compromise “field” option.
What almost doesn’t work or only helps briefly
- Overtightening the mounts “all the way.” This risks damaging the foot, pads, or rail and may not eliminate the whistle.
- Smearing sealant at random. Without pinpointing the noise source, the result is unpredictable, and marks can remain for a long time.
- Foam wrapping along the entire length. It sometimes muffles the sound, but breaks down quickly, collects dirt, and can come off.
When accessories, upgrades, or replacing components make sense
- If the whistle is related to the bar profile or open channels and you regularly drive on the highway, it makes sense to choose a different system for your integrated rails right away — crossbars for integrated rails.
- If an insert, end cap, or locking element is missing, it’s often more cost-effective to restore the components than replace everything — components for roof rails.
- If you carry cargo often and want a configuration that’s easier to manage in terms of noise, it helps to look at compatible systems in the category roof racks and crossbars.
Table: solution / when it works / when it’s not worth spending money
| Solution | When it works | When it’s not worth spending money |
|---|---|---|
| Close slots with rubber inserts without breaks | High-pitched whistle; there are open channels or “windows” in the slots | If the slots are closed after checking and the whistle doesn’t change — look for another cause |
| Reinstall the feet, eliminate play, check end caps | There’s movement by hand, clicking, noise near the foot, or on one side | If the system sits rigidly with no play and the noise is stable — it’s likely the position or profile |
| Align the crossbars and check the profile direction | The aero profile is installed “backwards” or the bar is angled | If the profile is symmetrical and has no direction, the effect may be minimal |
| Change the position of the front bar | The noise appears in a specific speed range | If the position is fixed and not adjustable |
| Eliminate flapping straps and unnecessary mounts | There’s squeaking or slapping; the noise appeared after installing an accessory | If the whistle is present with “empty” crossbars without straps and accessories |
| Fairing/deflector | There’s no way to change the system, and noise from the front area is very strong | If the crossbars are already streamlined and correctly assembled; a deflector may only change the character of the noise |
| Switch to quieter crossbars or remove the system between trips | You need a consistent result without experimenting | If you need crossbars rarely — the cheapest solution is simply to remove them when not in use |
Conclusion
When crossbars on integrated rails whistle, start by checking the slots and rubber inserts, end caps, covers, and the absence of play. Then check the profile direction and the position of the front bar. If you have straps or accessories, eliminate any flapping. Only after these steps does it make sense to spend money on a deflector or replacing the system.
If you need help selecting a kit for your roof type, use roof racks for integrated rails — it helps immediately filter out incompatible and potentially “noisy” options.
How it works
- Isolate the source of the noise (remove everything unnecessary) Remove the cargo/accessories and leave only the bare crossbars. If the whistle gets quieter or disappears, the cause may be in the accessories or their contact, but you should still start with the basic seating of the crossbars and the factory inserts.
- Check and properly seat the crossbars and mounts Remove the crossbars completely: if the whistle disappears and returns after installation, the source is almost certainly in the roof rails/crossbars. Make sure the assembly is installed in the correct direction according to the marks/arrows and that the fasteners are tightened with even contact.
- Check the gaps between the crossbar and the roof rail Inspect the gap between the crossbar and the roof rail: even a small deviation can create turbulence and vibrations that turn into whistling. The problem is usually solved by correct seating and a repeated check of the tightening.
- Close open channels/T-slot and check the plugs If the whistle is stronger in the area where the crossbars have T-slots or open channels, install the appropriate insert/plug for your profile. Make sure the end and inner plugs are in place and cover the cavity.
- Set the rubber inserts to the proper height and dampen the contacts Check the rubber strips/seals: they should be flush with or below the surface of the crossbar, not positioned so that the wind gets under them. If the whistle is accompanied by noticeable vibration, add damping at the contact points (seal/EVA) or carefully re-tighten the fit of the elements.
- Test after each adjustment within the speed range The whistle often appears from a certain speed and grows in the middle range. After each change, do a short test in that exact range to understand precisely which solution removes the noise.