

































































 Author: Radomskyi Maksym Vasyliovych
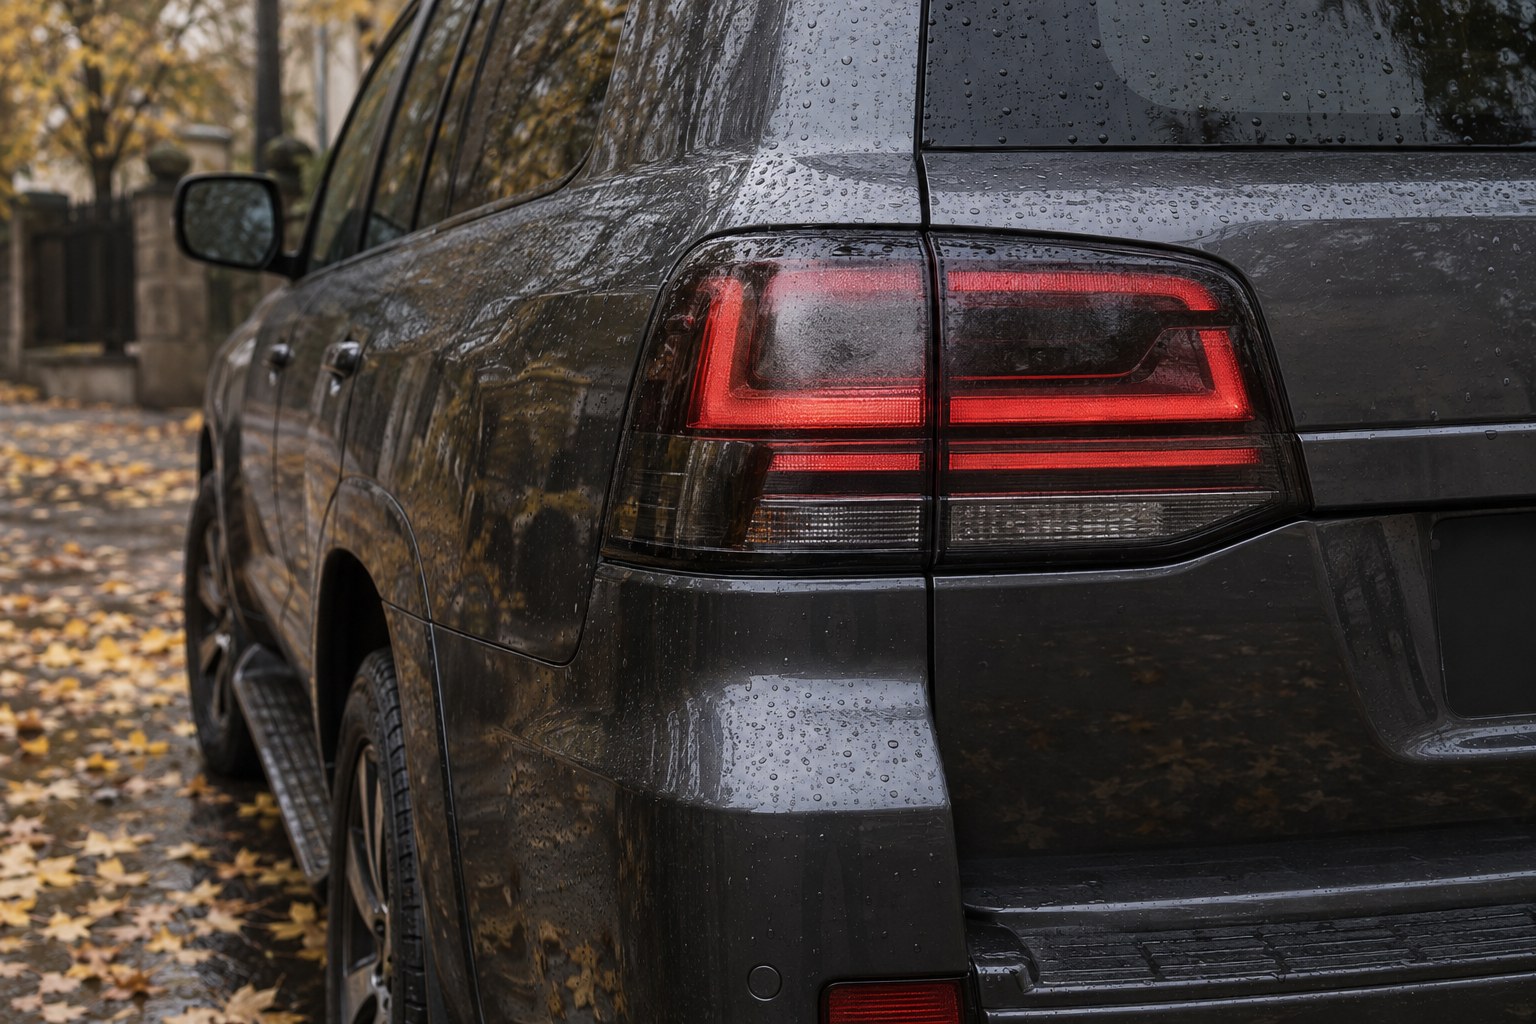
In autumn, tuning rear LED tail lights behave the same as any vented lighting: after rain, a car wash, or a cold night, a light haze appears on the inside of the lens and clears after a few hours of driving. It becomes a problem only when it turns into droplets and a puddle at the bottom of the housing. Two other seasonal complaints are the «lamp malfunction» message on the dashboard after switching from bulb tail lights to LED, and a lamp that flickers or goes out because of an oxidized connector. Below is how to tell normal behavior from a failure and what to do in each of the three cases.
Contents
- When condensation in an LED tail light is normal, and when it's a leak
- Why LED tail lights fog up longer than bulb ones
- What to do if the moisture doesn't go away
- Where the «lamp malfunction» error comes from after switching to LED
- Decoder, resistor, or coding — what to choose
- Why a tail light flickers or goes out: oxidized connectors
- How to choose rear LED tail lights without electrical surprises
When condensation in an LED tail light is normal, and when it's a leak
Headlights and tail lights are not sealed jars. Car manufacturers explicitly state that they are «open systems»: through ventilation channels the housing exchanges air with the outside; otherwise, when heating and cooling, it would simply expand or contract. In autumn, humidity is high and the day-to-night temperature swing is large, so the air inside the housing easily reaches the dew point and settles on the cold lens as a fine mist. A General Motors service bulletin on condensation in exterior lamps says that moisture is most noticeable in spring and autumn, and after a wash or rain the picture is always worse.
You can tell normal behavior from a defect without tools — by four signs used by dealer service departments:
| Sign | Normal (condensation) | Problem (leak) |
|---|---|---|
| Appearance | Even thin haze, fine «dew» | Large droplets, runs, streaks on the lens |
| Area | Mainly corners near ventilation, less than half of the lens | More than half of the lens |
| Bottom of the housing | Dry | Water standing |
| Behavior over time | Clears in 2–6 hours of driving or while parked in dry conditions, «comes and goes» | Doesn't clear after driving or after a full dry day |
| Other side | The opposite tail light behaves the same | The opposite tail light is dry under the same conditions |
There's a nuance when comparing sides: if in the morning the sun warms only one side of the car, that tail light will dry sooner, and the difference doesn't yet mean a defect. Look at whether the moisture disappears at all, not whether it disappears at the same time on both sides.
Why LED tail lights fog up longer than bulb ones
A bulb tail light has a built-in «hair dryer»: an incandescent bulb heats the air inside and the lens itself, so after the light is switched on the haze evaporates quickly. LEDs emit light with almost no infrared component — the lens doesn't heat up from them. Audi, in a technical bulletin about moisture in exterior lamps, explains: in LED lighting, condensation is removed only by the pressure difference across the ventilation channels while driving, so warming the car up in place with the lights on is pointless — you need a drive at normal speed. In practice, this means that after an autumn car wash, tuning LED tail lights may stay hazy longer than the old bulb ones did, and this is not a sign of a defect.
Normal condensation, according to the same bulletin, doesn't affect brightness, doesn't cause corrosion inside the housing, and can appear on any lamp — depending on the weather and how much and how you drive. If you drive ten minutes to work every day, the haze will last longer than for someone who drives on the highway.
What to do if the moisture doesn't go away
When, after 30–40 minutes of driving in dry weather, the lens still hasn't cleared, or there is water standing at the bottom, you look for the cause rather than just drying the tail light. The inspection order is the same as in manufacturers' service documentation:
- Ventilation channels and caps. On the back side of the housing there are vent caps, tubes, or membranes. They get clogged with dirt and cobwebs, a tube slips off its nipple, and sometimes a cap gets lost during installation. The channel must be in place and able to breathe freely.
- Seals. The rubber seal around the rear cover or socket, and the gasket between the tail light and the body. Dried-out or twisted rubber lets wash water straight inside.
- Seam between the lens and the housing. After an impact, overtightened fasteners, or careless installation, the seam can «separate». A sign is that droplets and runs concentrate on one side.
- Drain. There is a drain hole in the lower part of the housing; if it's clogged, water that gets inside has nowhere to go.
What you should not do: drill «extra ventilation holes» in the housing without a membrane, or heat the lamp closely with a heat gun — it's easy to damage the LED board and the polarization layer of the lens. You can dry the housing only with warm air at a distance, with the rear cover removed. If the tail light is new and moisture in the form of droplets appeared in the first weeks, don't take it apart yourself — contact the seller: the general cause of fogging headlights and how it is fixed is described in our article «Why car headlights fog up».
Where the «lamp malfunction» error comes from after switching to LED
The lamp monitoring module in a modern car doesn't see light — it measures current in the circuit. A halogen or regular incandescent bulb draws a noticeable current; an LED module draws several times less. To the electronics, this looks like the filament has burned out — hence the «check lamp» message on the dashboard, and in turn signals an increased flash rate, the so-called hyperflash: the flasher starts clicking faster when the load in the circuit drops below a threshold. Philips, explaining the purpose of its CAN adapters for LED bulbs, describes the same mechanism: the car checks bulbs via the CAN bus, LEDs consume much less, and the system throws a false error even though the bulbs work.
Important: the error by itself doesn't mean the tail light is faulty or wired incorrectly. First make sure all sections actually light up — tail/parking, brake, turn signal, reverse — and only then address the indication. If a section doesn't work, it's no longer a decoder issue, but a connector or wiring issue — more on that below.
Decoder, resistor, or coding — what to choose
There are three options, and they are not interchangeable:
- CAN decoder (load emulator). A module that connects inline and imitates the stock bulb load for the control unit. This is the most common solution for tuning tail lights: in many models it is already built into the board or included with the adapter harness. From conversations with customers, it's clear that «decoder» is often confused with an installation adapter — these are different things: an adapter fixes a bulb or connects connectors, a decoder only removes the error.
- Load resistor. The simplest way to raise the circuit current to a «bulb-like» level. It works, but it turns the entire power difference into heat, so the resistor is mounted only to metal and away from plastic, wiring, and paint — even the resistor sellers' own instructions require this. For a turn signal, a resistor also eliminates hyperflash; a separate LED turn signal relay will fix the flash rate, but not the lamp malfunction message.
- Coding. On some cars, monitoring of a specific lamp can be disabled in the body electronics module. This is the cleanest solution with no extra heat and wiring, but it isn't available on all models and requires an auto electrician with diagnostic equipment.
Adapter manufacturers honestly warn that in rare cases the car «doesn't accept» the decoder — then the only options are a higher-power resistor or coding. So before buying tail lights, don't ask «is there a decoder», ask «how exactly is the error removed on my car» — managers have experience specifically with your model and year.
Why a tail light flickers or goes out: oxidized connectors
Autumn is the season when rear light connectors fail most often: wash water and spray from under the wheels get into the cavities behind the tail lights, and temperature swings draw moisture into the plug. A greenish or white deposit appears on the brass contacts, contact resistance increases, and an LED module, which is more sensitive to voltage than a bulb, starts to flicker, shine dimly, or switch off over bumps. The typical picture: one tail light works, the other «blinks», and after you wiggle the connector, everything comes back to life for a minute.
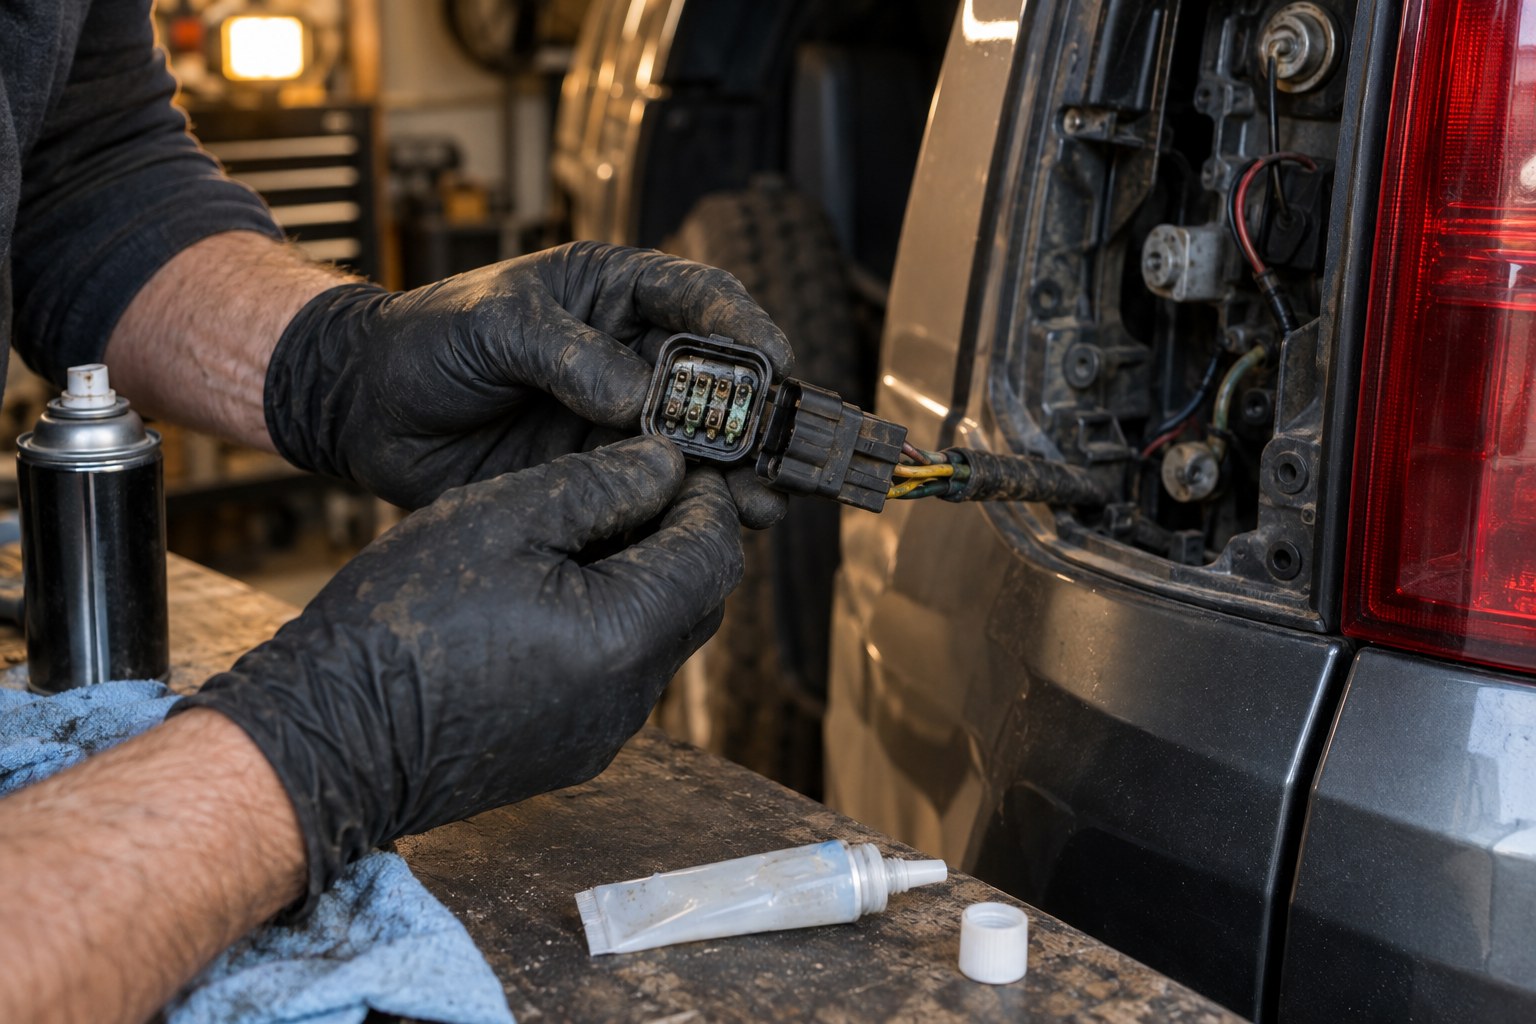
What to do: disconnect the plug with the ignition off and inspect the pins. Green deposit is removed with contact cleaner and a soft brush; burnt or pushed-in pins are a sign the contact was heating up — it's better to replace such a plug. Before assembly, protect the contacts with a thin layer of silicone dielectric grease: Permatex's technical description explicitly lists headlight and trailer connectors among applications, and corrosion protection among properties. The grease doesn't conduct electricity, but when the plug is connected the pins mechanically displace it at the contact point, while the rest of the volume seals the metal from water and salt. Apply a thin layer, and only silicone — regular mineral grease damages rubber seals.
One more practical warning from managers: don't test an electronic tail light by feeding 12 V «directly to the contacts» from the battery. An LED tail light has a driver board, and accidental reverse polarity or applying voltage to the wrong pin can ruin it. Testing should be done with a multimeter at the car-side connector, and the tail light itself — only through the factory or included adapter.
How to choose rear LED tail lights without electrical surprises
Half of autumn problems are created at the selection stage. From conversations with DD Tuning customers, three typical mistakes stand out. The first is mixing up the body version: for the Toyota Land Cruiser 200 there are tail lights «in a 2016 design» for the pre-facelift 2007–2015, and these are not factory facelift tail lights — a similar look doesn't mean identical mounts and connectors. The second is that connectors for different years within the same body can differ, and then an adapter or repinning is needed; for early LC200 this happened. The third is completeness: for LC200, rear tail lights usually come as a set of four sections (two on the quarter panels and two on the tailgate), for Prado 150 — as a pair, and one new section next to an old one may differ in shade.
What to check before ordering: year and body by photos of the actually installed tail lights, tailgate type, a photo of the factory connector, whether your car has lamp monitoring, and which method of removing the error is предусмотрено for this tail light model. Model-specific options are collected in the «Rear LED tail lights» section — in particular for Toyota Land Cruiser 200, Land Cruiser Prado 150 and Camry 2006–2011, and front lighting — in the «Tuning headlights» section. You can install and connect tail lights with a decoder at the network of certified DD Tuning service centers — the nearest one will be suggested by a manager.
We deliver via Nova Poshta across all of Ukraine.
How to Check a Fogged-Up Rear LED Tail Light
- Assess moisture by four signs Look at the appearance (fog or droplets), the area affected (less or more than half the lens), the bottom of the housing (dry or with water), and the opposite lamp. Fog in the corners that “comes and goes” is normal; droplets, streaks, and water at the bottom are a sign to look for the cause.
- Take a test drive Drive for 30–40 minutes in dry weather with the lights on at highway speed. In LED lamps, moisture is removed only by airflow through the ventilation; warming it up while stationary does not count. Take a photo of the lens before and after.
- Check the ventilation Open access to the back side of the lamp and inspect the vent caps, tubes, or membranes: they should be in place, not clogged with dirt, and the tube should be fitted onto the fitting.
- Inspect the seals and seam Check the rubber seal on the rear cover, the gasket between the lamp and the body, and the seam between the lens and the housing. Twisted or dried-out rubber and a seam that has come loose let water in from washing; droplets on one side point to this exact spot.
- Check the drain and connector Clean the drain hole at the bottom of the housing. With the ignition off, disconnect the connector, inspect the pins for green or white buildup, clean them with contact cleaner, and apply a thin layer of silicone dielectric grease.
- Dry and reassemble If there was water inside, remove the rear cover and dry the housing with warm air from a distance, without direct heating of the board. Reassemble, reinstall the lamp, and repeat the test drive. If moisture returns as droplets, do not take it apart any further; contact the seller.