27.04.2021
3821
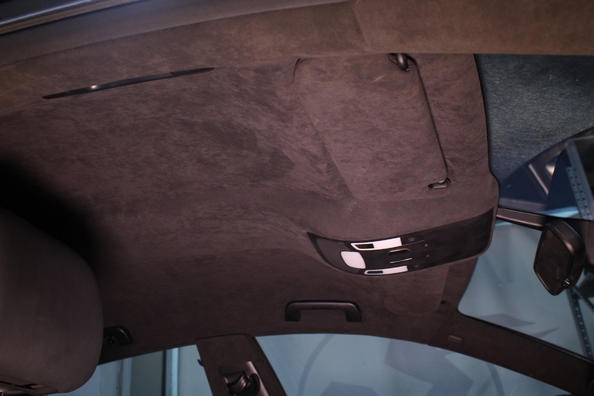

In this article, we bring to your attention step-by-step instructions on how to stretch the ceiling in a car salon with your own hands. In addition, you can improve the attractiveness of the vehicle and make it more expressive with the help of tuning , accessories of which are available in a large assortment in our online store.
An important issue when stretching the ceiling in a car is the choice of material. Below we offer a list of more popular types:
Each of these materials has its own positive aspects. In addition, it is worth remembering about the price and ease of use.
To work on the hauling, you will need the following tool:
To make a pattern, you can use an old fabric removed from the ceiling. You can also make markings for various headsets - lighting fixtures, etc. The pattern itself should be made with a margin of 7-8 cm on each side.
The process is recommended to be performed in the following sequence:
Here, with the help of such actions, you can independently drag the ceiling in the car, making it more comfortable and cozy.
Shipping to EU
Wholesale and retail
Own warehouse
Опис продукту
Подарунки не надаються при оформленні покупки у кредит під 0,01% або при покупці частинами.