09.04.2024
342
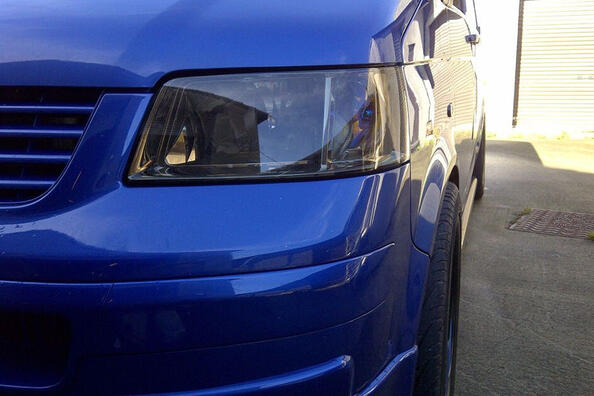

Car headlight tinting is a great way to give your vehicle a stylish look and emphasize its individuality. Usually, this can be done by a specialized car service facility, but if you have the desire and certain skills, you can do it yourself. In addition, your car can become more expressive and attractive if you use tuning accessories, a large assortment of which is available in our product catalog.
Important: before tinting the headlights, it is recommended to familiarize yourself with the traffic rules in your country, because the permissible level of dimming may differ.
Preparation:
Before starting toning, the headlights should be thoroughly cleaned of dirt and dust.
Pasting the film:
Completion:
Advice:
Do-it-yourself headlight tinting is an affordable and effective way to change the appearance of your car. By following the instructions, you can do this work yourself, saving on the services of specialists.
Shipping to EU
Wholesale and retail
Own warehouse
Опис продукту
Подарунки не надаються при оформленні покупки у кредит під 0,01% або при покупці частинами.