25.02.2024
349


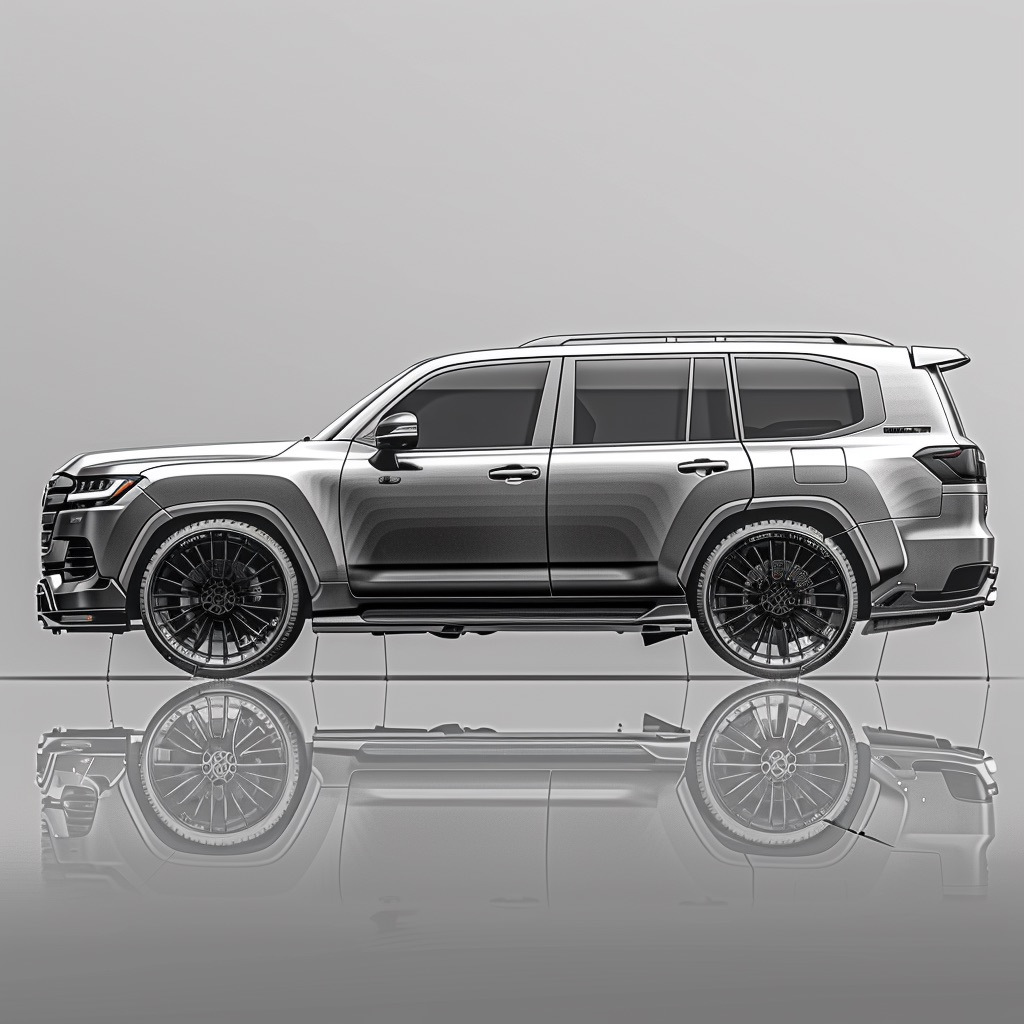
Installing a body kit on a Toyota Land Cruiser 200 can seem like a daunting task, but with the right approach and tools, the process can be greatly simplified. Here are some tips to help make this process as efficient and painless as possible.
Usually, installing a body kit on a Toyota Land Cruiser 200 does not require special skills or knowledge, because it is a simple replacement of old parts with new ones. Any service station, even not specialized in this brand of cars, will be able to perform such work.
For high-quality body kit installation, it is important to contact a service center that specializes in painting. This will ensure not only the correct installation, but also the perfect appearance of the updated car.
The installation process involves several basic steps: removing the old parts, trying on and fitting the new parts, removing and painting them, and then the actual installation. Also, do not forget to connect headlights and lanterns.
The first fitting of new parts is a must, as this allows you to identify potential problems with the size match and ensure a perfect fit before painting.
You should not be afraid of updating your Toyota Land Cruiser 200. Choose quality components, contact experienced specialists for installation and enjoy the updated appearance of your car.
What is better China or original Toyota spare parts?
Installing a body kit on a Toyota Land Cruiser 200 can significantly improve the appearance of your car, adding personality and style to it. By following these simple steps and recommendations, you can ensure that the installation process goes smoothly and without unpleasant surprises.
Shipping to EU
Wholesale and retail
Own warehouse
Опис продукту
Подарунки не надаються при оформленні покупки у кредит під 0,01% або при покупці частинами.