How to Properly Apply a Hydrophobic Coating to Your Car

This material was prepared using AI tools for topic research, structuring and initial draft creation. Fact-checking, editing, expert review and final approval were performed by Maksym Vasyliovych Radomskyi.

Hydrophobic coating — a reliable armor for your car’s body: water beads off, dirt hardly sticks, and the shine lasts for years. However, 90% of success depends on proper preparation and application. We share a proven step-by-step guide that works with most products. In addition, to make your car look more impressive and stand out on the road, we recommend using tuning accessories, widely available in our online store.

Step 1: Perfect surface preparation

The main secret to success when applying a hydrophobic coating — impeccable paint cleanliness. Any dirt, dust, or grease left on the surface will prevent the coating from bonding firmly with the lacquer:

  • Washing and cleaning: Thoroughly wash the car. Remove all old contaminants (bitumen, resin, metal particles) using detailing clay or special cleaners.
  • Degreasing: This is the most important step. Wipe the entire treated surface with isopropyl alcohol (IPA) or a degreaser. The coating must be applied only to a clean and dry lacquer.
  • Defect removal (optional): If there are scratches on the paint, they should be removed by polishing before applying the coating. The hydrophobic layer will not hide defects but will preserve them.

Step 2: Application and polishing

Apply the coating only in a clean, well-ventilated area at the temperature recommended by the manufacturer.

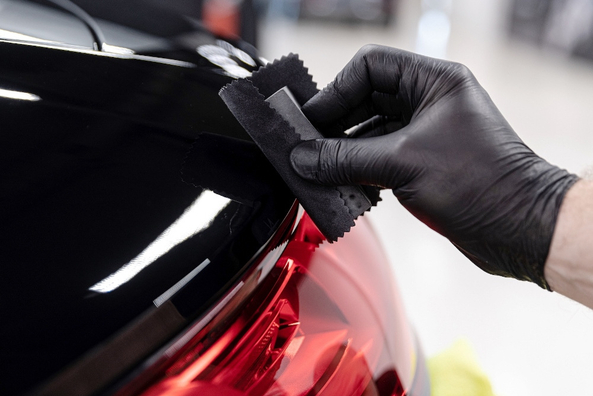
  • Application: Wrap a special applicator cloth around the block and apply a few drops of the product. Treat the body in small sections (about 50x50 cm) with cross movements (first horizontally, then vertically).
  • Flashing: After a few seconds (exact time specified in the instructions), the coating will start to «flash» or become slightly hazy. This means the solvent has evaporated and the surface is ready for polishing.
  • Polishing: Gently, without strong pressure, polish the applied layer with a clean, soft microfiber cloth. Make sure there are no streaks or excess material left on the surface.

Step 3: Drying and curing

After application, avoid contact with water for the time specified by the manufacturer (usually 12–24 hours). Full curing may take up to 7 days. During the first 7–14 days, avoid aggressive chemicals and automatic car washes.

Shipping to EU

Wholesale and retail

Own warehouse

Login to the site
Кредит
Покупка частинами monobank

Опис продукту

  1. Наявність кредитної картки від Монобанку
  2. Доступний кредитний ліміт за сервісом "Покупка частинами monobank"
  3. Перший платіж буде списаний у день оформлення

Подарунки не надаються при оформленні покупки у кредит під 0,01% або при покупці частинами.
Request a callback
Notify when available