22.08.2025
1341
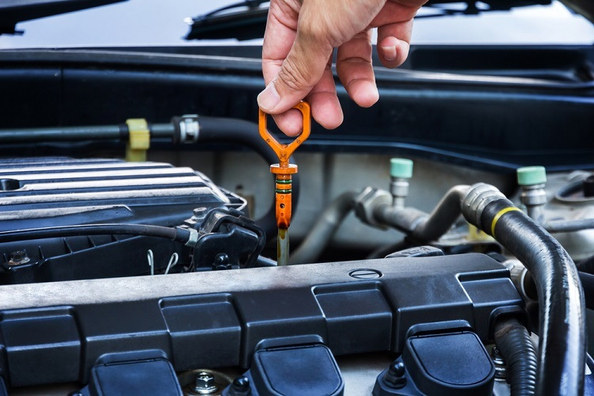
Checking the oil level in the engine is an important procedure for maintaining the health of the car. Lack or excess of oil can lead to serious breakdowns. This article will tell you how to correctly measure the oil level to ensure reliable engine operation. Your car will become more stylish and visually special when using tuning accessories, a huge selection of which can be found in our product catalog.
To obtain accurate readings, it is very important to properly prepare the machine.
The process of checking the oil level is simple.
There are special marks on the end of the oil dipstick - MIN and MAX .
Regularly checking your oil level (preferably once every 1-2 weeks) should become a habit. It's an easy way to keep your engine in good working order and avoid costly repairs.
Shipping to EU
Wholesale and retail
Own warehouse
Опис продукту
Подарунки не надаються при оформленні покупки у кредит під 0,01% або при покупці частинами.