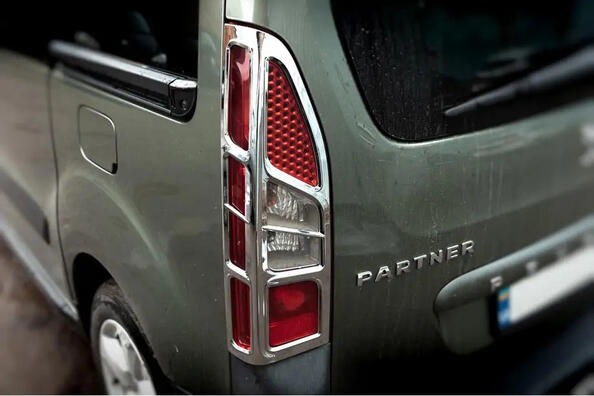
Do you dream of an elegant and individual car? Chrome tail light covers are what you need! This stylish accessory will not only add zest to your car, but also protect the lights from damage. Their installation is not difficult, but requires accuracy and compliance with certain rules.
What you will need:
- Chrome overlays;
- Degreaser;
- A clean cloth;
- Hairdryer (optional).
Installation instructions
- Preparation:
- Clean the surface of the taillights (or the place where the covers will be installed) from dirt, dust and grease with a degreaser and a clean cloth.
- Make sure that the air temperature is not lower than +10°C.
- Attach the overlays to the lights to determine their correct location.
- Installation:
- Remove the protective film from the adhesive base of the overlays.
- Glue the overlays to the lights, carefully pressing them over the entire surface.
- If desired, you can use a hair dryer to heat the adhesive base. This will improve adhesion.
- Finalization:
- Wipe the pads with a clean cloth to remove any traces of glue.
- Do not wash the vehicle for 24 hours after installation.
Advice
- Read the manufacturer's instructions carefully before installation.
- Take your time, work carefully.
- If the pads do not hold tightly, you can use additional glue.
- Do not use aggressive chemicals to clean the pads.
- Choose pads that match your car model.
- Pay attention to the material of the overlays. It is best to choose pads made of stainless steel or ABS plastic.
- Make sure the pads have a good adhesive base.
Conclusion
Installing chrome taillight covers is a simple and affordable way to add elegance and personality to your car. By following the instructions, you can easily install the overlays with your own hands.