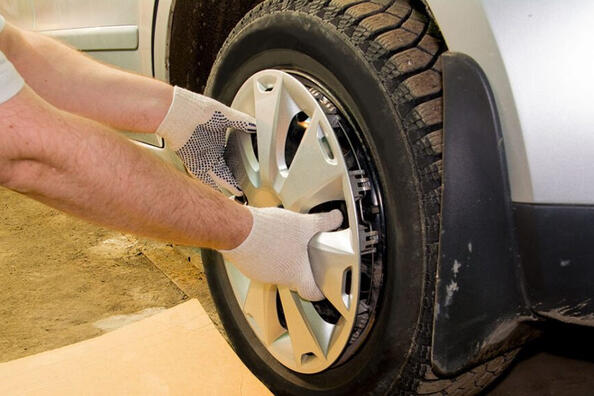
Wheel caps are not only a stylish element, but also protect wheel rims from dirt and minor damage. It is not difficult to install them with your own hands, but there are several nuances. We offer step-by-step instructions for this procedure. You can also significantly transform your car and make it brighter if you use tuning accessories, a huge assortment of which is available in our product catalog.
Preparation for installation
- Clean the discs: Thoroughly clean the discs from dirt and dust. This will help the caps to lock in better.
- Check the condition of the caps: make sure that the caps are not damaged and that all latches are intact.
Installation process
- Compare the cap to the disc: Make sure the cap is the right size and shape for your disc.
- Align the cap: Hold the cap so that the tabs point toward the disc and the nipple hole lines up with the wheel nipple.
- Start the installation: gently press the cap so that the latches fit into the grooves on the disc.
- Check fit: Make sure the cap is securely attached to the disc. Try to shake it a little.
Installation tips
- Do not apply excessive force: if the cap does not fit into place, do not press too hard. Check that you have oriented it correctly.
- Use protective gloves: to avoid scratching your hands.
- Check the fit after the ride: After the first ride, check how tight the caps are.
Possible problems and their solutions
- Cap won't stay in place: Check that the disc is clean, that the cap is correctly oriented, and that the latches are not damaged.
- The cap flies off while driving: the cap may be improperly installed or its latches may be damaged.
Installing wheel caps is a simple process that you can do yourself. Follow our tips and your wheels will look neat and protected.