

































































 Author: Radomskyi Maksym Vasyliovych
This upgrade plan is for those who regularly drive their dog around town, to the countryside, to the park, or on trips and want to solve three things at once: the pet’s safety, a clean interior, and less hassle before departure. In short, what works best isn’t a random set of accessories but a последовательна setup: first secure the dog, then protect the interior, then add comfort, and only after that the small convenience items.
The exact set depends on the body style, the dog’s weight, and where it rides: on the rear seat or in the cargo area. For a large dog in a wagon, hatchback, or crossover, the cargo area with a crate or divider is often the more logical choice, while for a small or calm dog in a sedan, the rear seat with a reliable harness and seat protection is more often the right fit.
What this upgrade needs to accomplish
A proper dog-travel upgrade shouldn’t “decorate” the car—it should address specific risks. First, the dog shouldn’t fly around the cabin, climb between the seats, or end up up front. Second, fur, wet paws, sand, and odor shouldn’t turn every trip into a full detailing session. Third, everything you need on the road should be within reach: water, a bowl, bags, a towel, documents, medication.
A separate part of the task is heat. A cracked window doesn’t prevent overheating: even with moderate outside temperatures, the interior of a parked car heats up very quickly. So in hot weather the priority isn’t “clever” little gadgets, but ventilation, water, breaks on the road, and sensible route planning—especially for brachycephalic, older, and anxious dogs.
What to upgrade first
Number one is safe restraint. If the dog is large, restless, or may bolt when you open the door, the strongest option is a crate or a rigid carrier of the right size. If the dog is calm and rides on the rear seat, a quality harness that works with the factory seat-belt system makes sense. A collar is not suitable for this, and the front passenger seat shouldn’t be the default place.
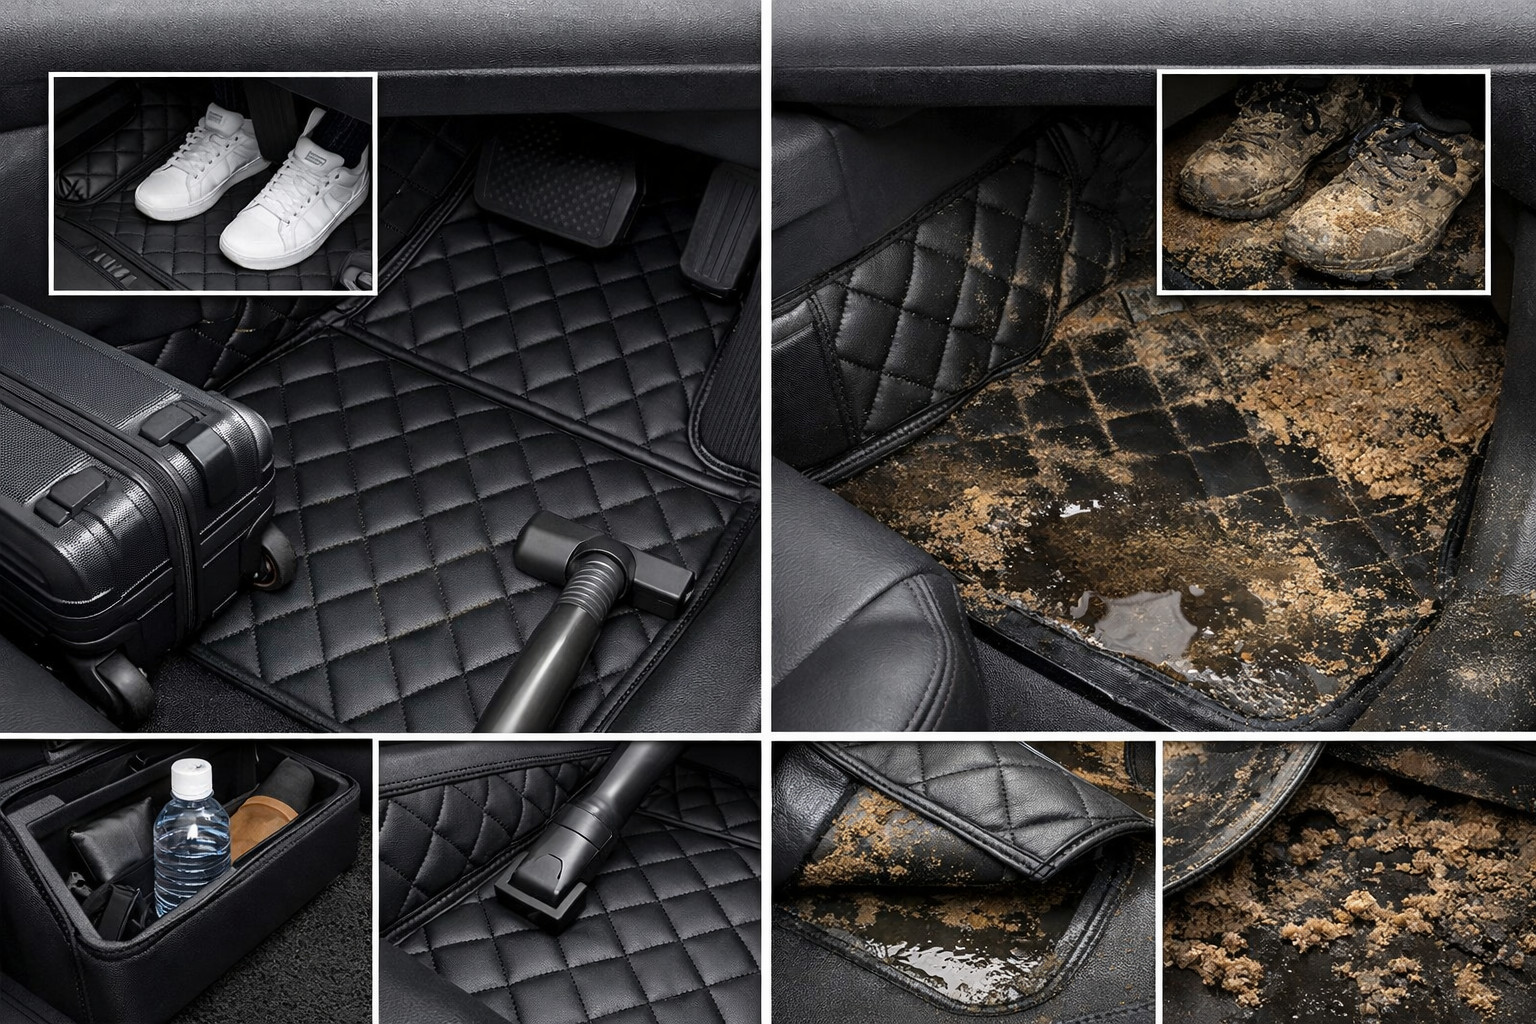
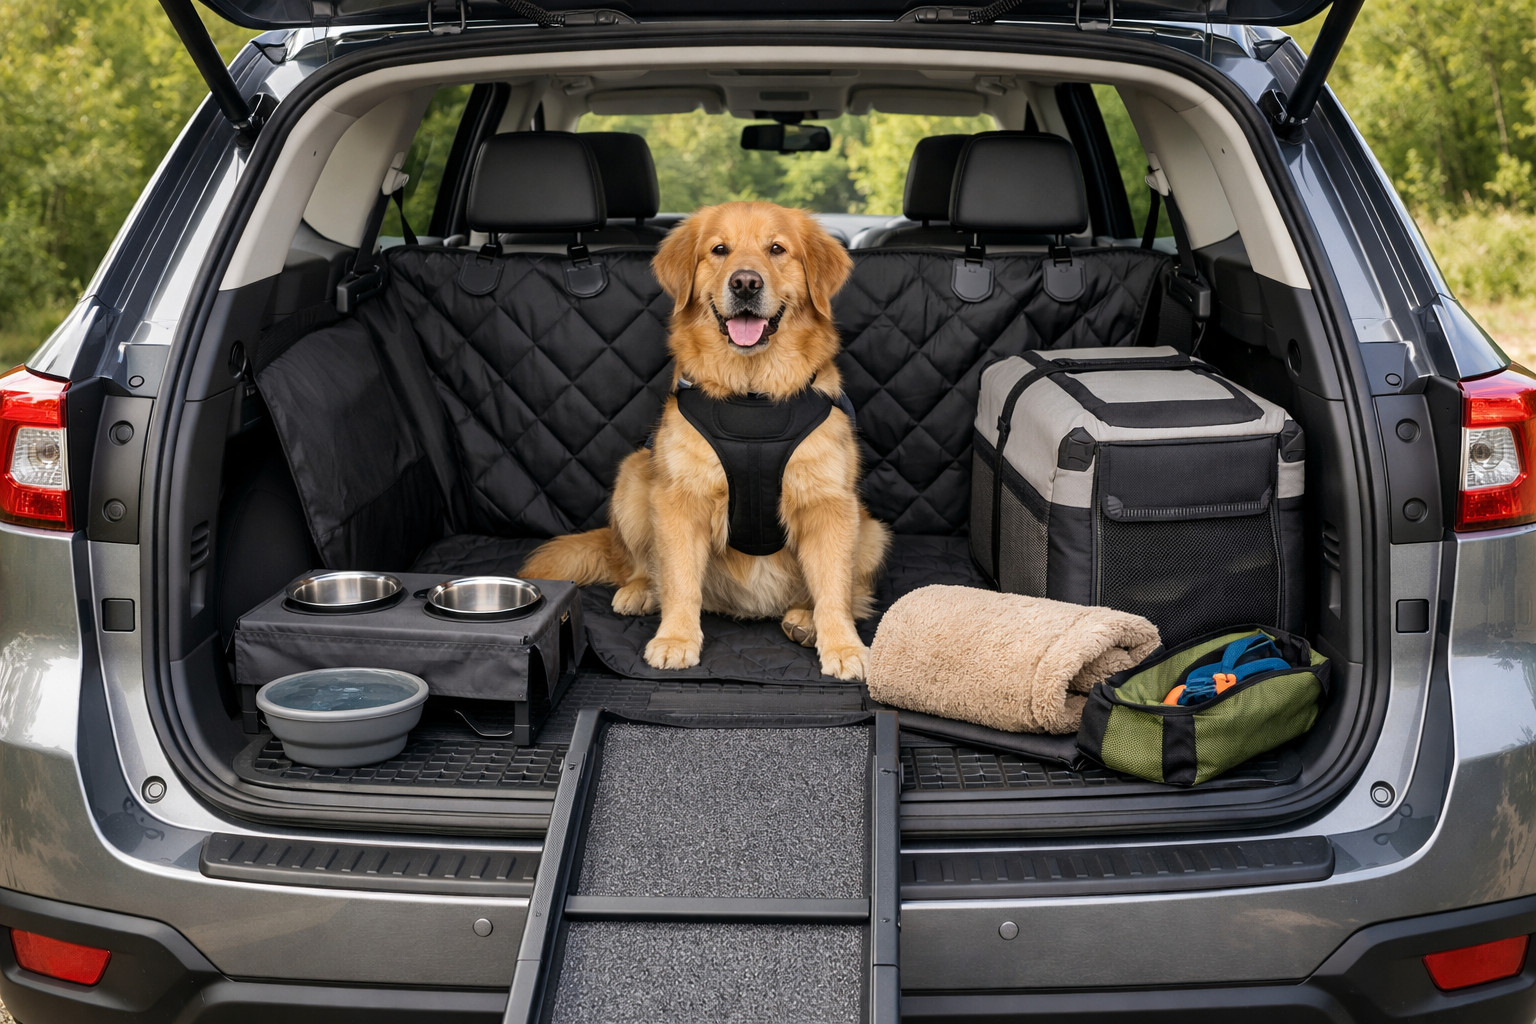
Step two is protecting the surface the dog rides on. On the rear seat that’s a cover or hammock; in the cargo area it’s a non-slip liner or mat. This doesn’t replace restraint, but it reduces slipping, protects upholstery, and makes cleanup easier after rain, sand, or shedding.
The third must-have minimum is a travel kit. Water, a collapsible bowl, bags, wipes, a basic first-aid kit, and a spare towel are often more useful than any decorative accessory. For dogs that get carsick, it’s better not to feed a heavy meal right before leaving and to build short, pleasant rides during the acclimation phase.
Upgrade, why it’s needed, who benefits (table)
| Upgrade | Why it’s needed | Who really benefits |
|---|---|---|
| Crate or rigid carrier | Provides the best restraint, reduces the risk of escape and chaos in the cabin | Large dogs, anxious pets, highway trips, vehicles with a large cargo area |
| Crash-tested car harness | Secures the dog on the rear seat without free movement | Calm small- and medium-size dogs, sedans and compact cars |
| Divider between cabin and cargo area | Reduces driver distraction, separates off the cargo zone | Wagons, hatchbacks, and crossovers where the dog rides in the back |
| Rear-seat cover or hammock | Protects the seat, backrests, and footwell area, partially prevents sliding down | Anyone who transports a dog on the rear seat several times a week |
| Cargo mat or liner | Keeps dirt, moisture, and fur contained in one zone, helps prevent slipping | Large dogs, wet paws, trips to the woods, fishing, getting out of town |
| Road organizer | Creates a fixed place for water, a bowl, bags, medication, and small items | Those who often travel with a dog and don’t want to repack the kit every time |
DD Tuning expert comment: The most common mistake is buying interior protection first and postponing restraint “for later.” The second issue is universal solutions without a proper fit: the mat or cover slips, the dog gets nervous, and the owner concludes the accessory is useless. If space in the car is limited, it’s better to choose one transport scenario right away—rear seat or cargo area—and not mix everything into one compromise.
What makes sense to add in the second stage
Once basic safety is covered, the second stage is about stability and daily practicality. For the cargo area, that’s a divider plus a non-slip base under the paws. For the rear seat, it’s a better cover with proper tension so the dog doesn’t slide on turns and doesn’t fall into the gap between the seats.
Next, it makes sense to assemble a permanent road kit: separate water for the dog, a bowl, wipes, bags, a towel, a spare leash. If you travel far, plan breaks about every two hours. In hot weather, a cooling mat or towel can help, but it’s auxiliary comfort—not a replacement for ventilation, shade, and stops.
What’s more about comfort or looks
Thicker mats, softer bedding, extra side protection, separate protection for the bumper edge when jumping into the cargo area—these are no longer about basic safety, but about everyday comfort and less interior wear. They’re genuinely useful if the dog rides often, is wet after walks, or is heavy and actively jumps into the car.
This is also where it’s easy to overpay for appearance: premium textures, color “matched to the interior,” decorative solutions without better fit or a non-slip base. If an accessory doesn’t simplify cleaning, improve restraint, or save time before a trip, it’s a secondary purchase.
What people often buy for nothing
Most often, people buy a barrier as the only safety measure—and that’s a waste. It is useful to keep the dog from climbing forward, but in hard braking or an impact it doesn’t replace a crate or a harness. Another common mistake is long tethers and similar solutions that give the dog too much freedom and essentially negate the whole idea of restraint.
Cheap universal mats and covers also often disappoint: they slip, bunch up in folds, or rely on weak clips. Another unnecessary spending scenario is hoping a cracked window will solve the heat issue. It won’t. Overheating is addressed only by how you travel: timing, ventilation, water, breaks, and avoiding long stops with the dog in the cabin.
What to install first, what to postpone, what’s optional (table)
| What to install first | What can be postponed | What isn’t mandatory | When it’s relevant |
|---|---|---|---|
| Crate or harness with proper restraint | Divider | Decorative trims and finishes | For any car and any regular trips |
| Rear-seat cover or cargo mat | Additional soft mat | Expensive “interior-matching” material | When there’s fur, dirt, wet paws |
| Water, bowl, towel, bags | A separate large organizer | Extra small containers for every item | For long trips and active outings |
| Proper ventilation and breaks on the road | Cooling mat | Relying on a cracked window | Especially important in summer and for brachycephalic breeds |
| Getting used to trips via short routes | A separate travel bed | Any accessories without a usage scenario | For puppies, anxious dogs, and those prone to carsickness |
A ready-made upgrade plan for this scenario
- Decide where the dog rides: rear seat or cargo area. Don’t mix both scenarios unless necessary.
- Install basic restraint: a crate or carrier for large and restless dogs, a harness for calm dogs on the rear seat.
- Add surface protection: a cover or hammock for the seat, a non-slip mat or liner in the cargo area.
- Assemble a permanent travel kit: water, bowl, bags, wipes, towel, documents, basic medications.
- If the body style allows, add a divider as an auxiliary element to reduce driver distraction, but not instead of restraint.
- Only then address comfort: a softer mat, extra protection for the bumper edge, a separate place for wet items.
When it makes sense to choose more expensive solutions
More expensive items are justified when the dog rides often, you want to keep the car tidy longer, and a cheap universal option has already shown its weak points. If water, leashes, wipes, and meds are constantly rolling around, it’s easier to organize it once with an cargo organizer than to assemble the kit before every trip.
For a dog riding in the cargo area after the woods, fields, or rain, a more expensive rubber cargo mat often pays off faster than a cheap slippery alternative: it’s easier to wash, there’s less dirt, and less stress. And if the dog regularly rides on the rear seat, higher-quality seat covers make sense thanks to a better fit, less slipping, and less upholstery wear.
From a customer’s experience: for a large dog in a wagon, they initially looked only for a divider because the pet climbed between the seats and distracted the driver. In the end, a different sequence worked best: a non-slip mat in the cargo area, a dedicated place for water and small items, and the divider as an add-on. The result is simple: the dog stands more calmly, the interior cleans up faster, and getting ready for the road takes less time.
Conclusion
For traveling with a dog, what truly makes life easier isn’t the number of accessories, but the right order of upgrades: first safe restraint, then interior protection, then climate and comfort, and only after that organizational small items. A barrier, a nice cover, or a trendy accessory can be useful—but only if it doesn’t replace the essentials.
If you choose wisely, the car stays cleaner, the dog rides calmer, and the driver isn’t distracted. This material is based on real подбор experience, practice, and real-use scenarios, so the main advice is simple: buy not “for looks,” but for your body style, your dog, and your typical routes.
How it works
- Determine the transport scenario First, figure out exactly where the dog will ride: in the back seat or in the cargo area. For a large or restless dog, the cargo area with a crate or divider is more often suitable; for a calm small or medium-sized dog, the back seat with a harness is better.
- Set up basic restraint The first upgrade should be safe restraint for the dog in the car. Use a crate or rigid carrier for large dogs, and for the back seat use a crash-tested harness; a collar and the front seat are not suitable for this.
- Protect the surface where the dog rides Next, add interior protection: a cover or hammock for the back seat, a non-slip mat or pad in the cargo area. This does not replace restraint, but it reduces slipping, catches dirt, and makes cleaning up after trips easier.
- Pack a permanent travel kit Keep water, a collapsible bowl, bags, wipes, a towel, a basic first-aid kit, and a spare leash in the car. This set saves time before departure and helps you avoid forgetting what you need on the road.
- Add supportive elements If the body style allows it, install a divider so the dog does not distract the driver, but do not treat it as a substitute for restraint. For long trips and hot weather, plan breaks about every two hours and do not rely on an open window as protection from overheating.
- Finish with comfort after the basics Once safety and cleanliness are handled, you can add a softer mat, bumper edge protection, or a separate place for wet items. Expensive decorative solutions only make sense if they genuinely improve fit, do not slip, and make care easier.
Pros and cons
Properly securing a dog really addresses the main risk on the road: the animal doesn’t fly around the cabin or climb between the seats. For large or restless dogs, a crate or rigid carrier gives the best result, and on the back row, a harness with the factory attachment works for calm dogs.
Seat or cargo-area protection reduces slipping and makes cleanup easier after fur, sand, wet paws, and rain. A cover, hammock, or mat does not replace restraint, but works well as a second layer of cabin protection.
A permanent travel kit saves time before departure and keeps you from gathering everything from scratch each time. Water, a bowl, bags, wipes, a towel, and a basic first-aid kit cover most everyday minor needs on trips.
For regular trips, it helps to separate the scenario: either the back row or the cargo area. This reduces compromises when choosing accessories and gives a clear logic for upgrading to a specific body type and dog.
Extra items like a divider, organizer, or non-slip mat really improve convenience if the dog travels often. They work better not as separate purchases, but as part of an already assembled basic setup.
Universal covers and cheap mats often slide, bunch up, or stay in place with weak clips. Because of this, they can irritate the dog and fail to deliver the expected effect.
A barrier on its own does not solve the safety issue, because it does not replace either a crate or a harness. It only limits access to the front of the cabin, but does not secure the animal during hard braking or an impact.
A cracked window is not a proper answer to heat. The article explicitly states that only ventilation, water, breaks, and trip planning help against overheating, especially in summer.
Some accessories easily turn into unnecessary expense if they are bought “for looks” rather than for a specific task. Expensive textures, decorative solutions, and small details without a proper fit or non-slip base do not provide practical benefit.