

































































 Author: Radomskyi Maksym Vasyliovych
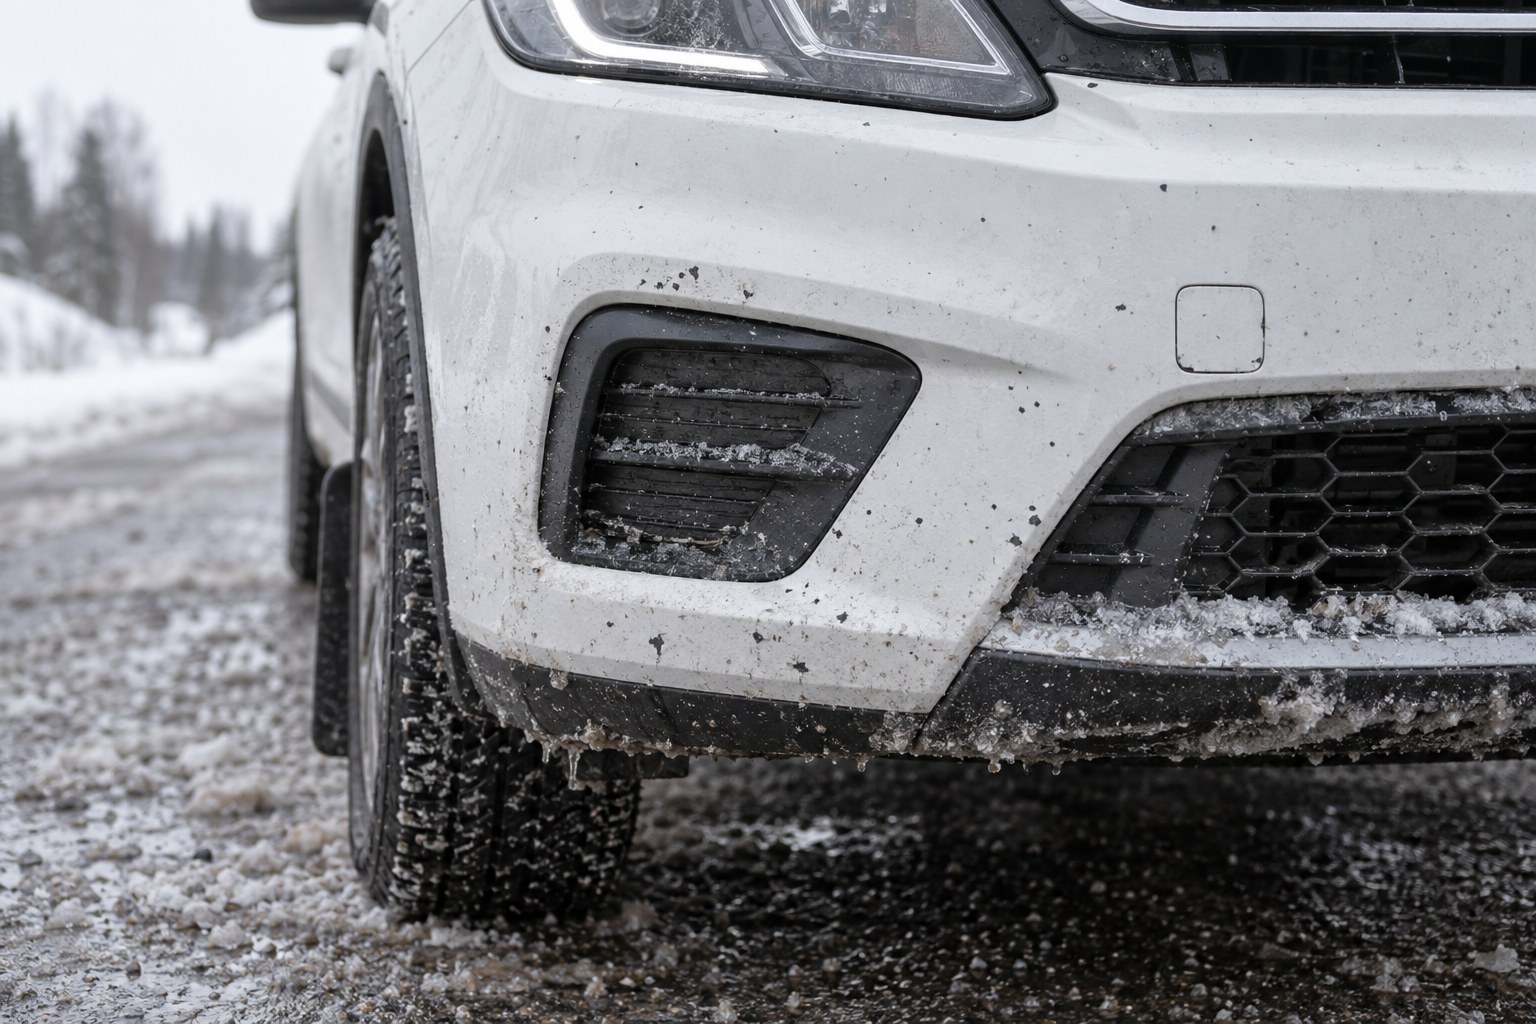
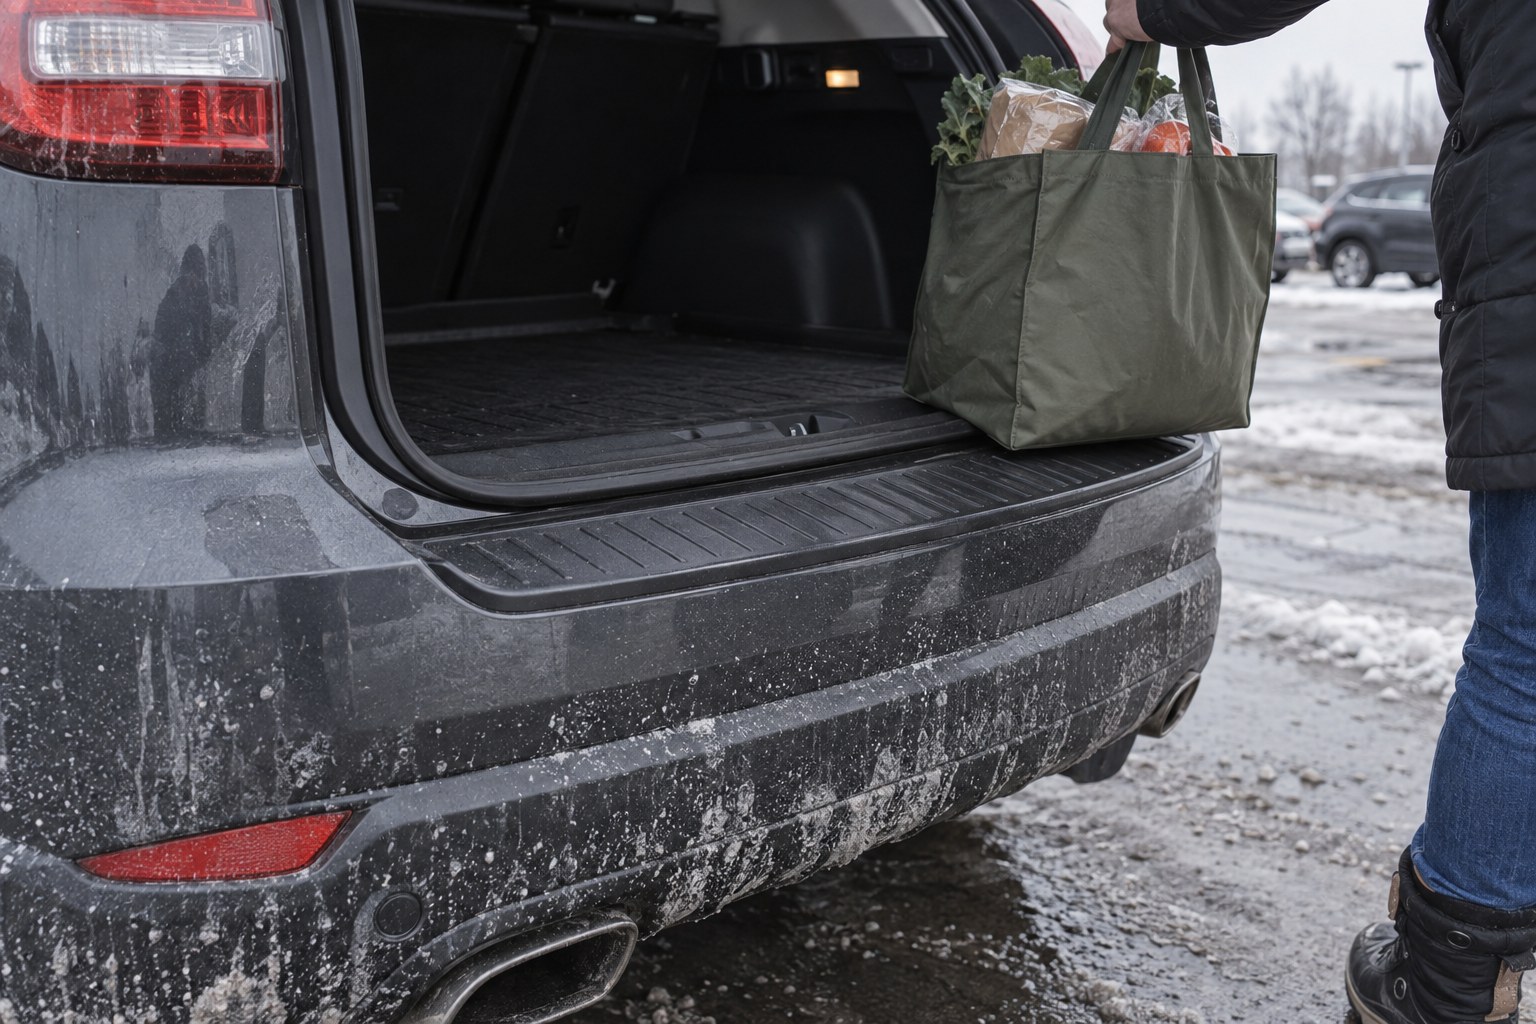
The bumper takes more abuse in winter than any other body part: up front it gets hit by sand and salty slush thrown up from the wheels of the car ahead, and at the rear—dirt from your own wheels and the scuffing of bags when you load the trunk. We explain what exactly harms a bumper in the cold, how to choose and correctly stick on a bumper protector, and how to care for it until spring.
Contents
- In brief
- Why winter is hard on bumpers
- Front and rear bumpers: different threats
- Rear bumper protector: how to choose
- How to stick on a protector so it holds in winter
- Front bumper: chips, lip, and mud flaps
- Caring for your bumper in winter
- What not to do
In brief
- Bumper plastic does not rust, but the paint on it can chip, and behind the bumper there are metal brackets and a reinforcement bar—salt finds its way to them.
- The top of the rear bumper is a friction zone: bags, shoes, and sand work like sandpaper. A rear bumper protector covers it.
- Apply the protector in warmth to a clean, degreased, and dry surface—tape will not bond in freezing temperatures.
- Mud flaps reduce the amount of dirt and salt that flies onto the bumper and sills.
- Wash the bumper along with the lower part of the car regularly, first rinsing off sand with water.
Why winter is hard on bumpers
De-icing mixtures are chlorides: technical salt, calcium chloride, and magnesium chloride. The last two absorb moisture from the air, so residue from them stays wet for a long time and keeps eating away at metal even on a dry road. The bumper itself is mostly plastic and does not rot, but salt harms it in a different way: through chips it gets under the paint, the clear coat starts peeling, and the metal fasteners, reinforcement bar, and brackets behind the bumper rust.
The second reason is abrasion. In winter, roads are sprinkled with sand and fine gravel, and the bumper catches them first. Every grain of sand is a potential chip. On top of that, in freezing temperatures plastic hardens and the paintwork becomes less elastic, so a hit against a curb, an icy snowbank, or a chunk of ice more easily causes a chip or a crack. What to do if the bumper has already cracked is covered in the article what to do if a plastic car bumper cracks.
Front and rear bumpers: different threats
| Front bumper | Rear bumper | |
|---|---|---|
| What causes damage | sand and gravel from the car ahead, salty spray, snowbanks and curbs | dirt from your own wheels, scuffing of bags and shoes across the upper ledge, salt in corners |
| Where it is most vulnerable | lower part of the bumper, lip, grille openings, sensors and camera | top of the bumper in the loading area, lower part near the exhaust, parking sensors |
| What helps | touched-up chips, protective film on the front-facing areas, mud flaps, careful driving in snow | rear bumper protector, mud flaps, regular washing |
Rear bumper protector: how to choose
The upper rear bumper protector safeguards the loading zone—the ledge where you place bags and boxes and where shoes scrape across. It does not protect against a hard impact and it does not repair a damaged bumper: it is protection against rubbing, scratches, and sand mixed with salt. In the catalog of rear bumper protectors there are two main materials.
ABS plastic or stainless steel
- ABS plastic is a black textured protector that blends with the bumper and hides minor scratches. These are available for commercial vehicles and minivans: Mercedes Vito/V-class W447, Volkswagen T5 and T6, Renault Trafic, Opel Vivaro, Citroen Berlingo and others. Plastic does not rust, and scratches on black texture are barely visible.
- Stainless steel is glossy or matte chrome. For example, OmsaLine protectors are Italian stainless steel from a Turkish manufacturer with a precise fit—for crossovers such as Volkswagen Tiguan, Mazda CX-5, Hyundai Tucson. Stainless steel is more resistant to rubbing, and salt is not a problem if you rinse it off in time. How to care for such parts so spots do not appear is covered in the article does salt damage chrome trim and how to care for chrome in winter.
What to pay attention to
- Model, body type, and years. A model-specific protector follows the curve of a specific bumper. Sedan vs. wagon, pre-facelift vs. facelift, one or two rear doors on a van—these are different bumpers, so verify body type and years, not just the model name.
- With a wrap-around edge or without. A protector with a wrap-around edge goes over the bumper lip and covers the edge that gets scraped most often.
- Coverage area. A protector only covers its part: the top, the edge, or the corners—not the whole bumper. Compare length and width with the product page.
- Mounting method. Most protectors are self-adhesive with double-sided tape; the product page states whether the tape is already applied or included.
How to stick on a protector so it holds in winter
The main reason a protector peels off after the first wash is rushing and cold. According to tape manufacturers, double-sided acrylic tapes used for these protectors bond best at +21…+38 °C, and below about +10 °C they do not recommend applying them: the adhesive becomes too hard and does not “flow” into the surface. Once the tape has built up strength, мороз is not an issue.
- Apply it in a warm garage or bay, let the bumper warm up and dry.
- Test-fit first without removing the film, to see how it sits and where the edges will be.
- Wash and degrease the mounting area, remove polish, wax, and остатки of old adhesive. Aggressive solvents can damage the paint.
- Press along the entire length, especially edges and corners, and do not wash the car for at least 24 hours—the tape gains strength gradually.
Front bumper: chips, lip, and mud flaps
Up front, the main threat is paint chips. Small paint damage is best touched up before freezing weather so salt does not reach the primer, and the most vulnerable front-facing areas can be covered with clear protective film. The lip and lower front-bumper add-ons are primarily about style: they do not protect from salt, and a low lip also reduces ground clearance, so in снег and on high curbs it takes the hit first.
For the lower bumper openings and grille in winter, a winter cover is installed—it удерживает snow and dirt in front of the radiator. Match it to the specific grille section and monitor engine temperature when it gets warmer.
For both bumpers and the sills, mud flaps work well: they reduce the amount of salty slush that flies from under the wheels onto the body. There are model-specific ones—for the factory mounting points of a particular car—and universal ones, which are fitted to the wheel arch and bumper by size. How salt attacks the sills is covered in a separate article how to protect sills from salt and reagents in winter.
Caring for your bumper in winter
- Wash regularly—about once every two weeks, and more often after driving on heavily treated roads, along with the underbody and wheel arches.
- Rinse with pressurized water first, then use shampoo: sand and salt crystals under a sponge scratch the paint. Keep the jet at a distance from the edges of protectors, sensors, and chips.
- Apply wax or a protective coating before winter—salt and dirt rinse off a smooth surface more easily.
- Wipe the parking sensors and camera: under a salty crust they can malfunction.
- Check the edges of protectors after washing—if an edge has lifted, it is better to re-bond it in warmth before sand gets packed underneath.
What not to do
- Do not stick on a protector in freezing temperatures or on a wet surface—it will fall off after the first wash.
- Do not scrape ice and residue off the bumper with a scraper—this causes scratches and chips.
- Do not place bags and boxes on the bare bumper ledge if there is sand on it: that is ready-made sandpaper.
- Do not postpone chip repair until spring—salt works all winter.
We deliver with Nova Poshta throughout Ukraine; orders from 15,000 ₴—free delivery with our own transport.
How it works
- Choose the trim Check the model, body type, years, facelift, and presence of a bend; compare the length and width of the trim with your bumper.
- Warm up the car Drive the car into a warm garage or bay and let the bumper warm up and dry.
- Test fit Hold the trim in place without removing the protective film to see how the edges sit, and if needed, mark the position with masking tape.
- Prepare the surface Wash and degrease the installation area, remove any polish, wax, and остатки old adhesive, and let it dry.
- Apply and press Remove the film from the tape, position the trim according to the marks, and press firmly along the entire length, especially the edges and corners.
- Let the tape set Do not wash the car for at least 24 hours, and make the first drive in freezing weather only after the tape has fully bonded.