
































































 Author: Radomskyi Maksym Vasyliovych
This upgrade plan is for a Toyota Land Cruiser Prado 250 owner who’s tired of the typical picture after rain, gravel roads, or winter: the sides are splattered, the lower edges of the doors are covered in sand, and the wheel arches both look and feel too narrow for the vehicle’s size. If the goal isn’t a show build but washing the body less often and reducing the risk of chips, the logic is simple: first stop dirt and stones, then cover the vulnerable areas, and only after that think about looks.
On the Prado 250, the problem depends heavily on the wheels. With the stock size it’s one story, but after wider tires or wheels with a different offset, dirt flies more aggressively, and some mud flaps may work worse or even get in the way. That’s why the right upgrade here isn’t about “installing everything” — it’s about what actually works for your specific use case.
What this upgrade needs to accomplish
The main task is to reduce the flow of water, sand, and small stones that the front and rear wheels throw onto the lower part of the doors, the sills, and the rear part of the arch. On the Prado 250 this is especially noticeable because of the tall body side, the vehicle’s mass, and the fact that it often drives not only on dry asphalt, but also on wet highways, gravel, or winter slush.
The second task is to visually and functionally close the “empty space” around the arches if the factory contour feels too narrow. But it’s important to separate two things: anti-splash performance and decorative widening. Not every arch trim actually holds back dirt, while properly chosen mud flaps and lower-body protection give a noticeable practical result from the very first drive.
What to upgrade first
The first step is mud flaps with sufficient coverage. They are the most direct way to intercept dirt and stones before everything hits the doors and sills. If the vehicle already has OEM mud flaps but the effect is weak, the reason is often not the idea itself — it’s that after changing tire size or wheel offset, the factory width is no longer enough.
The second must-do step for those who actually drive highways, gravel, or country roads is localized film protection for the lower door edges and the front section of the rear arches. A mud flap reduces the debris stream, but doesn’t eliminate it completely. Film acts as insurance exactly in the areas that get damaged first.
The third step depends on how the vehicle is used. If there are trips onto forest roads, ruts, rocks, or the front wheel frequently hits the sills, then side steps or a more rigid sill protection makes sense. If the vehicle lives mostly in the city, this stage can be postponed.
Upgrade, why it’s needed, who benefits (table)
| Upgrade | Why it’s needed | Who it really benefits |
|---|---|---|
| Extended-coverage mud flaps | Reduce the flow of dirt, water, and small stones onto doors, sills, and arches | Anyone driving in rain, winter, on highways, or on gravel; especially important after changing tires or wheels |
| PPF on the lower doors and arch edges | Takes the small impacts of sand and stones where chips appear fastest | Those who often drive fast on wet highways, crushed stone, or with a full load |
| Side steps or sill protection | Shield the sill from debris and contact with the ground, add physical protection | Those who often go out of town, drive in ruts, go fishing/hunting, or tow a trailer |
| Arch trims | Partly cover the arch edge and visually make the body look more proportional | Those who care about appearance and feel the factory arch looks narrow |
| Door moldings | Protect from minor side contact, but don’t solve the main dirt stream from the wheels | Those who park in tight spaces and want fewer marks from neighboring car doors |
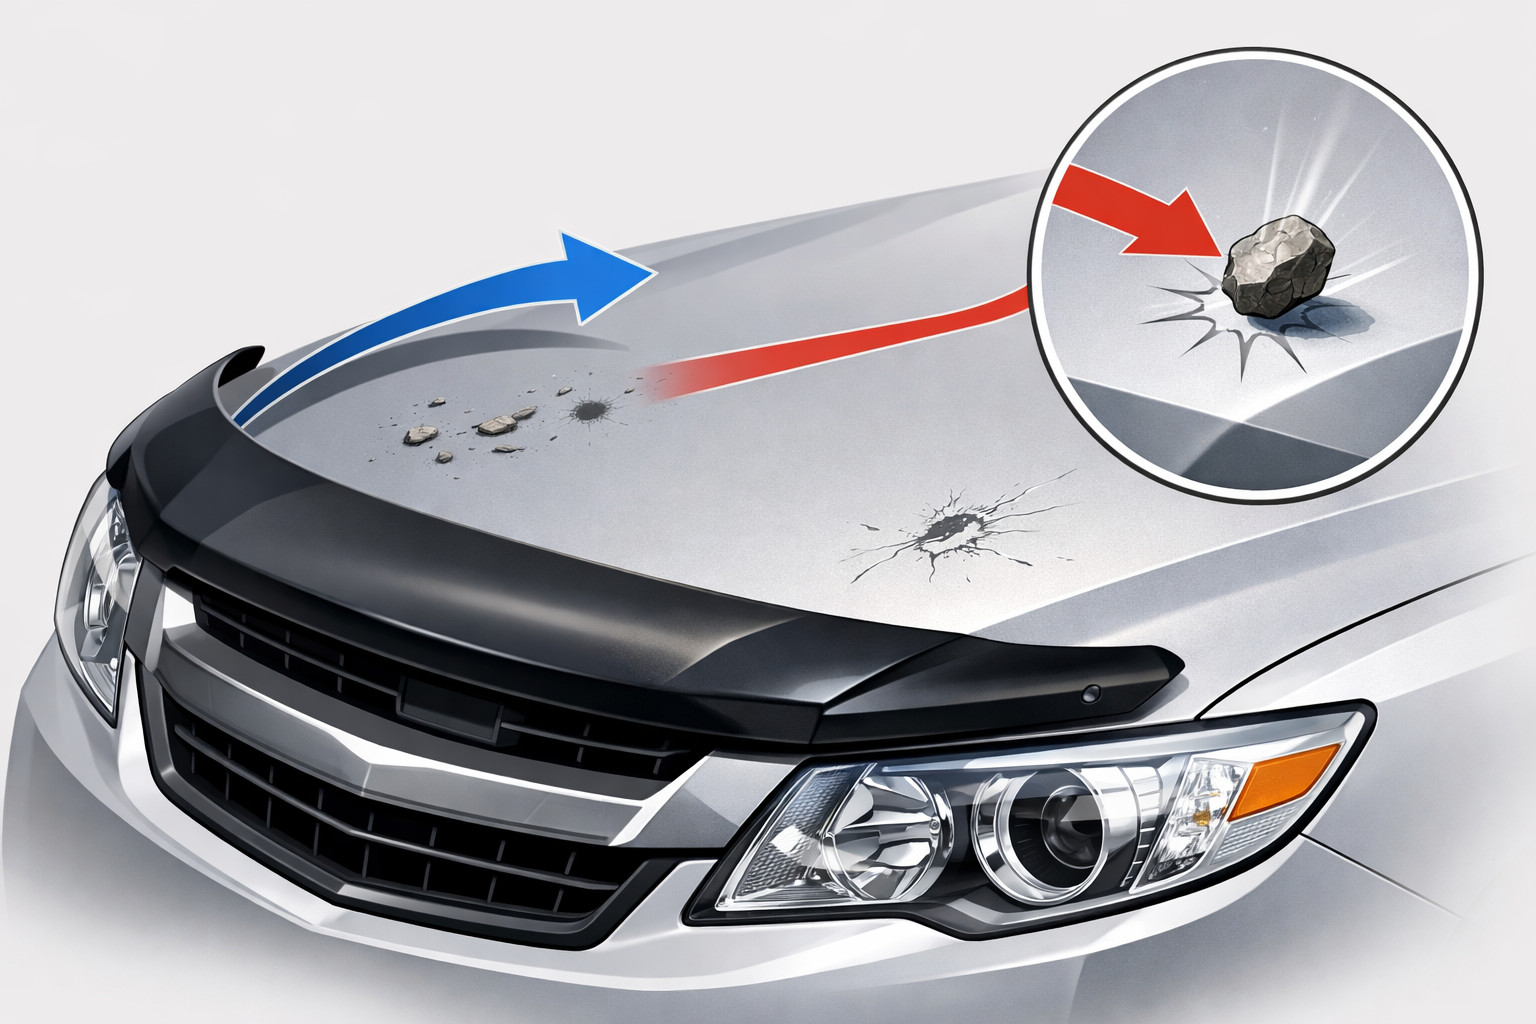
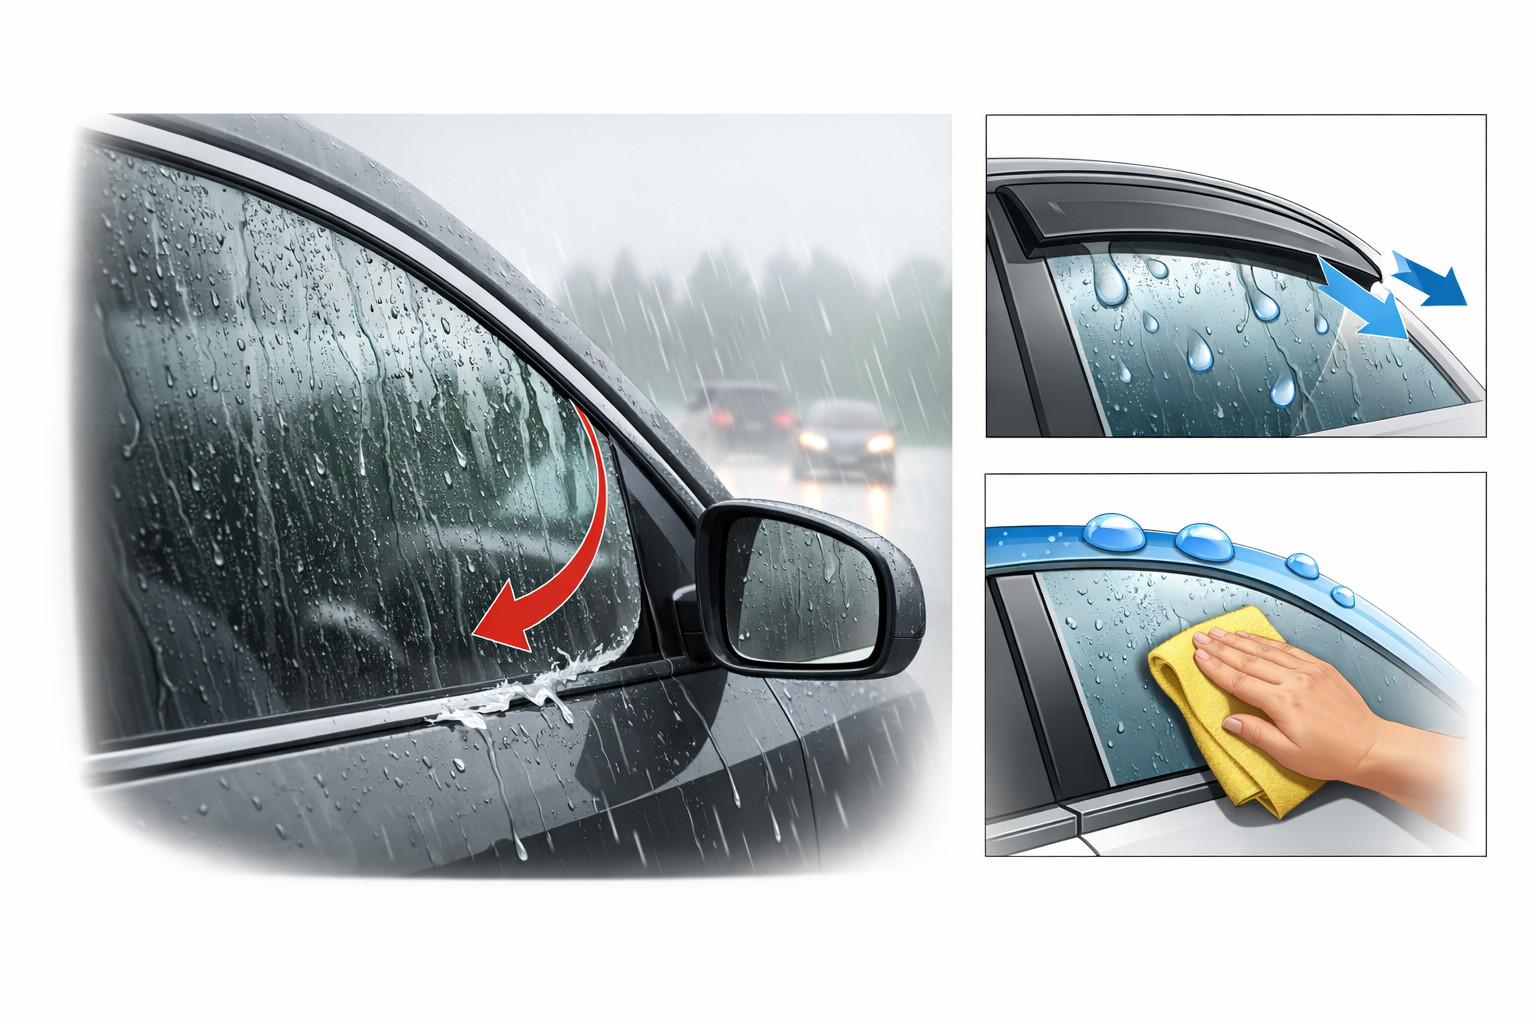
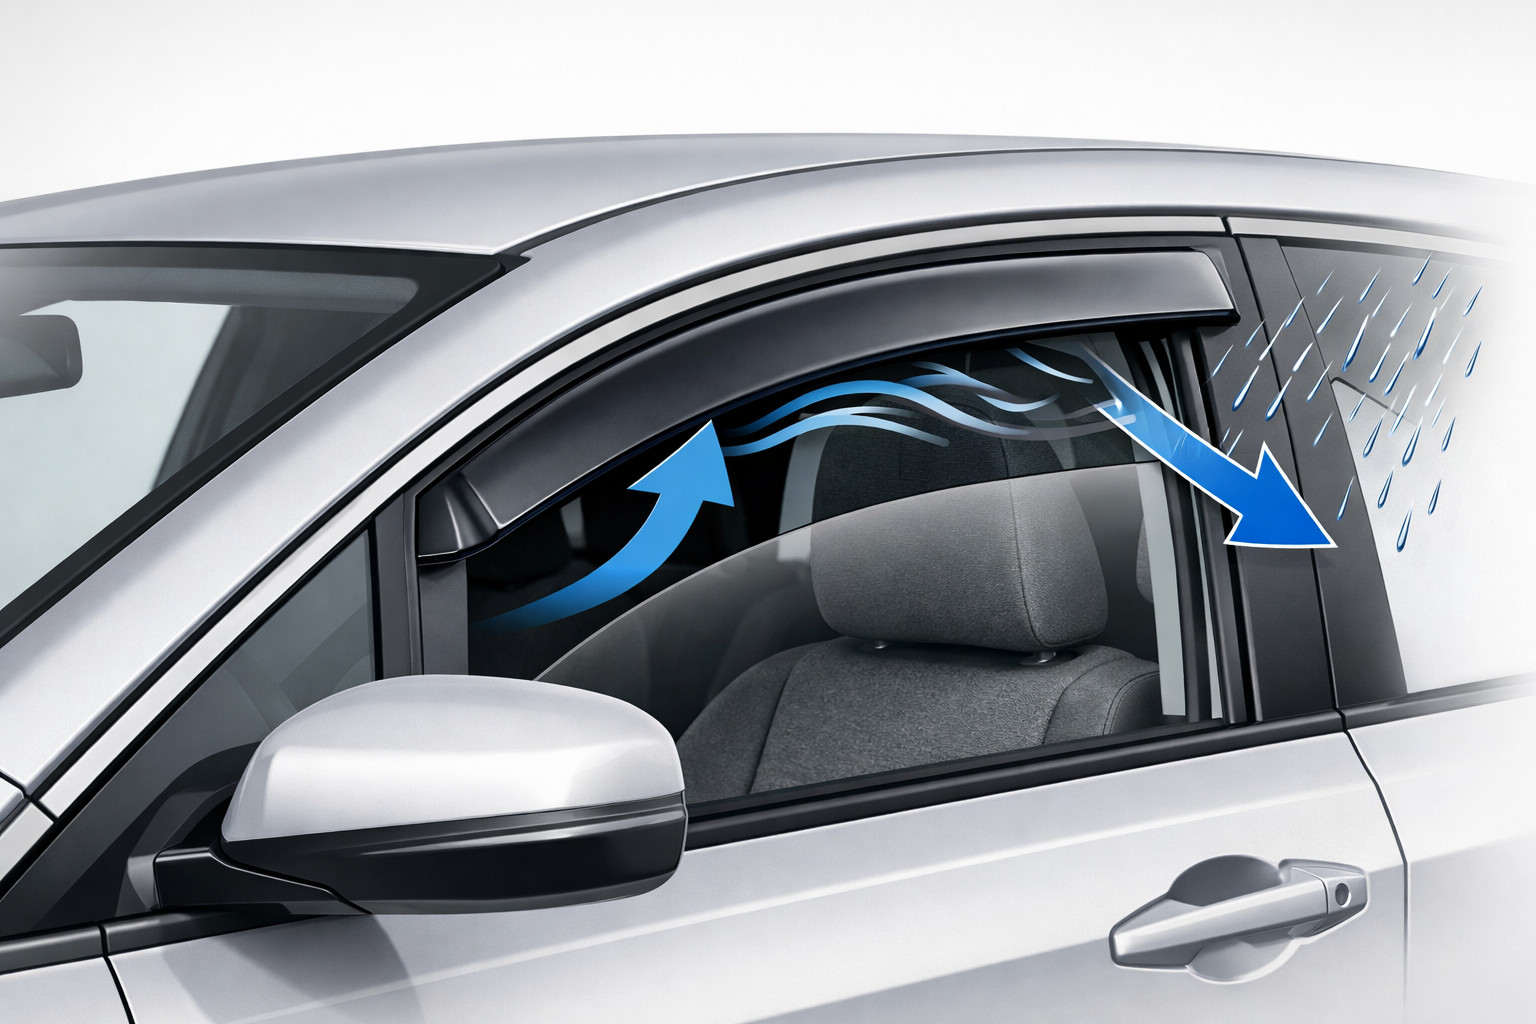
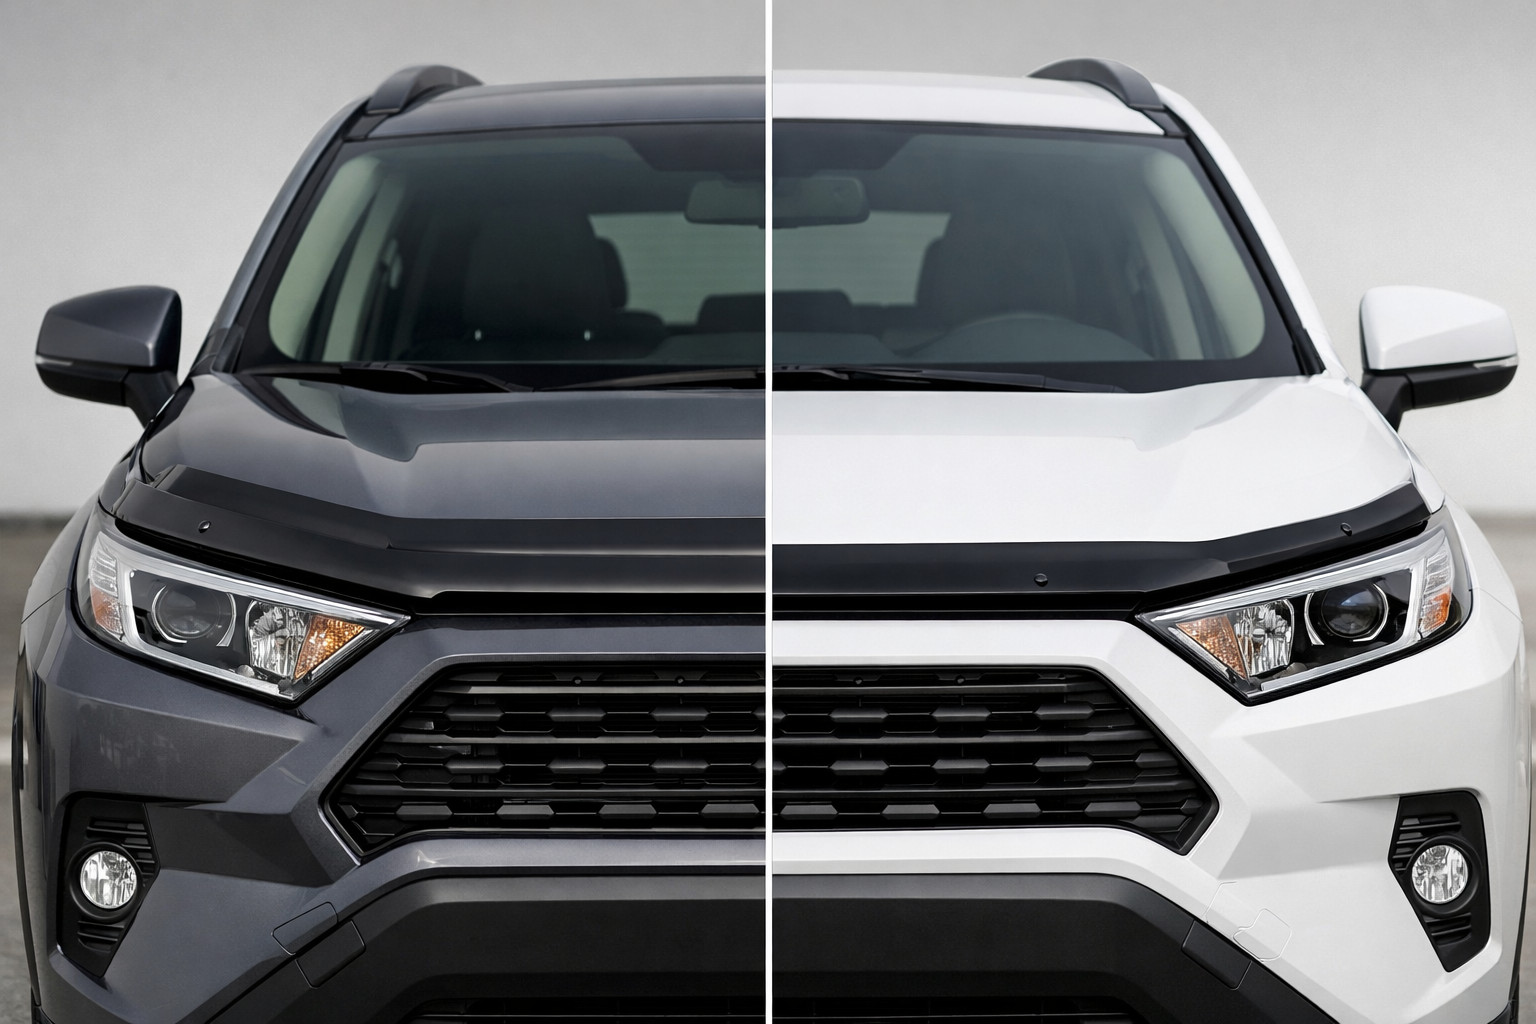
| Hood or window deflectors | Work in a different scenario: partly redirect airflow away from the glass, add convenience in windy weather | Those who are specifically concerned about the glass or ventilation, but not as a solution for dirt on the sides |
What makes sense as a second stage
After mud flaps, it’s logical to move on to protecting the areas that still take hits. The smartest second stage is film on the lower part of the doors, the front section of the rear arch, and the sill area. This isn’t a “nice-to-have” — it’s a way to avoid repainting parts after a couple of seasons of active driving.
If the Prado 250 is used not as an urban SUV but as a working vehicle for trips, towing, or muddy outings, the second stage becomes side steps or other sill protection. They don’t replace mud flaps, but they take the hits from what flies off the wheel below the door line.
DD Tuning expert comment: the most common mistake is installing arch trims first and only then finding out that the doors are still as dirty as before. The second typical story is buying mud flaps without considering tire width and wheel offset: on stock wheels they work fine, but after changing the setup, coverage is no longer enough. If the vehicle is being built for wider tires, you need to factor that in before buying.
What’s more about comfort or appearance
This group includes arch trims, moldings, window deflectors, and a hood deflector. They can be useful, but you shouldn’t expect the same effect as from wide mud flaps. For example, a hood deflector mostly works around the windshield area, while window deflectors are about ventilation and convenience in the rain.
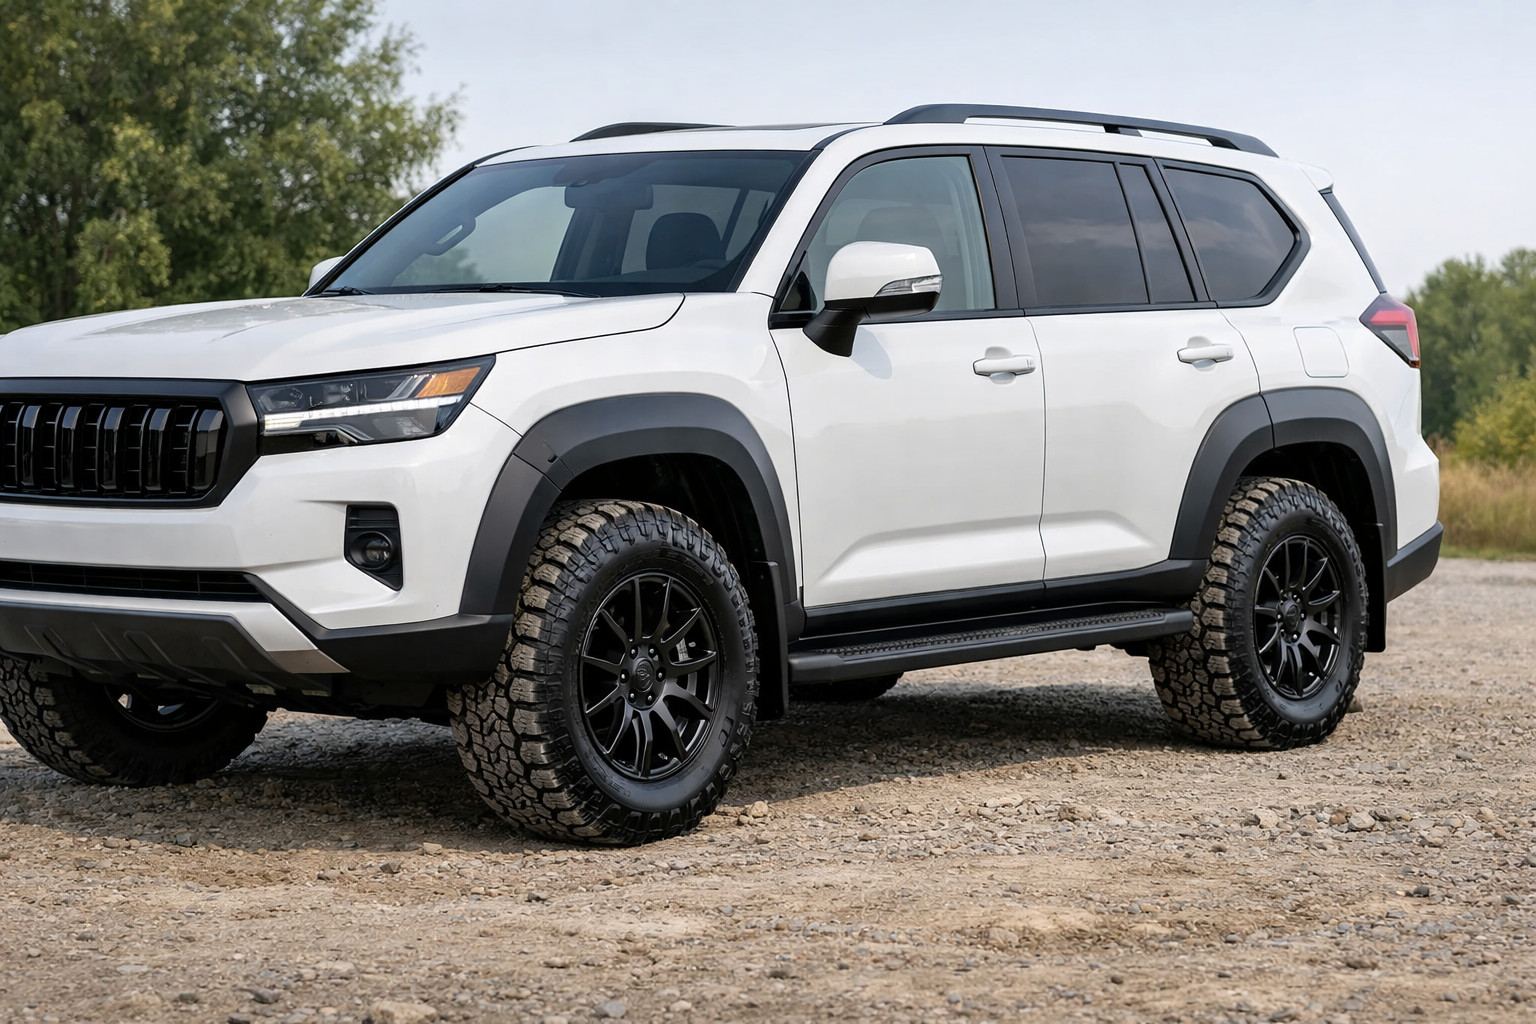
Arch trims make sense in this context if what bothers you is the arch’s visual narrowness or you want a more defined body contour. But as the only anti-splash upgrade, it’s a weak solution. If the wheel throws debris lower and rearward, the arch alone won’t solve the problem.
Door moldings shouldn’t be overestimated either. They can save you from light touches in a parking lot, but they won’t protect against abrasive debris from the wheels. So it’s either a third-stage upgrade or a separate task not directly related to dirt on the sides.
What people often buy for nothing
The most typical unnecessary expense is expensive decorative solutions instead of basic functionality. For example, someone is unhappy with dirty doors, but instead of mud flaps and local protection, buys only arch trims or an exterior styling package. The look changes, but the number of car washes doesn’t go down.
The second mistake is universal mud flaps without understanding fitment. If they require trimming, sit with gaps, or don’t cover the real wheel poke, the effect will be mediocre. On a heavy SUV it shows quickly: the lower part of the doors still keeps catching dirt.
The third story is deep widebody conversions for a task that’s solved much more simply. Feeling like “the arches are narrow” doesn’t mean you need a major rebuild of the body, suspension, and track width. For the scenario “less dirt and a more practical body,” it’s usually overkill.
What to install first, what to postpone, what’s optional (table)
| What to install first | What you can postpone | What is not mandatory |
|---|---|---|
| Mud flaps selected for the actual wheels | Film on the lower door edges if the vehicle is driven mostly in the city | Window deflectors if there’s no separate need for ventilation |
| Checking clearances after changing tires or wheels | Side steps if there are no trips on bad roads | Hood deflector if the only issue is dirt on the sides |
| Local protection for the most vulnerable body areas | Arch trims if it’s purely about practicality, not looks | A full widebody or deep body kit for normal road use |
| Assessing whether increased wheel offset is making the problem worse | Door moldings | Decorative sills without real protection |
A ready upgrade plan for this scenario
- Check what wheels are currently installed: stock or already wider, with a different offset or a taller tire.
- Install or replace mud flaps with a version that provides enough coverage for your specific setup.
- After 1–2 weeks of driving, see where dirt and stones still reach the body: the bottom of the front doors, the area ahead of the rear arch, the sills.
- Cover those spots with localized film protection — not the entire vehicle without a real need.
- If you regularly drive on gravel, dirt, or off-road, add sill protection or side steps.
- If what bothers you is the arch shape itself, not just dirt, only then look at arch trims as a separate visual stage.
- Leave deflectors, moldings, and other small exterior items for last, once the core task is solved.
When it makes sense to go for pricier solutions
Pricier solutions make sense not when you want something “more expensive,” but when the basic set no longer covers your use case. If the Prado 250 runs wider wheels, often sees gravel, winter slush, towing, or regular long trips, it’s worth looking not only at simple mud flaps, but also wider anti-splash solutions and additional sill protection. In that case, the first entry point may be arch trims as a way to better finish the body edge if the stock geometry looks insufficient.
If the focus is practicality rather than styling, it’s more logical to look at mud flaps and solutions for protecting the lower body. For vehicles that actually leave asphalt, the pricier segment also starts to justify itself around the side sills, because it’s no longer only about cleanliness, but also about physical preservation of the sill.
Paying extra starts to make sense when the cheaper option fits poorly, doesn’t cover the wheel width, or quickly shows it was bought “for the picture.” If the vehicle is on stock wheel size and driven mostly in the city, expensive solutions can often be postponed without a real loss of benefit.
From a customer’s experience: a Prado 250 owner came in asking for arch widening because visually the body felt under-protected, and the doors were constantly dirty after highway driving. In the end, the first step focused on mud flaps and lower-body protection, and the arches were left for the second stage. The result worked because dirt on the sides decreased noticeably, and only then it became clear whether further appearance-related upgrades were truly needed.
Conclusion
For the Toyota Land Cruiser Prado 250 in the scenario “annoyed by dirt on the sides and narrow arches,” the right order is: first mud flaps matched to the actual wheels, then protection for the most battered body areas, then side steps or sill protection if the vehicle drives more challenging routes. Arch trims, deflectors, and moldings are second- or third-tier — not the answer to the main problem.
The worst thing you can do here is overpay for appearance and not address the source of the dirt. The best approach is to build the upgrade around real operating conditions, taking into account tires, wheel offset, and road type. This material is based on real selection experience, practical use, and real-world scenarios — not a decorative list of accessories.
How it works
- Check the wheels and offset First, see whether the factory wheel size is installed or whether there is already wider tires with a different offset. A change in wheels is often what makes dirt on the sidewalls more noticeable and affects whether mud flaps will work properly.
- Install mud flaps with sufficient coverage The first practical upgrade is mud flaps matched to the car’s actual setup. They best reduce the flow of water, sand, and small stones onto the doors, sills, and wheel arches.
- Add local protection in vulnerable areas After a few trips, check where dirt and stones are still reaching the body: the lower part of the doors, the rear wheel arch area, the sills. These areas are worth covering with protective film to reduce the risk of chips and damage.
- If needed, reinforce sill protection If the car regularly drives on dirt roads, gravel, or more demanding routes, side steps or sturdier sill protection are appropriate. They do not replace mud flaps, but they do a good job of taking on part of the impacts from dirt and stones.
- Leave wheel arch trims as a separate visual stage If what bothers you is mainly the narrow look of the arches, not just the dirt, you can later consider wheel arch trims. But as the only solution against dirt, they are weak, so there is no point in installing them first.
- Save small exterior accessories for last Deflectors, moldings, and similar elements are better considered after the basic body protection. They can be useful, but they do not solve the main problem of dirt on the sides.
Pros and cons
Mud flaps with sufficient coverage really are the first to reduce mud and stones on the doors, sills, and arches. This is especially useful after changing tires or wheels, when the factory ones no longer block the flow properly.
Local film on the lower part of the doors and the edge of the arches provides practical protection exactly in the places where chips and scuffs appear fastest. It works as insurance after mud flaps, not instead of them.
Side steps or sill protection make sense for driving on dirt roads, ruts, and gravel. They take on part of the impacts and help preserve the sills if the car often goes out of town.
Arch trims can visually remove the feeling of a narrow body contour. For those who are bothered specifically by the look of the arches, this is a separate step that adds a neater profile.
An approach that prioritizes basic protection gives a noticeable effect without a major body overhaul. The article explicitly emphasizes that expensive widebody solutions are often not needed for this scenario.
Arch trims alone do not solve the problem of dirt on the sides. If the wheels actively throw debris back and down, the doors and sills will still get dirty.
Universal mud flaps can work rather poorly if they are chosen without considering tire width and wheel offset. In practice, this means the lower part of the doors will continue to catch dirt.
Door moldings do not protect against the main stream of abrasive material from under the wheels. They are more useful for parking lots and minor contacts than for this task.
More expensive decorative solutions can easily be bought instead of the needed functionality, but the appearance will change without any noticeable reduction in washes. For this scenario, it is an unnecessary expense if the source of the dirt is not addressed.