15.12.2020
655
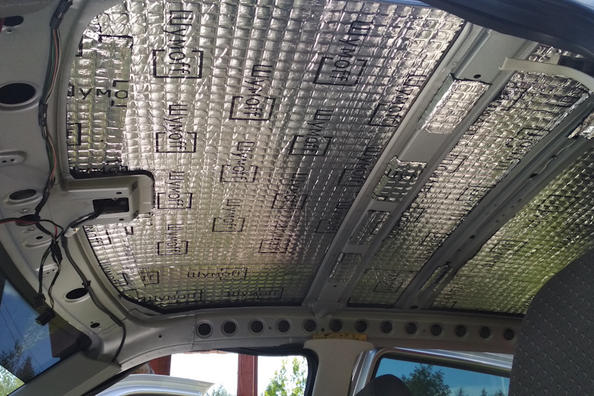
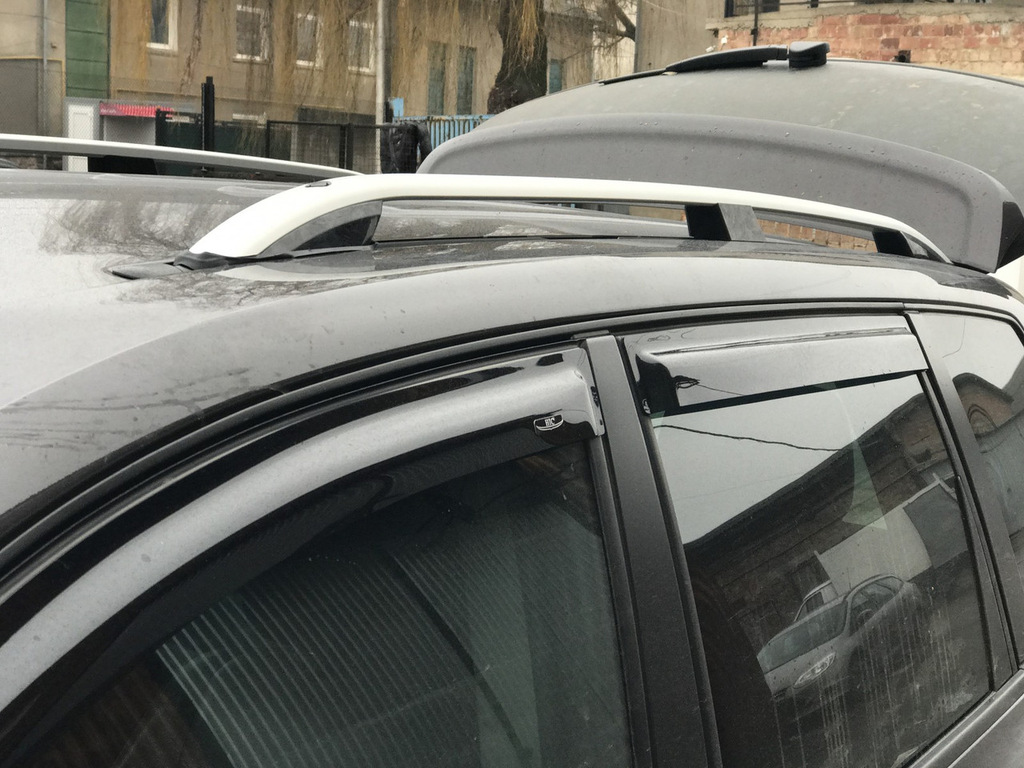
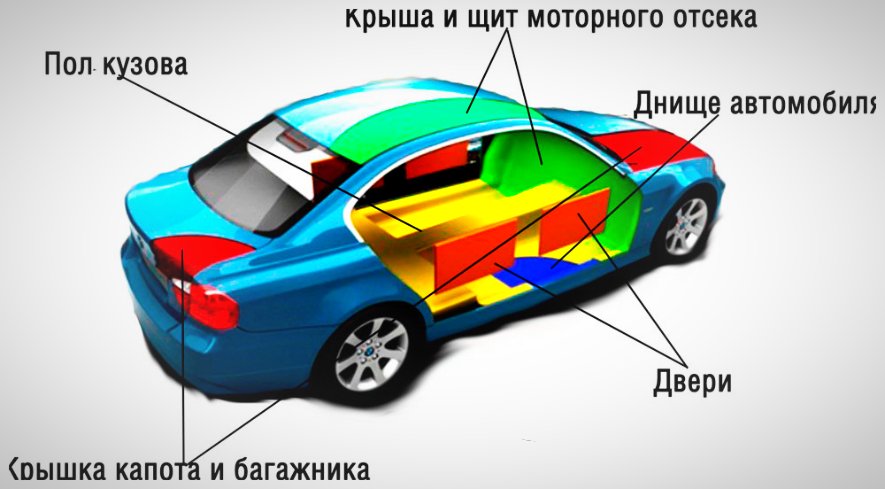
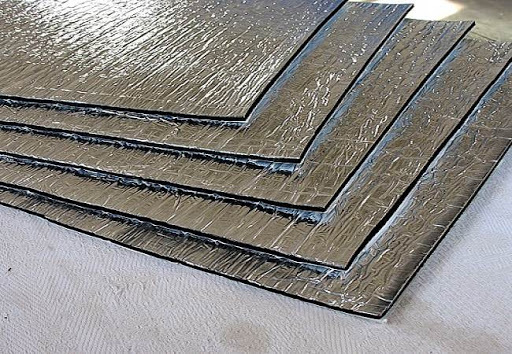
Very often, car companies neglect the soundproofing of the car roof. Although, this is quite a large part of the car body, through which vibrations and noises are transmitted, and the factory lining does not carry such a function. Therefore, we suggest that you familiarize yourself with the main stages of soundproofing the roof with your own hands. If you are interested in car soundproofing accessories, then you can find our range at the link .
This list lists the tools you will need for this job:
So, the whole process of installing Shumka on the roof of a car is quite simple and you can do it yourself:
As you can see, the work of soundproofing the roof of a car with your own hands is quite doable. In return, you can save money and get not only sound insulation of the vehicle, but also thermal insulation, which will make your car more comfortable.
Shipping to EU
Wholesale and retail
Own warehouse
Опис продукту
Подарунки не надаються при оформленні покупки у кредит під 0,01% або при покупці частинами.