

































































 Author: Radomskyi Maksym Vasyliovych
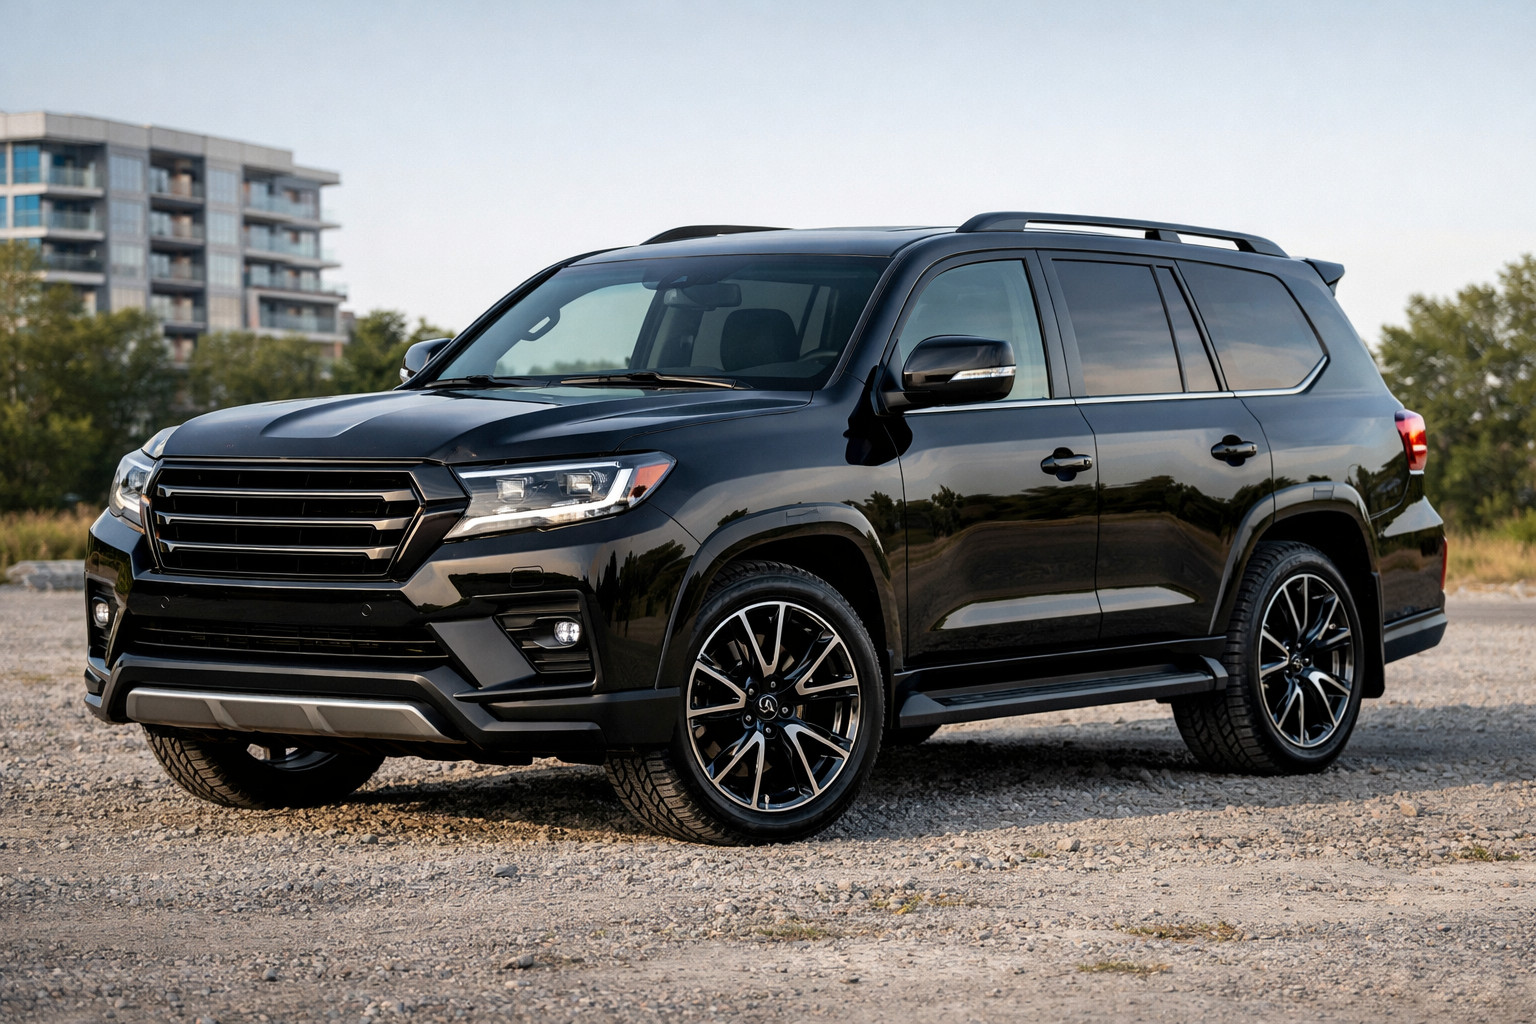
This upgrade plan is for a Toyota Land Cruiser 200 owner who wants the truck to look noticeably fresher, but without random decorative add-ons. In short: what works best isn’t one small part, but a cohesive scenario — either a 2016+ facelift look or an LC300-style conversion, depending on the model year, budget, and how deep you’re ready to go with body changes.
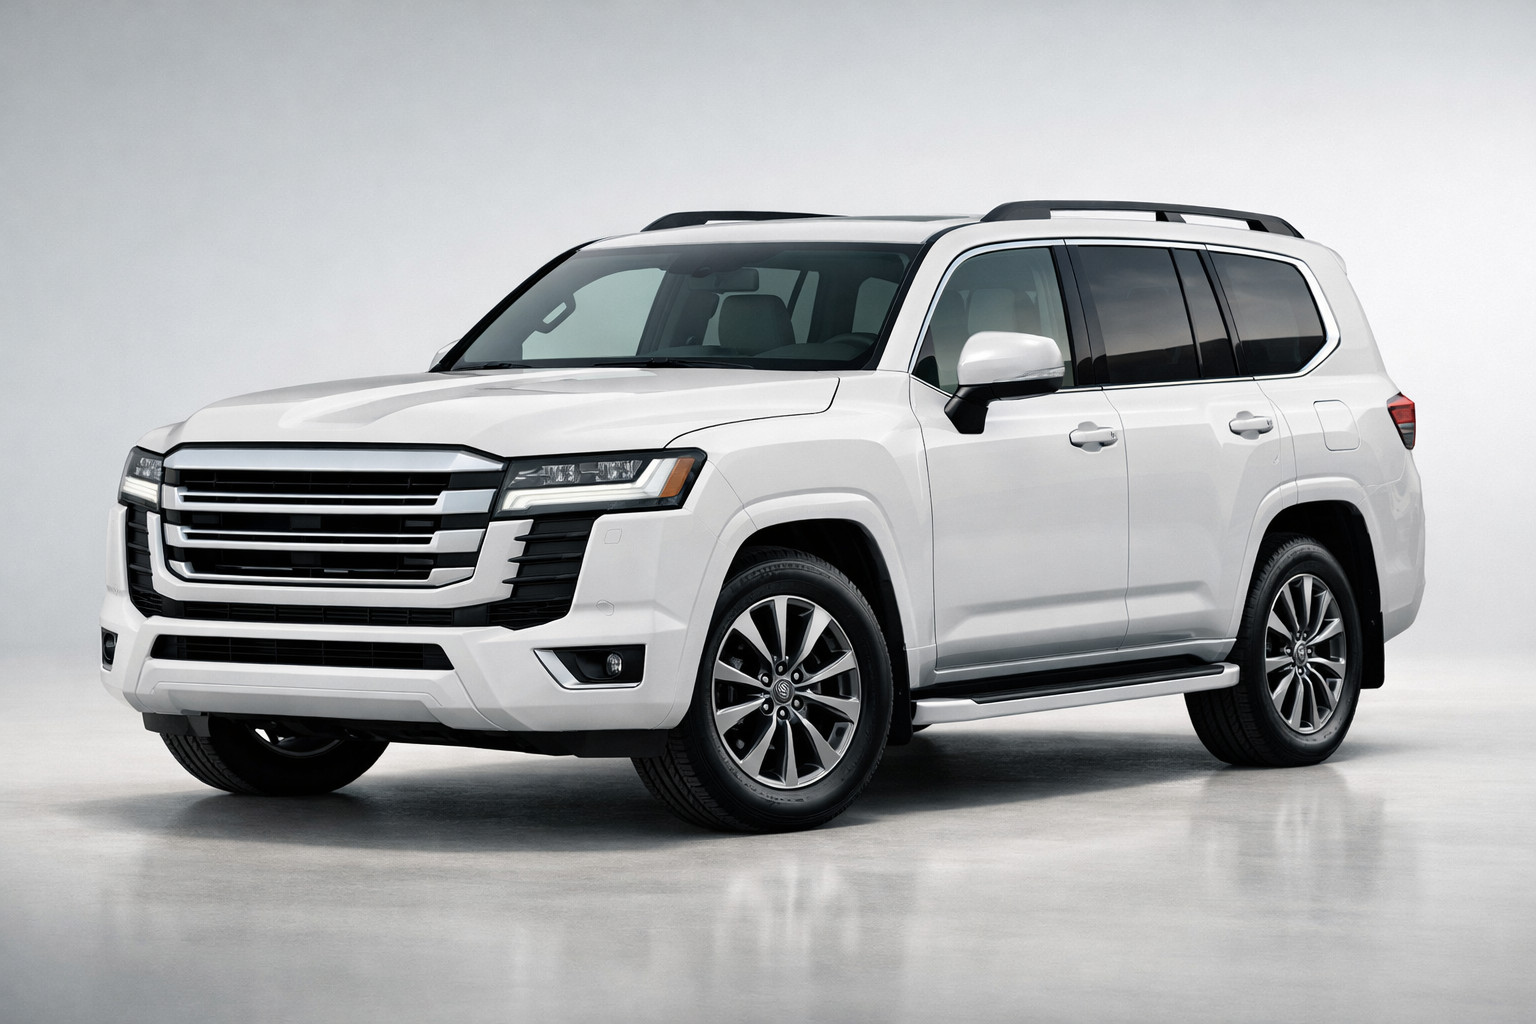
On the Land Cruiser 200, age shows most in the front end: an overloaded amount of chrome and a mismatch between the shape of the headlights, grille, and bumper. So the right approach here is: first assemble a coordinated “face” kit, then bring the side and rear up to the same level, and leave purely decorative pieces for last. For early production years, it’s important to check the kit contents right away: sometimes you need not only a bumper and headlights, but also a hood, fenders, tailgate, and mounting hardware.
What this upgrade should accomplish
The main goal of this upgrade isn’t just to “decorate” the LC200, but to remove the feeling of an outdated design. That means after the work, the vehicle should look newer from any angle, not only in front-facing photos.
For a city vehicle, it makes sense to focus on a newer front end, dark accents instead of excessive chrome, and a clean rear look. For a vehicle that regularly sees dirt roads, snow, and trips off pavement, the goal is slightly different: refresh the appearance, but don’t ruin the geometry with low-hanging decorative elements.
What to upgrade first
Top priority is the front end: front bumper, grille, headlights with DRLs, and the fog-light area. This is what changes perception the most and delivers that “newer body” effect. If the budget is limited, it’s better to complete a full first-stage front end than to spread money across small trim pieces.
The second step within that same first stage is to remove the excess shiny chrome that pulls the LC200 back into an older style. But black mirrors, a dark grille, or moldings only make sense when the front end itself is already assembled logically. On early vehicles, before ordering, you must confirm the year and body version: sometimes without the hood, fenders, and mounting parts, you won’t get a proper result.
Upgrade, why it’s needed, who benefits (table)
| Upgrade | Why it’s needed | Who truly benefits |
|---|---|---|
| Front kit: bumper, grille, headlights, DRLs, fog-light area | Delivers the main rejuvenation effect and removes the “old front end” impression | Anyone who wants a newer look, especially LC200 owners up to 2016 |
| Hood, fenders, mounts, other body parts as required by the kit | Ensure correct geometry and fitment, without misalignment and gaps | Owners of early model years and those doing a deeper facelift |
| Dark accents: mirrors, grille, part of the moldings | Remove excess chrome and bring the look closer to a newer factory style | Those who want a restrained result rather than a showy one |
| Rear lights and the upper tailgate area | Complete the look so the vehicle isn’t “new only from the front” | Those who want a cohesive effect, not a half-finished upgrade |
| Side steps | Tighten up the side profile and can add entry convenience | City vehicles and those who genuinely need a step for entry |
| Low decorative lips and massive lower body kits | Mostly work for visuals, not for real-world benefit | Only for those who almost never leave the pavement and knowingly sacrifice practicality |
DD Tuning expert comment: On the LC200, the most common mistake is this: people buy headlights separately or a grille separately and expect that to be enough for a new look. In practice, the bumper, hood, and lighting lines are tightly linked here, so a partial set often looks unfinished. The second typical mistake is saving money on optics: it might look fine from the outside, but in terms of beam quality, mounts, and fitment, a cheap solution quickly becomes annoying.
What makes sense to add as a second stage
In the second stage, it makes sense to add items that don’t create the style from scratch, but reinforce the front end you’ve already done. These include dark mirror caps, individual black accents around the body, side steps, and, if needed, rear lights. These things work best when the basic visual logic is already there.
If you want the closest possible resemblance to a newer model, the rear is often what becomes decisive. The front creates the first impression, and the rear delivers the sense of completeness. That’s why rear lights and related parts are better as a second stage, not as a replacement for the first.
What’s more about comfort or appearance
Side steps, some side trim, and individual decorative elements are more about convenience or emphasizing style than about truly rejuvenating the LC200. They can make the vehicle look more put together in the details, but they won’t deliver the same effect as a properly redone front end.
It’s easy to overpay for looks here. If the vehicle is used daily, it’s better to choose parts that don’t make the body look visually heavier and don’t reduce practicality. For an off-road scenario, any low-hanging lower elements should be filtered out immediately.
What people often buy for nothing
Most often, people waste money on what seems like a cheap entry into a facelift: a grille without the bumper, headlights without matching the front-end shape, excessive chrome delete without an overall concept. The money is spent, but the vehicle remains patchy: the front looks newer, while the sides and rear look old.
Another typical mistake is chasing the cheapest lighting elements purely for appearance. If the light output is weak, the mounts are flimsy, and the plastic fitment varies, you end up paying twice. In the end, a more expensive but more complete kit often turns out cheaper once you add up all the rework.
What to install first, what to postpone, what’s optional (table)
| What to install first | What can be postponed | What isn’t mandatory |
|---|---|---|
|
|
|
The logic is simple: first, what truly changes the look; then what reinforces it; and only at the end, the small stuff without which the vehicle won’t be worse. This way there’s less chance of overpaying for marketing junk.
A ready upgrade plan for this scenario
- Decide on the target look: a restrained 2016+ facelift or a deeper LC300 style.
- Verify your model year and the required set of body parts so you don’t buy a “half kit.”
- As the first stage, assemble the front end: bumper, grille, headlights, DRLs, fog-light area, and for early vehicles also the hood, fenders, and mounts if needed.
- Immediately budget for paint and installation, because this is where the result will be either neat or makeshift.
- After the front end, add dark accents and mirrors if you want a less chromed, newer look.
- As a third step, decide whether you need to finish the rear: rear lights, tailgate, or other related elements.
- Separately, filter out anything that eats practicality: low “skirts,” random decorative inserts, and questionable cheap optics.
When it makes sense to choose more expensive solutions
A more expensive option is justified when you want not just to “touch up” the LC200, but to genuinely move it into a newer visual class. This is especially relevant for early vehicles, where changes affect not only the front fascia but also part of the body panels and mounts. In such a scenario, a full kit is usually more logical than a set of separate purchases.
If you want maximum effect, it’s worth looking at the full LC300-style kit. If you want to first evaluate all available directions, visit the facelift kits section. And if you’re planning a softer scenario and building the front end step by step, it’s useful to browse front headlights, but only as part of a coordinated kit, not as a standalone magic pill.
Budget-wise, the difference is noticeable: a simpler transition to the 2016+ style costs significantly less than a deep LC300 kit, but in both cases you still need to add paint and labor. If clean fitment without misalignment matters, it’s better to pay upfront for a more complete and clearer scenario rather than chasing the result by buying small add-ons later. Separately check whether the chosen optics are compatible and whether there will be any issues with their use in your region.
From a customer’s experience: The owner of an early LC200 initially wanted to limit the upgrade to a grille and headlights to save money. After verifying the body compatibility, he abandoned the fragmented scenario and did a full first-stage front end, postponing dark accents and the rear end for later. As a result, the vehicle immediately started to look fresher, without the feeling of an unfinished facelift and without unnecessary spending on random parts.
Conclusion
If you want a newer visual style for the Toyota Land Cruiser 200, you should start not with small decor, but with a cohesive front end. Then come dark accents, side steps, and the rear, if you need a complete look. Everything else is either postponed or not mandatory at all.
The smartest approach here is to build upgrades by priority: first what truly rejuvenates the vehicle, then what reinforces the result, and only after that decorative items. This material is based on real selection experience, hands-on practice, and real-use scenarios, so the main advice is simple: don’t buy individual flashy parts if they don’t form a logical, compatible kit.
How it works
- Define the target style First decide which look you want: the restrained 2016+ facelift or the more aggressive LC300 style. This determines how extensive the body changes will be and which parts kit you need.
- Check the car’s year and the kit contents Match your model year with the requirements of the chosen scenario. For early LC200s, you often need not only the bumper and headlights, but also the hood, fenders, mounts, and other body components.
- Assemble the front end first Start with the front bumper, grille, headlights, DRLs, and the fog-light area. This section is what most refreshes the car and removes the feeling of an outdated design.
- Plan for painting and installation right away Do not plan to buy parts without the work involved. A neat result here depends on fitting, painting, and proper installation; otherwise even a good kit will look unfinished.
- Add dark accents and finish the rear After the front end, you can move on to dark mirrors, black accents, and, if needed, side skirts. If you want a cohesive effect, add taillights and other rear elements as the second stage.
- Cut out the unnecessary and low-profile items Do not spend money on random add-ons, separate cheap optics, or low decorative lips. They do not deliver the same effect as a matched kit and can harm the car’s practicality.
Pros and cons
A full front-end kit — bumper, grille, headlights, DRLs, and the fog light area — does the most to freshen up the LC200 and really removes the feeling of an old front end. If the budget is limited, this stage gives the most noticeable result.
For early production years, the article separately notes that a hood, fenders, and mounting hardware may sometimes be needed. This is useful because it lets you set the correct geometry right away and avoid misalignment and poor gaps.
Dark accents instead of excess chrome help shift the car to a newer, more restrained style. This approach looks appropriate for a daily driver and does not overload the exterior with decorative elements.
Rear lights and related rear-end elements complete the look so the vehicle does not appear new only at the front. This makes the upgrade feel cohesive from any angle.
Side skirts can be practical for a city car, as they add convenience when getting in and at the same time improve the side view. For those who need to finish the side profile, this is a clear second stage.
A separate grille, separate headlights, or other partial purchases often do not give a complete result. Because of the connection between the bumper, hood, and lights, the car can look fragmented rather than refreshed.
On early LC200s, it is easy to get the kit contents wrong and buy a “half-kit.” Without checking the year and body version, you may end up having to buy a hood, fenders, or mounting hardware separately, which increases costs.
Low decorative lips, bulky lower body kits, and similar elements work more for appearance than for function. For a car that goes onto dirt roads or snow, they also reduce practicality.
Cheap lighting may save money upfront, but later it creates problems with the lights, mounting points, and fitment. In the end, it often costs more than choosing a fuller, compatible kit right away.