
































































 Author: Radomskyi Maksym Vasyliovych
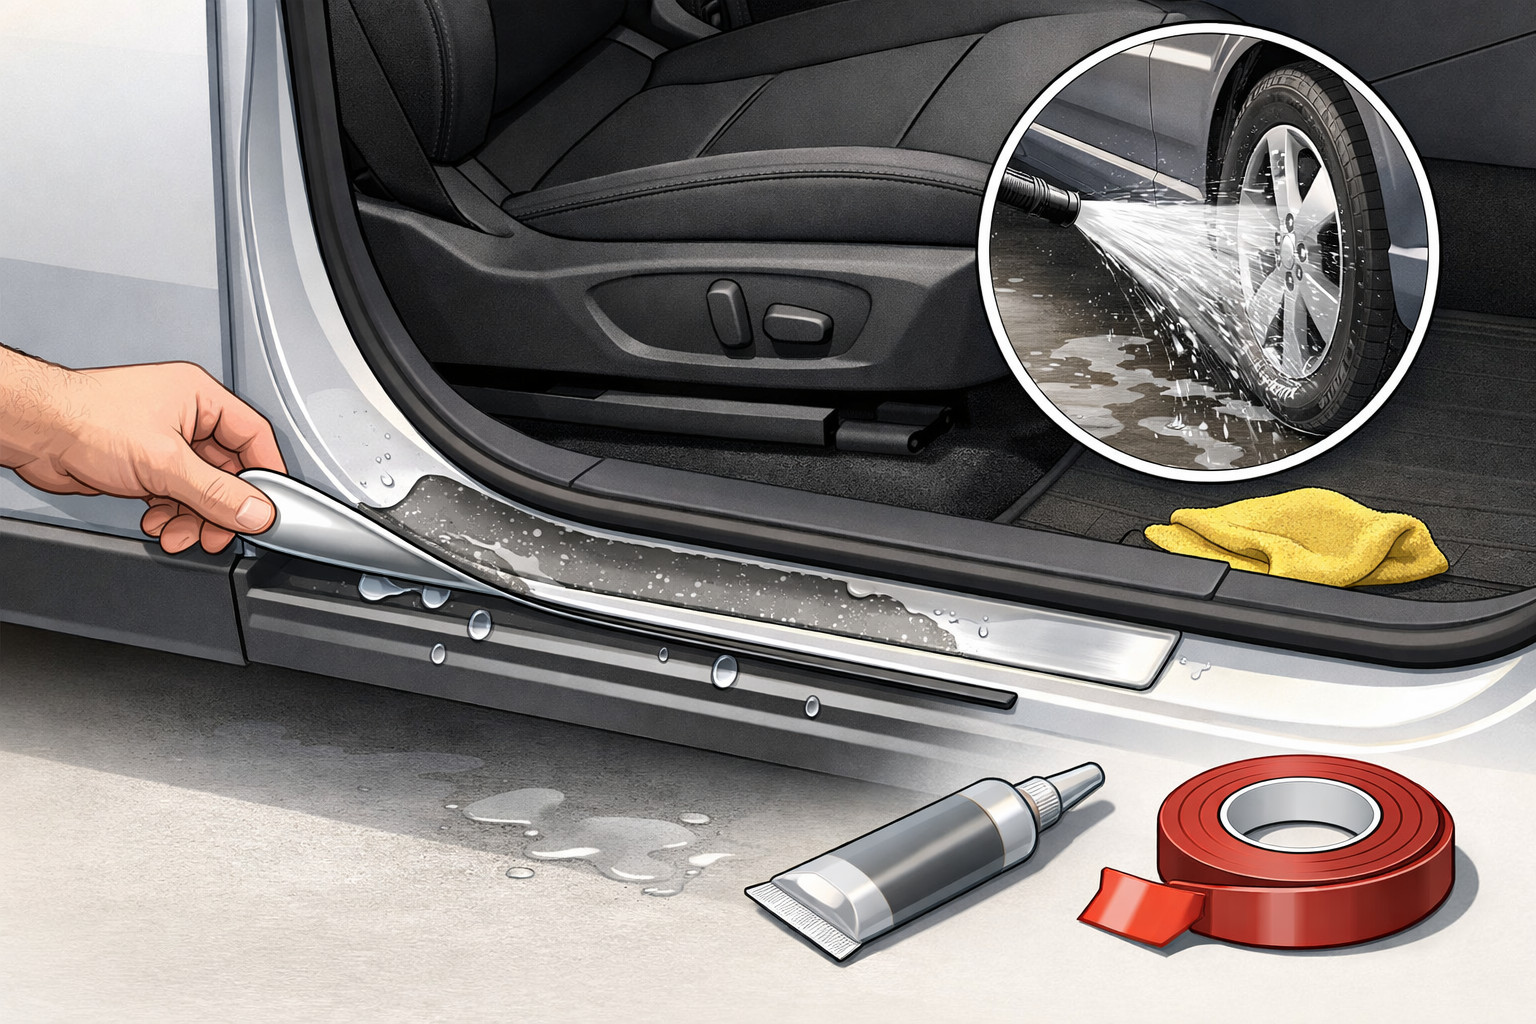
If door sill scuff plates start peeling after a wash, the problem is almost never the water itself, but the fact that the adhesive layer already had weak adhesion. High-pressure washing, cold weather, condensation, wax on the bodywork, or old tape simply reveal this defect quickly. That’s why pressing a wet edge back down isn’t a repair—it’s just a short pause until the next wash.
A workable approach is different: first understand the cause, then either properly re-bond the part onto a dry, warm surface, or don’t waste money on adhesive where the issue is the scuff plate’s geometry or broken clips.
Why this problem happens
An adhesive-backed trim piece doesn’t hold because of some “magic” glue, but because the tape makes full contact with a clean, dry, flat surface. If there’s dust under the tape, silicone residue after polishing, leftover wax, moisture, or air pockets, the edge becomes vulnerable. After that, a water jet along the edge is enough for the trim to start lifting.
The situation gets worse in cold seasons. Condensation forms more easily on cool metal or plastic, and the tape itself “flows” and conforms worse during installation. And if the scuff plate is held not only by tape but also by clips, the wash simply exposes mechanical play that adhesive can’t compensate for.
Main causes
- Dirty or chemically treated surface. Wax, silicone, old adhesive residue, and even a thin film of shampoo drastically reduce adhesion.
- Installation on a cold or wet body. If it was stuck on at low temperature or in a damp garage, micro-moisture often remains under the tape.
- Old or reused tape. After being peeled off, it no longer provides the same strength, even if it still looks fine.
- Incorrect fit/shape. If the scuff plate doesn’t touch the sill with its full area and only contacts at the edges, water will eventually get under the lip.
- Broken clips or deformation of the part itself. In this case the trim moves, and no local re-gluing will hold for long.
How to understand the cause in your specific case
- Look at where exactly the scuff plate is lifting. If only one edge lifts after a high-pressure wash, the cause is often poor surface prep or insufficient pressure during installation.
- Check what’s left on the body and on the part. If the old tape remains in pieces on the sill, the problem may be in the scuff plate itself or its shape. If the tape comes off together with the part, dirt, moisture, or an old base layer is often to blame.
- Carefully press along the entire length. Play, creaking, or movement indicates clips or deformation, not just the adhesive.
- Recall the installation conditions. If the scuff plate was installed in the cold, right after washing, without curing time, or the car was washed the next day, the cause is almost obvious.
- Do a dry test fit without the adhesive layer. If the part doesn’t sit evenly and you can see a gap, re-gluing without replacement often makes no sense.
DD Tuning expert comment: The most common mistake is sticking new tape over old residue or onto bodywork after wax and a quick wash. The second typical issue is installing in cool conditions, when the surface looks dry but has condensation. If the scuff plate has play or sits crooked, adhesive will only delay the next peel.
Symptoms, causes, and what to do (table)
| Symptom | Likely cause | What to do |
|---|---|---|
| Only the front or rear edge lifts | Water got under a poorly rolled-down edge; the surface wasn’t perfectly clean | Remove the part, remove old tape, degrease, re-bond with strong pressure from the center to the edges |
| The scuff plate lifts along almost the entire length | Old or reused tape; installation in the cold | Don’t try to save the old adhesive layer—use new automotive tape in a warm, dry area |
| The part wobbles after pressing | Broken clips or deformed mounting points | Check mechanical fixation points; replace clips or the scuff plate if needed |
| The edge peeled right after the first wash | The car was washed before the adhesive gained strength | After reinstallation, keep it wash-free for 24–72 hours depending on the type of scuff plate |
| The scuff plate doesn’t sit tight even before bonding | Poor geometry or a warped part | Don’t waste money on local re-gluing—replace the element with one that fits the shape |
| After re-bonding, the issue returns quickly | Old adhesive residue wasn’t removed; improper surface preparation | Repeat installation with full cleaning, drying, and, if needed, an adhesion promoter |
What actually helps
- Full removal of the old adhesive layer. A partial fix works worse than a full re-bond.
- Cleaning and degreasing. You need a dry surface without wax, silicone, dust, or remnants of old tape.
- Warm installation. A practically safe range for this work is roughly +15 to +35°C.
- Pre-fit check. First, position the scuff plate without removing the liner and make sure it sits evenly.
- Strong, even pressure. Press along the entire length, especially the edges; ideally work from the center to the sides.
- A wash-free pause. After installation, don’t go straight to a car wash or blast the edges with a jet.
If the plastic is difficult to bond or the part is constantly under load, an adhesion promoter can help. But it doesn’t replace cleaning, the right temperature, and proper pressure.
What almost doesn’t work or helps only briefly
- Just pressing the wet edge back down. Moisture and dirt are already under the tape, so it will peel again.
- Dabbing only the corner with a universal glue. This often holds until the next temperature swing or wash.
- Sticking over old tape. The new layer doesn’t like an uneven, contaminated base.
- Overheating the part. Excessive heat can deform the scuff plate or ruin the decorative layer.
- Reusing tape that has already been torn off. Adhesion drops noticeably after removal.
When accessories or replacing parts makes sense
If the old scuff plate is warped, has a fatigued base, shows shoe impacts, or has cracked mounting points, re-bonding will only give a short-lived effect. In that case it’s more logical to replace the element right away rather than spend time on adhesive that fights the symptom, not the cause.
If the issue is not only on the sills but also in constant-contact areas during entry or loading, it’s worth protecting vulnerable spots systematically:
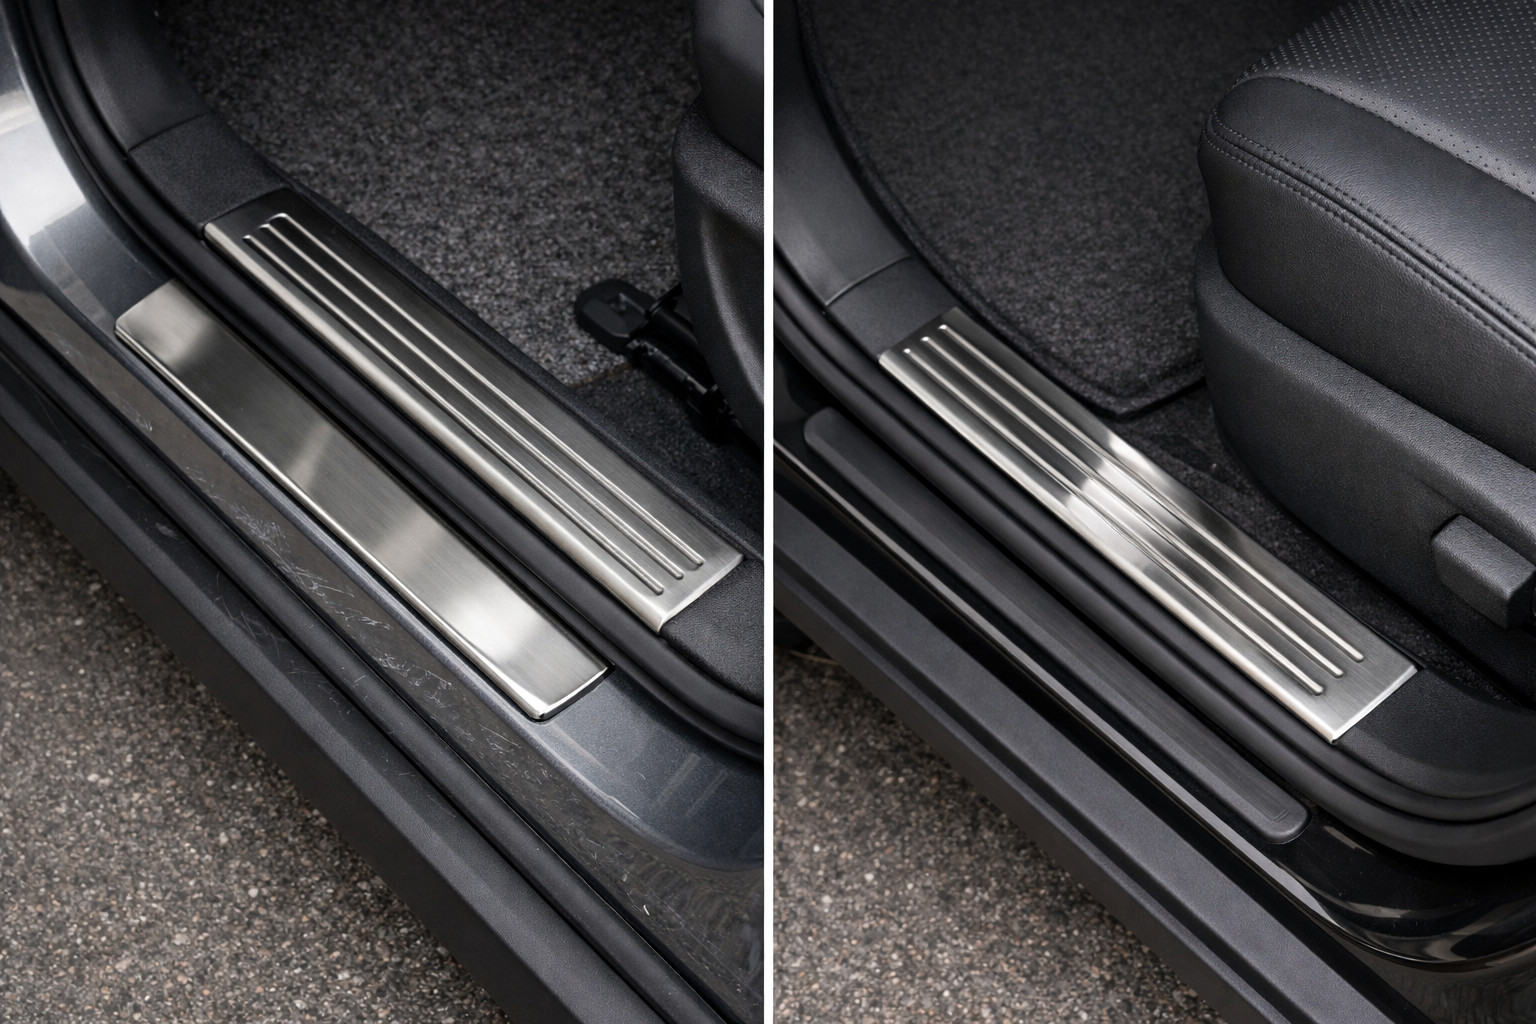
- door sill scuff plates — when the old part is deformed or you need to re-cover an area where shoes constantly rub;
- plastic door sill scuff plates — when you need practical protection for daily use without excessive sensitivity to minor scratches;
- rear bumper protectors — if there are scratches on the trunk opening edge as well, and it makes sense to protect both working areas.
Solutions: when they work and when it’s not worth spending money (table)
| Solution | When it works | When it’s not worth spending money |
|---|---|---|
| Full re-bonding with new automotive tape | When the scuff plate is straight, intact, and the issue is only the old adhesive layer | When the part is warped or doesn’t match the shape |
| Adhesion promoter | When the surface is difficult to bond and everything else is done correctly | When dirt, wax, moisture, or old tape hasn’t been removed |
| Replacing clips | When the scuff plate has mechanical play or is held with a combination of fasteners | When the part is attached only with tape and there are no clips by design |
| Replacing the scuff plate itself | When there’s deformation, cracking, misalignment, or a fatigued base | When the old part is straight and the cause is clearly poor installation |
| Local re-gluing of one corner | Sometimes as a temporary measure until a full repair | When you need a proper long-lasting result after washing |
| Heating and re-pressing without removal | Only if the edge has barely lifted and no dirt has gotten underneath yet | When the scuff plate has already lifted before, water got inside, or the tape is old |
From a customer’s experience: After a winter car wash, a crossover’s front edge of the door sill scuff plate started to peel, and the owner first looked for simply a “stronger glue.” During selection it turned out the part had been installed on a cold body and the car was washed the next day. After a full re-bond with new tape, proper degreasing, and a wash-free pause, the problem did not return.
Conclusion
If a door sill scuff plate peels after a wash, the right logic is simple: don’t press on the symptom—remove the cause. In most cases, what works isn’t “stronger glue,” but proper surface preparation, new tape, warm installation, strong pressure, and curing time without washing.
But when the part is crooked, worn, or has clip issues, it’s cheaper in time and nerves to replace the element right away. This material is based on real selection experience, hands-on practice, and real use scenarios—where the difference is made not by glue marketing, but by the correct installation method.
How it works
- Check exactly what is peeling off Inspect the edge of the trim after washing: if only one side is lifting, the issue is most likely with surface preparation or insufficient pressure during installation. If the part is wobbling or has play, first check the clips and fitment, not just the adhesive.
- Assess the condition of the surface and old tape Remove the trim and check whether there is wax, silicone, dust, old adhesive residue, or moisture on the body. If the tape was already used or the residue lies unevenly, spot re-bonding will not give a lasting result.
- Prepare the installation area Fully clean and degrease the sill and the trim itself, then dry the surface. It is better to carry out the installation in a warm, dry room, approximately from +15 to +35°C.
- Test-fit the trim before bonding Place the part without removing the protective backing and make sure it sits evenly without gaps or misalignment. If the shape does not match or there is deformation, re-bonding will only postpone the problem from happening again.
- Reapply with new tape and press firmly Remove the old adhesive layer, apply new automotive tape, and press the part along its entire length, especially along the edges. If the surface is complex, you can use an adhesion promoter, but it does not replace cleaning and dry installation.
- Allow the adhesive to cure After installation, do not wash the car right away and do not direct a strong stream of water at the trim edges. The no-wash period should be 24–72 hours depending on the type of part, otherwise the peeling may happen again.