26.03.2026
197
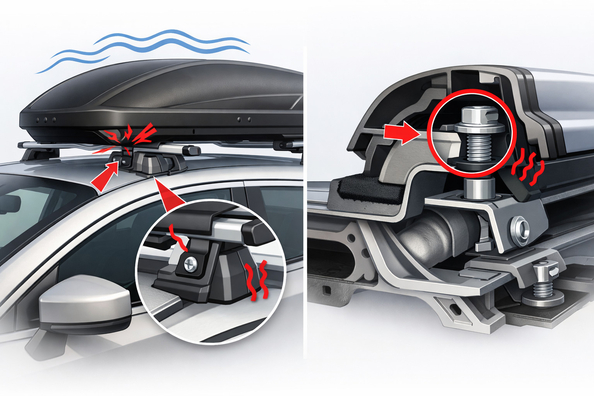
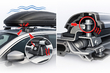
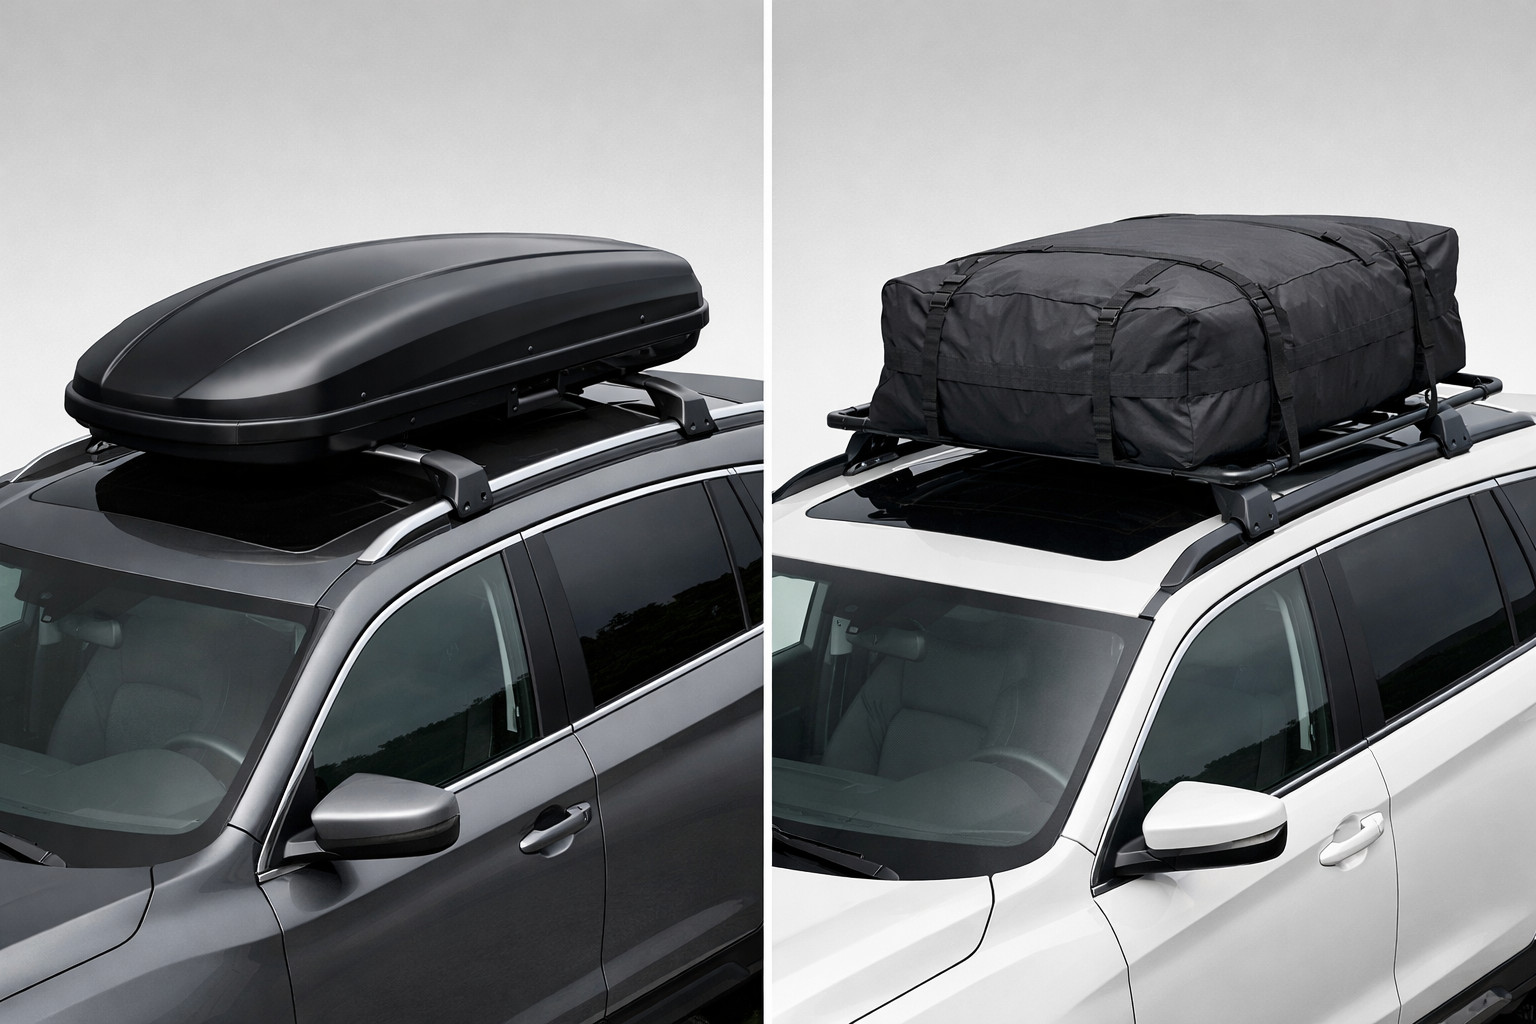
Vibration of a roof rack system almost always comes down to three things: play in the mounts, an installation mistake, or aerodynamic resonance at a certain speed. If the noise appeared after installing crossbars, a roof box, or a fairing, the weak point is usually found through a step-by-step check rather than by “guessing.”
The practical approach is simple: first separate noise from the system itself from body noise, then check the fasteners, the orientation of the parts, and the load. This is most often how you figure out why a roof rack system vibrates—and avoid spending money on unnecessary parts. If you need a basic check of the components, it’s convenient to start with rails and roof racks.
Vibration occurs when a part of the rack system enters an oscillation mode from airflow or from micro-play in the fastening. At low speeds it can be almost unnoticeable, but on the highway it turns into buzzing, humming, or a noticeable shaking of the crossbars and roof box.
Most often the issue isn’t one “bad” part, but a combination of small deviations: a crossbar isn’t positioned right, a clamp isn’t tightened enough, a fairing catches airflow at the wrong angle, and dirt or ice finishes off the balance. That’s why the weak point should be found not by sound, but by a verification checklist.
Start with a simple test: remove one external component at a time and repeat a short drive at the same speed. If the noise disappears after removing a crossbar, fairing, or roof box, the source is almost certainly in that assembly—not in the suspension or cabin.
Next, check the installation with no load: are the crossbars aligned to the marks, are the mounts tightened evenly, is there any play in plastic and rubber inserts. Separately inspect the covers, spacers, and roof contact points—this is where the weak point often sits and isn’t visible without disassembly.
If the vibration issue appears only at a certain speed, it looks like resonance. If the noise is always present and gets worse on bumps or with temperature changes, mechanical play or an under-tightened mount is more often to blame.
| Symptom | Likely cause | What to do |
|---|---|---|
| Humming or whistling on the highway | Crossbars aren’t aligned to the marks or are oriented incorrectly | Check orientation, set according to the instructions, run a repeat test |
| Ringing or rattling over small vibrations | Play in covers, spacers, rubber inserts | Inspect joints, tighten or replace the worn element |
| Vibration appears after installing a roof box | Incorrect distance between crossbars or weak clamp tightening | Check spacing, compatibility, and tightening torque |
| Noise only at a certain speed | Aerodynamic resonance | Change fairing position, height, angle, or the load layout |
| Noise after rain, snow, or a car wash | Ice, water, dirt in the assemblies | Clean seating points, dry, recheck |
| Noise doesn’t go away after tightening | Issue in an adjacent body element or kit incompatibility | Check rail covers, feet, spacers, compatibility with the specific vehicle |
Step-by-step diagnosis works best: remove the extra parts, check with no load, tighten fasteners to the recommended torque, and test again on the same stretch of road. This approach quickly shows which part is the noise source.
Aerodynamic solutions are also effective: crossbars with the right profile, fairings, correct spacing between elements, and clean installation geometry. For practical use, simple basics matter too: at least 700 mm between the front and rear crossbars unless the instructions specify otherwise, and a speed not higher than recommended for the specific system.
If the manufacturer specifies a tightening torque, it must be followed. For example, some bulletins mention values like 2.7 N·m for clamps or 8 N·m for fairing bolts, but you can’t apply these numbers to other systems without the instructions for your exact kit.
It’s pointless to just “tighten everything harder.” Over-tightening doesn’t remove the cause and often only deforms plastic, worsens the fit, or masks play until the first pothole.
DIY shims, drilling, bending metal, or wrapping tape where an insert replacement or readjustment is needed are also weak fixes. They may mute the sound for a day or two, but they won’t stabilize the system.
And don’t rely on randomly changing the load without checking the installation. If the source is in the mount or crossbar orientation, a different weight will only slightly shift the resonance frequency, not eliminate the defect.
Accessories make sense when the problem is aerodynamic or when a specific part is already worn. If the noise comes from airflow shape, fairings, better-profile crossbars, or more correct spacing between supports can help. If the source is a single insert, cover, or spacer, replacing just that part is enough.
Sometimes the problem isn’t the tightening force at all, but kit-to-body compatibility. For certain vehicles, bulletins explicitly show that you have to change a spacer or reinstall the assembly due to roof geometry. In other words, an accessory or new part is needed only when the current configuration can’t maintain a stable fit.
If you want to choose the right components without unnecessary experiments, first verify compatibility and basic geometry on the rails and roof racks page, and only then decide whether you need a fairing, a different set of crossbars, or replacement of one mounting piece.
| Solution | When it works | When it’s not worth spending money |
|---|---|---|
| Tighten mounts to spec | There is real play or incorrect tightening torque | When the cause is incorrect geometry or worn parts |
| Reinstall crossbars aligned to the marks | Crossbars are rotated or shifted | When the system is already installed correctly and the noise comes from another assembly |
| Replace an insert, cover, spacer | The noise is localized in one joint | When the source is the aerodynamics of the whole structure |
| Fairing or aero-profile crossbars | The problem appears at speed and depends on airflow | When there is mechanical play that must be eliminated first |
| Replace the entire kit | There is a compatibility error or several assemblies are worn at once | When it’s enough to replace one part or adjust the installation |
| DIY modifications | Almost never a proper solution | When you need a reliable, repeatable result |
If a roof rack system vibrates, in 80% of cases you’re not looking for a “mysterious failure,” but for specific play, an installation mistake, or speed-related resonance. The most effective path is to remove elements one by one, check the marks, tightening torque, distance between crossbars, and the cleanliness of seating points.
The practical verdict is this: diagnostics and adjustment first, then replace only the part where the weak point is found. A full kit replacement makes sense only when the system doesn’t match the body or several assemblies are already worn. Everything else is either temporary masking or unnecessary expense.
Shipping to EU
Wholesale and retail
Own warehouse
Опис продукту
Подарунки не надаються при оформленні покупки у кредит під 0,01% або при покупці частинами.