

































































 Author: Radomskyi Maksym Vasyliovych
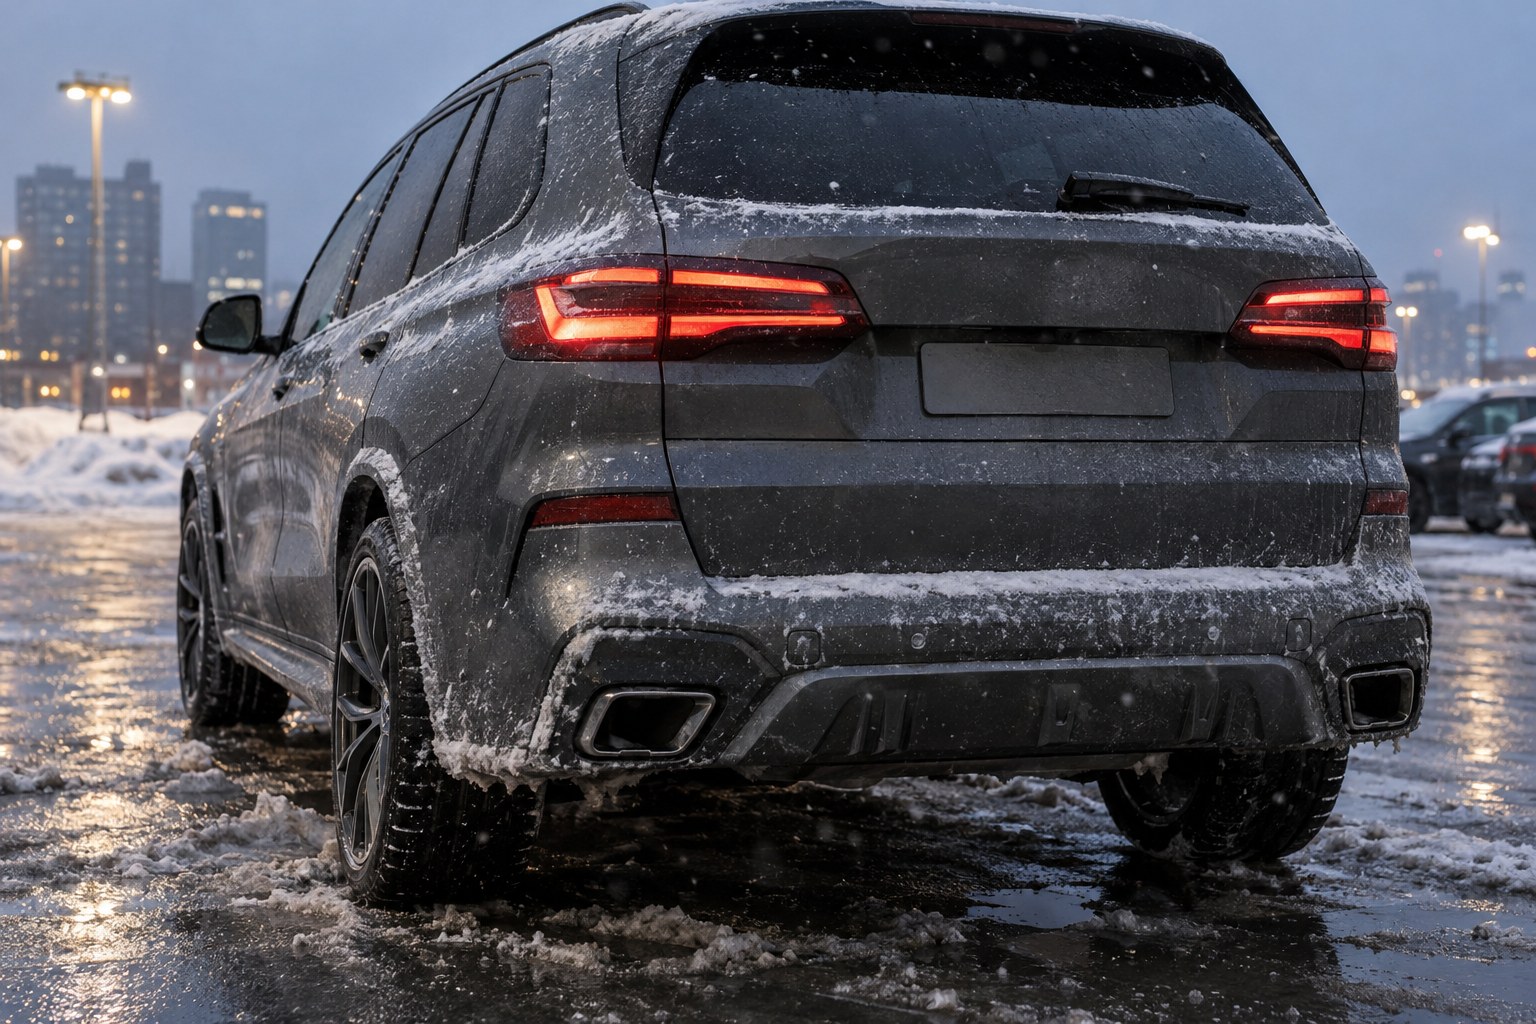
In winter, parking sensors most often “beep” with no obstacle or switch off not because of a new bumper, but because of snow, ice, water, and a salt film on the sensors themselves: manufacturers state directly in their manuals that a sensor covered with snow or ice works incorrectly and returns to normal after cleaning. But an AMG- or M-style bumper adds its own risks: the sensor may sit at a different angle, get an extra layer of paint, or end up seated in a hole that was only marked. Below is what to check before painting, how to transfer the sensors, and how to care for them during the season of road chemicals.
Contents
- Why parking sensors beep for no reason in winter or switch off
- What changes for sensors after installing a tuning bumper
- Whether the bumper has holes for the sensors and whether the sensors fit
- How to paint the bumper and sensors so they work
- How to care for sensors during the season of snow and road chemicals
- What to check after transferring the sensors
Why parking sensors beep for no reason in winter or switch off
A typical parking sensor is ultrasonic: the sensor diaphragm sends a pulse and listens for the reflected signal. Anything that settles on the diaphragm changes that signal. Hyundai’s manual for the Parking Distance Warning system lists the following among the causes of malfunctions: moisture frozen on the sensor; snow or water on its surface; heavy rain or splashes; water running down the sensor; high-pressure washing aimed directly at the sensor or around it. It also says that after removing snow or dirt, the system works normally again. Kia states the same in its manuals and adds that snow absorbs ultrasound, so a snowdrift behind the car may simply be “invisible” to the sensor.
Hence the first winter rule: if the system beeps in an empty spot or a blocked sensor message appears on the dashboard, first clean the sensors and only then look for a fault. If the problem remains after cleaning, manufacturers recommend having it checked at a service center.
What changes for sensors after installing a tuning bumper
The same Hyundai manual explicitly lists a change in bumper height or a change in the installation of ultrasonic sensors, as well as accessories attached near the sensors, among the causes of incorrect operation. That means any new bumper—even one that fits perfectly—creates new geometry for the parking system: a different surface shape, a different hole height, a different angle the sensor faces.
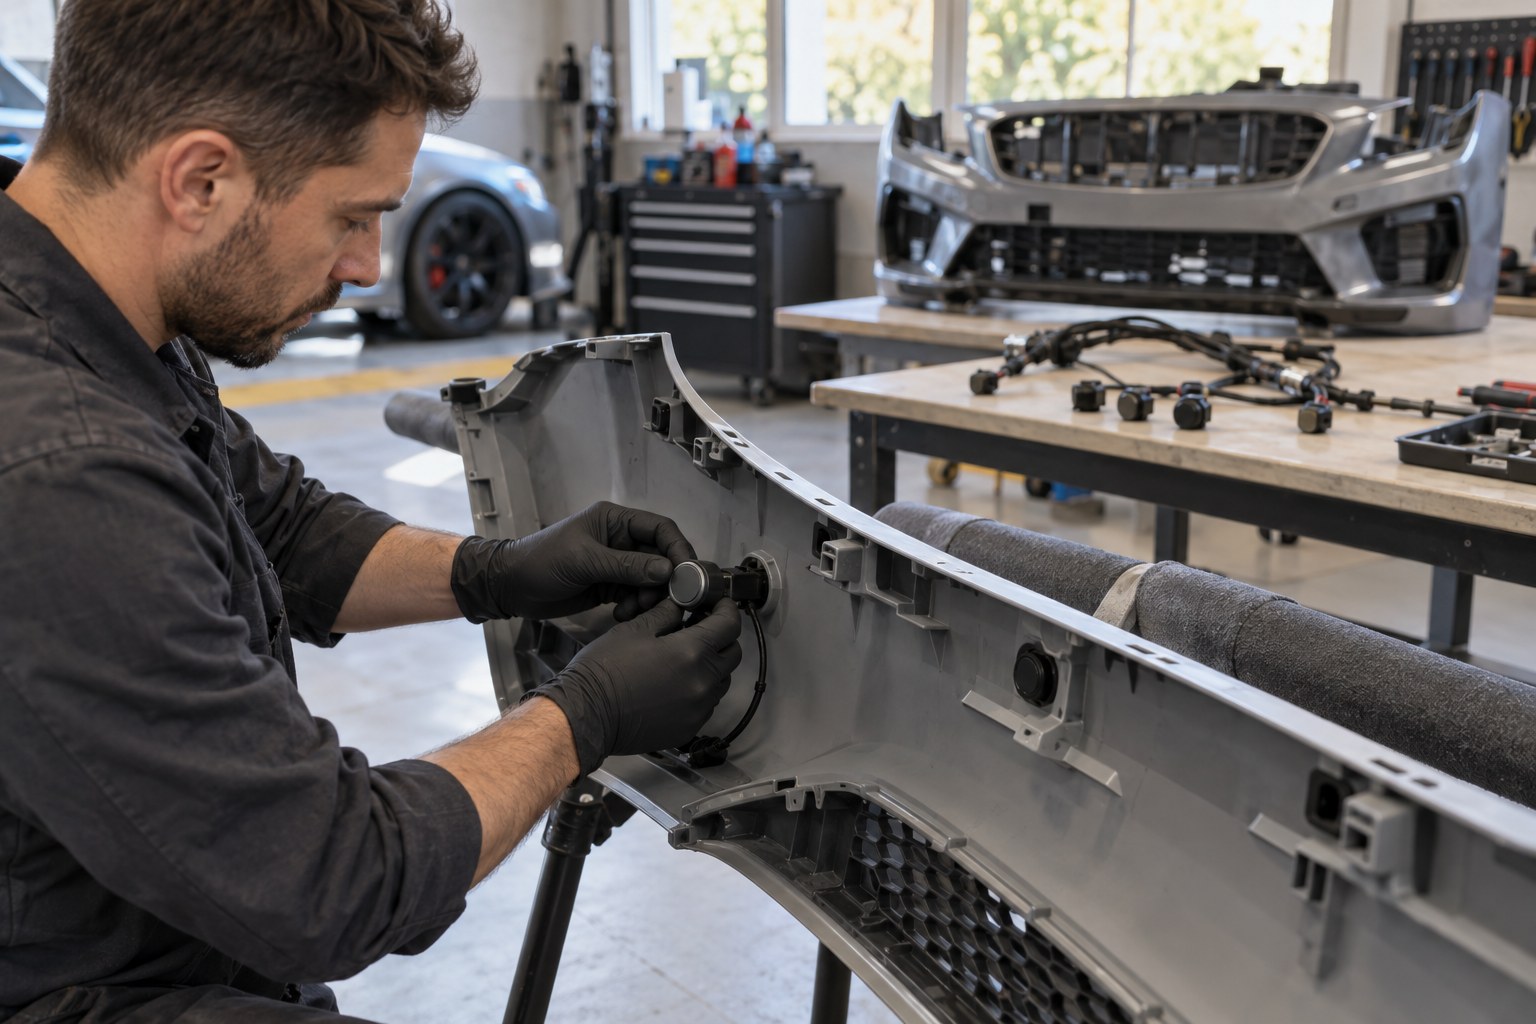
In practice, in winter it shows up like this: a sensor that sits slightly lower or “looks” toward the ground more often catches reflections from slushy snow on the asphalt and from a snowbank by the curb. So the key when transferring is to mount each sensor in its holder so it sits in the same position and at the same angle as in the factory bumper, and is not blocked by the lower lip, grille, or trim.
As with any winter work involving a bumper, installation and painting should be done only in a warm, dry помещение; details on primer, paint, and clearcoat temperatures are in the article “Can you paint and install body kits in autumn and winter”.
Whether the bumper has holes for the sensors and whether the sensors fit
This is the most common question about tuning bumpers, and the answer depends on the specific part. The general rule is: parking sensors are not included in bumpers and facelift kits; they are transferred from the OEM bumper. But the sensor locations come in three states: already cut out, only marked on the inside, or absent—then the holes are made during installation.
Here is what is stated directly on the product pages of several popular kits and bumpers in our catalog:
| Product | What the product page says about sensors |
|---|---|
| BMW X5 G05 — facelift kit to X5M F95 LCI | OEM parking sensors are transferred into the cutouts provided in the new bumpers; surround-view cameras are transferred as well |
| BMW X5 F15 — M-Sport body kit set | Parking sensors are transferred from the OEM bumpers; the mounting locations are visible in the photos |
| BMW 7 G11/G12 — facelift kit to M760 2021 | Sensors are not included; the new bumpers have holes provided; OEM sensors are transferred |
| Mercedes E W213 — facelift kit to W214 AMG E53 | The rear bumper shows locations for sensors; before painting, check whether the holes are cut out or only marked |
| BMW X3 G01 — front bumper in X3M F97 style (2022–2024) | Parking sensors, wiring, and headlight washer nozzles are transferred from the OEM bumper — they are not included with the bumper |
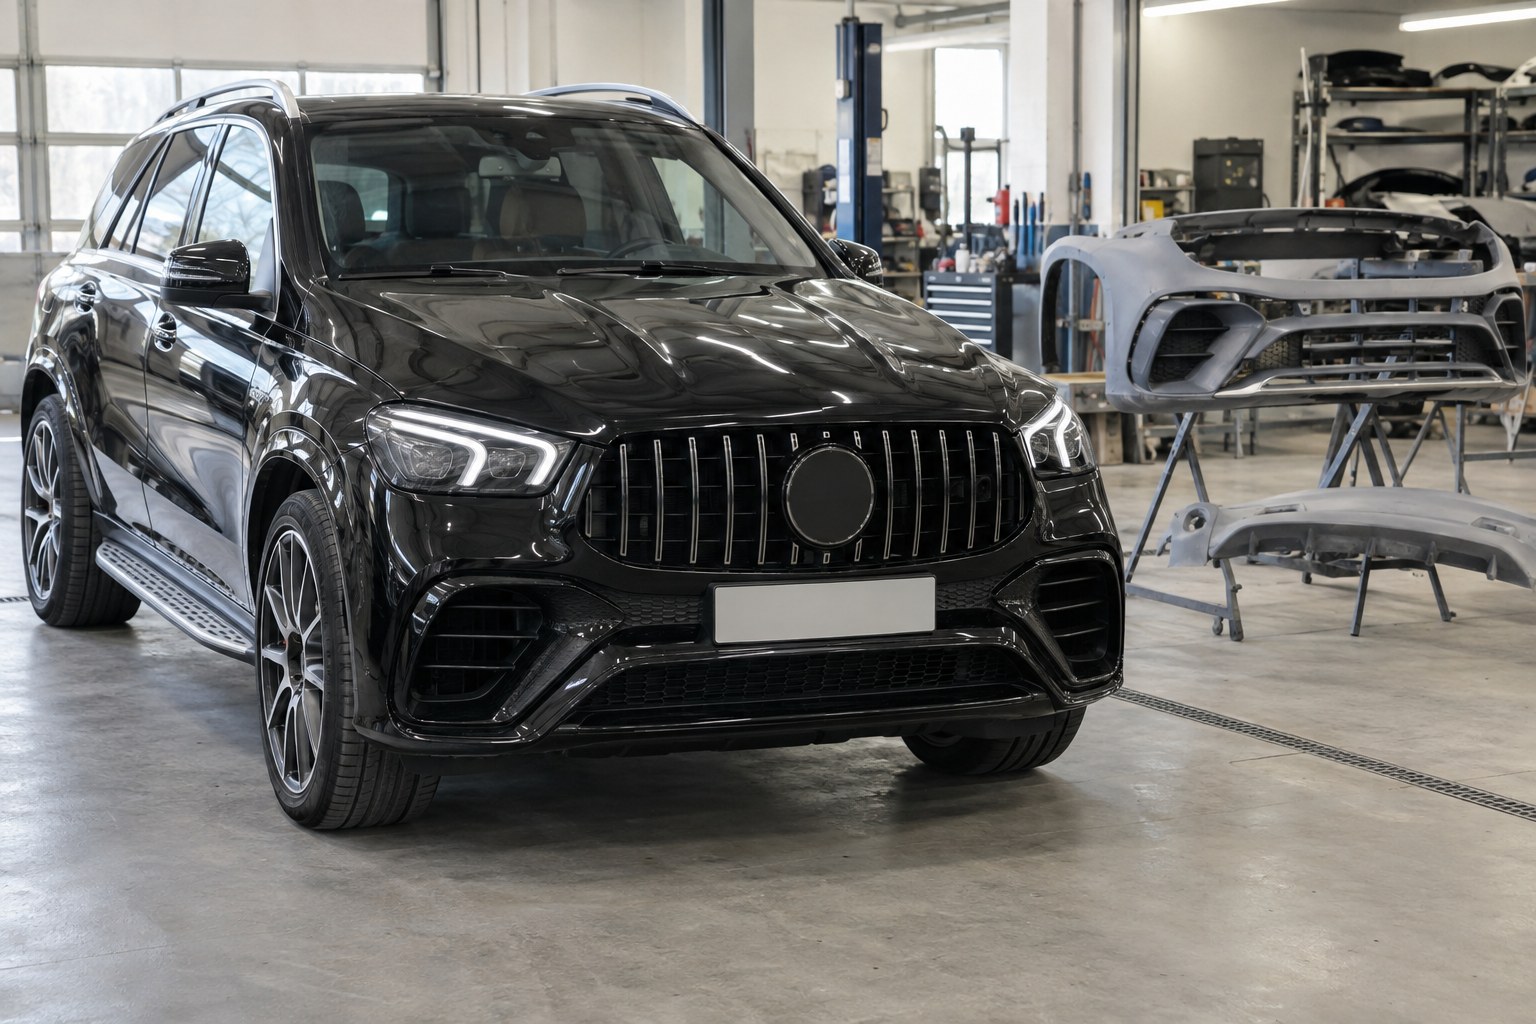
Assembled bumpers and bumper kits are made of composite polypropylene (PP) and are supplied ready for painting. Before ordering, tell the manager what is installed in your factory bumper: how many sensors at the front and rear, whether there are cameras, a cruise-control radar, headlight washers. A hole in the new part does not yet mean all electronics will fit without modifications. Find the rest of the models in the sections front bumpers, rear bumpers, and facelift kits.
How to paint the bumper and sensors so they work
The bumper is painted to match the body color, and along with it people often want to repaint the sensors too. Here automakers are very cautious: too thick a layer of paint on the diaphragm throws the sensor off. According to an overview of I-CAR repair requirements, their limits are as follows:
| Manufacturer | What is allowed for coating a parking sensor |
|---|---|
| Volkswagen, Audi | No more than 125 μm total thickness; thickness must be measured after painting; an old sensor is sanded only down to the primer; paint must not extend beyond the diaphragm; after the work — check system operation |
| Mercedes-Benz | Own coating thickness tolerance — refer to Mercedes-Benz repair documentation |
| Ford, Tesla | Own coating thickness tolerance — refer to Ford repair documentation |
| BMW / MINI | Damaged sensors are not painted or repainted by hand — order sensors already painted to color |
The conclusion is simple: the safest option is to transfer the OEM sensors without repainting if the color matches. If the color changes, painting the sensors is a job for a painter who knows the requirements for your exact brand and has a plastic thickness gauge. Do not apply filler, liquid rubber, or protective film to the diaphragm.
How to care for sensors during the season of snow and road chemicals
- Clean the sensors before driving. Use a soft brush or cloth, no scraper: Hyundai warns that scratches from a sharp object and сильне натискання on the sensor surface disrupt its operation.
- Do not aim the washer jet at point-blank range. Direct high-pressure washing at the sensor and around it is among the causes of malfunctions listed in the manual. Keep the nozzle at a distance and do not linger on the sensor.
- Rinse off the salt film. Dried road chemical on the diaphragm behaves like dirt; when washing the bumper, wash the sensors too. How to protect the bumper itself from chips and salt is in the article “Bumper and road chemicals”.
- Do not install new trims, frames, or stickers near the sensors without testing: the manual also lists accessories near sensors as a cause of false triggers.
If distance sensors or a radar are located in the radiator grille, we cover them separately in the article “Tuning radiator grille in winter”. We explained how the parking sensor itself works in the piece “What a parking sensor is in a car and how it works”.
What to check after transferring the sensors
Volkswagen and Audi both require checking system operation after bumper repairs. The simplest on-the-spot option: engage reverse gear on a dry, clean area and move your hand or a piece of cardboard toward each sensor in turn—each one should respond, and in an empty spot the system should stay silent. Next, park the car in front of a wall and check at what distance the continuous tone appears. If an error remains on the dashboard, diagnostics are needed: sometimes the sensor is simply not fully seated in its holder or the wiring connector is damaged.
You can install a bumper or a facelift kit and transfer the sensors at the network of certified DD Tuning service centers — the manager will tell you the nearest one.
We deliver via Nova Poshta throughout Ukraine.
How to Transfer Parking Sensors to a New Bumper
- Note what is in the factory bumper Before removal, count the front and rear sensors, take photos of their placement, mounts and wiring, as well as the cameras, radar and headlight washers.
- Remove the sensors without damage Disconnect the plugs, release the retaining clips and remove the sensors from the mounts. Do not press on the membrane or pry it with a screwdriver.
- Test-fit the new bumper unpainted Install the bumper on the car and check the gaps and sensor locations: whether they are cut out, only marked, or missing altogether. Make sure the openings are not covered by the lip, grille or trim.
- Make the openings and install the mounts If there are no openings or they are only marked, mark them using the factory bumper, drill them with a hole saw of the required diameter and secure the mounts so that the sensor sits in the same position and at the same angle as before.
- Paint the bumper Paint in a warm, dry room. It is better not to repaint the factory sensors; if necessary, follow the vehicle manufacturer's requirements for coating thickness.
- Install the sensors and connect the wiring Insert the sensors into the mounts until they lock, connect the plugs and secure the harness so it does not rub through. Only then install the bumper in its final position.
- Check each sensor In a clear area, switch on the system and bring your hand or a piece of cardboard up to each sensor one by one. The system should stay silent in an empty spot; if an error remains, go for diagnostics.