01.10.2026
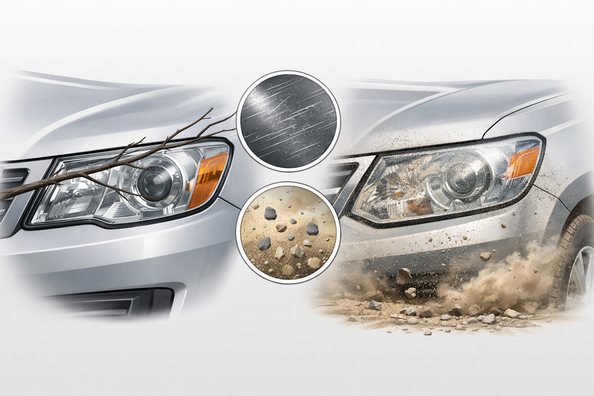

If your headlights get scratched after trips out of town, the issue is almost always the outer polycarbonate lens. Branches cut into the top layer, sand and fine gravel wear it down like sandpaper, and the sun speeds up yellowing and hazing. If the damage is superficial, lens restoration followed by UV protection or film usually helps; if there are deep grooves or cracks, replacement is needed.
The key task is not just to remove the marks, but to understand the type of wear. Scratches from bushes, uniform haze from sand, pinpoint chips from highway driving, and microcracks from chemicals are addressed differently—and this is exactly where owners most often end up paying twice.
The headlight lens on most cars is made of polycarbonate: it resists impacts well, but doesn’t tolerate constant abrasion. As the factory protective layer thins, dust, dried dirt, sand, and even simple wiping start damaging the surface faster. At first you only notice it from an angle; then the light becomes more scattered and the low-beam cutoff line becomes less sharp.
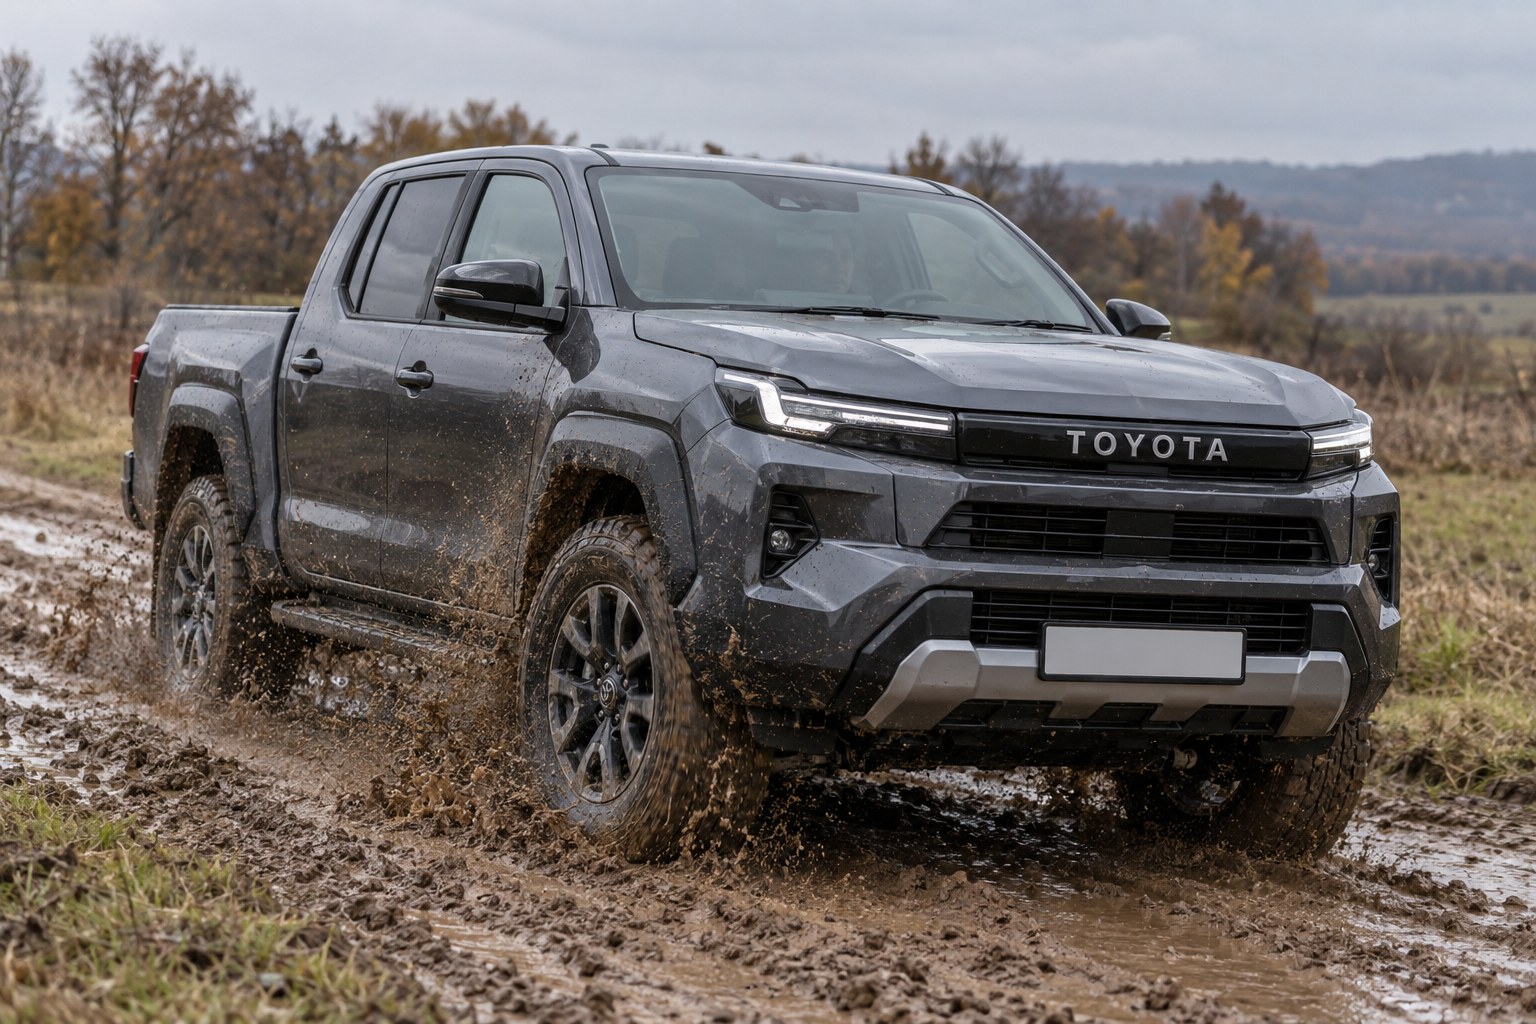
The problem also depends on operating conditions. In summer, UV and dry dust do the damage; in winter, road sand and frozen grime; on gravel roads, the speed of the particle stream; and on narrow field roads, direct contact with branches. Cars with large, bulging headlights are at higher risk, and it’s harder to properly protect that shape.
The worst-case scenario is when these factors stack up: an old lens gets polished, not protected, and then is driven again through dust and bushes.
DD Tuning expert comment: the most common mistake is to polish a headlight, see the shine, and stop there. Without UV and abrasion protection, the top layer will wear off again very quickly. The second mistake is trying to hide deep grooves with a cover or film: protection prevents new damage, but it doesn’t repair an already ruined lens.
| Symptom | Likely cause | What to do |
|---|---|---|
| Uniform haze across the entire headlight | Wear of the top layer from sand, dust, and UV | Restore the surface and immediately protect it with film or a UV coating |
| Long arc-shaped scratches | Branches, bushes, contact on narrow roads | Assess depth; remove shallow ones with restoration, don’t mask deep ones—prepare for replacement |
| Small dots and chips on the front | Sand and gravel at speed | If the lens isn’t deeply pitted yet—restore and install physical protection |
| Light became dim, low-beam cutoff got blurry | Haze or scratches are already scattering the beam | Don’t delay diagnostics; “cosmetics” here already affects safety |
| Network of fine cracks or cloudy spots | Aggressive chemicals, overheating, material aging | Polishing often doesn’t solve it; lens or headlight replacement is more often required |
On gravel roads and highways, sand is constantly working, so simply polishing and driving again without protection is a weak scenario. And if the main issue is branches, the protection needs to be mechanical, not cosmetic.
The main rule is simple: what hides the issue for a couple of weeks doesn’t necessarily protect it for a season.
If a lens has already been polished several times, the material reserve isn’t unlimited. In that situation, another sanding may deliver only a short-lived cosmetic effect.
| Solution | When it works | When it’s not worth spending money |
|---|---|---|
| Lens restoration | There is haze, shallow scratches, and no cracks in the material | Grooves are deep, there is a network of microcracks, or the optics are already compromised |
| Film after restoration | The headlight is new or freshly restored; you need real protection from sand and minor impacts | The lens already has deep cuts that they’re trying to hide instead of fixing |
| Clear headlight cover | You need a physical barrier for regular out-of-town driving | The headlight is already heavily worn and the cover is being used as a substitute for repair |
| Spray or quick coating | You need temporary protection after light restoration | The car constantly drives through dust, gravel, bushes, or is often washed with brushes |
| Hood deflector | Most damage comes from frontal airflow on the highway | The main issue is side branches or existing deep headlight scratches |
| Headlight or lens replacement | There are cracks, deep chips, strong light scattering | The damage is only superficial and restores well |
From a customer’s experience: after frequent trips to the countryside, a crossover got a hazy band and several long scratches along the edges of both headlights. At first the owner simply polished them once per season, but without protection the effect disappeared quickly. After proper restoration and installing protection on the lenses, the problem stopped progressing and the night beam became more even.
In short, surface haze and shallow scratches are a story of restoration and mandatory UV and abrasion protection. Deep grooves, cracks, and a web of micro-damage are already a reason to stop polishing endlessly and move to replacement.
The smartest decision is always the same: first determine the exact depth of the damage, and only then spend money on polishing, protection, or a new headlight.
Shipping to EU
Wholesale and retail
Own warehouse
Опис продукту
Подарунки не надаються при оформленні покупки у кредит під 0,01% або при покупці частинами.