































































 Author: Radomskyi Maksym Vasyliovych
A mud flap itself does not make the wheel arch rot — what makes it rot is the dirt and salt that collect in the gap between the mud flap and the body, and bare metal in fresh holes for self-tapping screws. That’s why the main installation rule is simple: mount mud flaps to factory mounting points without drilling, tightly, on a clean dry surface, and if a hole in metal is still needed — deburr it and protect the edge of the hole. In spring — rinse the area behind the mud flap and check what’s going on underneath.
We have already written separately about which material to choose — soft or rigid, rubber or plastic: soft vs. rigid mud flaps and rubber vs. plastic mud flaps. Here — only about mounting and corrosion.
Contents
- Why the wheel arch can rot under a mud flap
- Factory mounting points or self-tapping screws: what to choose
- What to do if a hole in metal is still needed
- How to prepare the area before installation
- Clips, push rivets, and self-tapping screws: what to check in the kit
- How to care for a wheel arch with mud flaps in winter and spring
- Which mud flaps are installed in factory locations
Why the wheel arch can rot under a mud flap
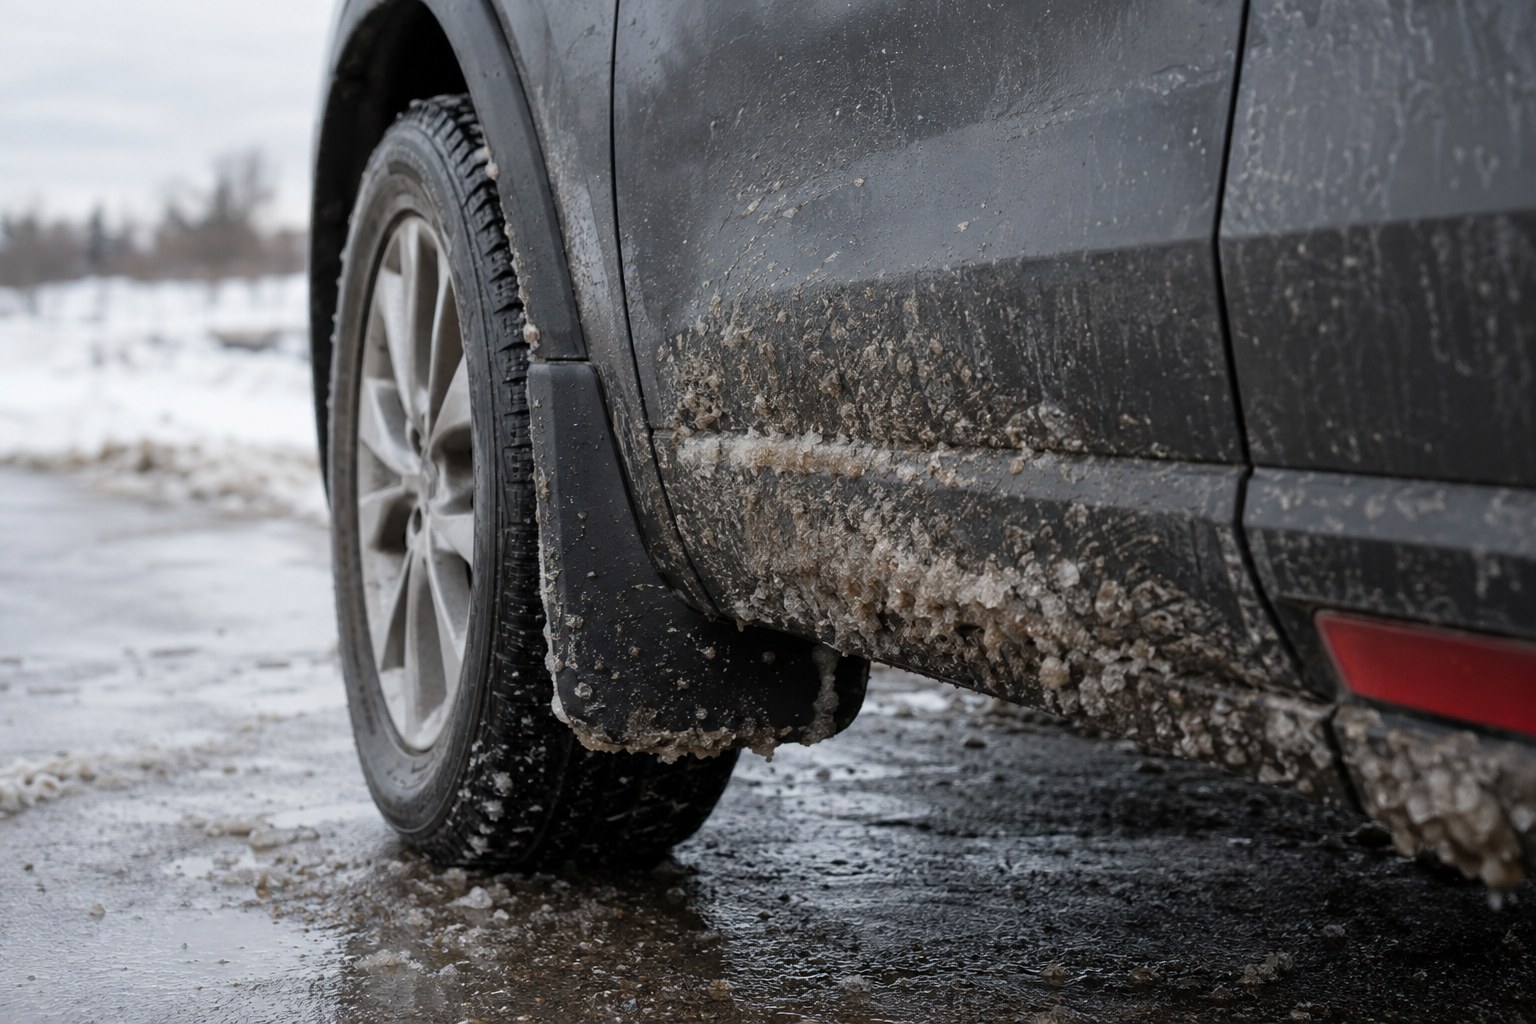
Mud flaps are installed so the wheel does not throw sand, gravel, and salty water onto the sills and doors. Tesla states прямо in its own instructions that mud flaps are recommended for those who drive on roads treated with salt, sand, or gravel. That means their useful function is specifically anti-corrosion. Damage appears when a mud flap is installed incorrectly, and there are three places where it happens:
- the gap between the mud flap and the fender. If the part does not fit tightly or sand was left under its edge during installation, dirt mixed with salt gets packed in there. Such a “pocket” holds moisture for a long time, and that is exactly where the paint and metal suffer first;
- fresh holes in metal. A drill removes the paint and factory coating, leaving the edge of the hole bare. Without treatment, it is a ready-made rust point, and it is also hidden under the mud flap;
- rubbing against the paint. A part that moves on its fasteners, together with sand underneath it, works like sandpaper. That’s why the mounting must hold the mud flap tightly, not “on one self-tapping screw.”
DD Tuning managers, when customers ask about installation, advise the same: clean the area from dirt and tar before installation and do not leave sand or frozen dirt under the edge of the part.
Factory mounting points or self-tapping screws: what to choose
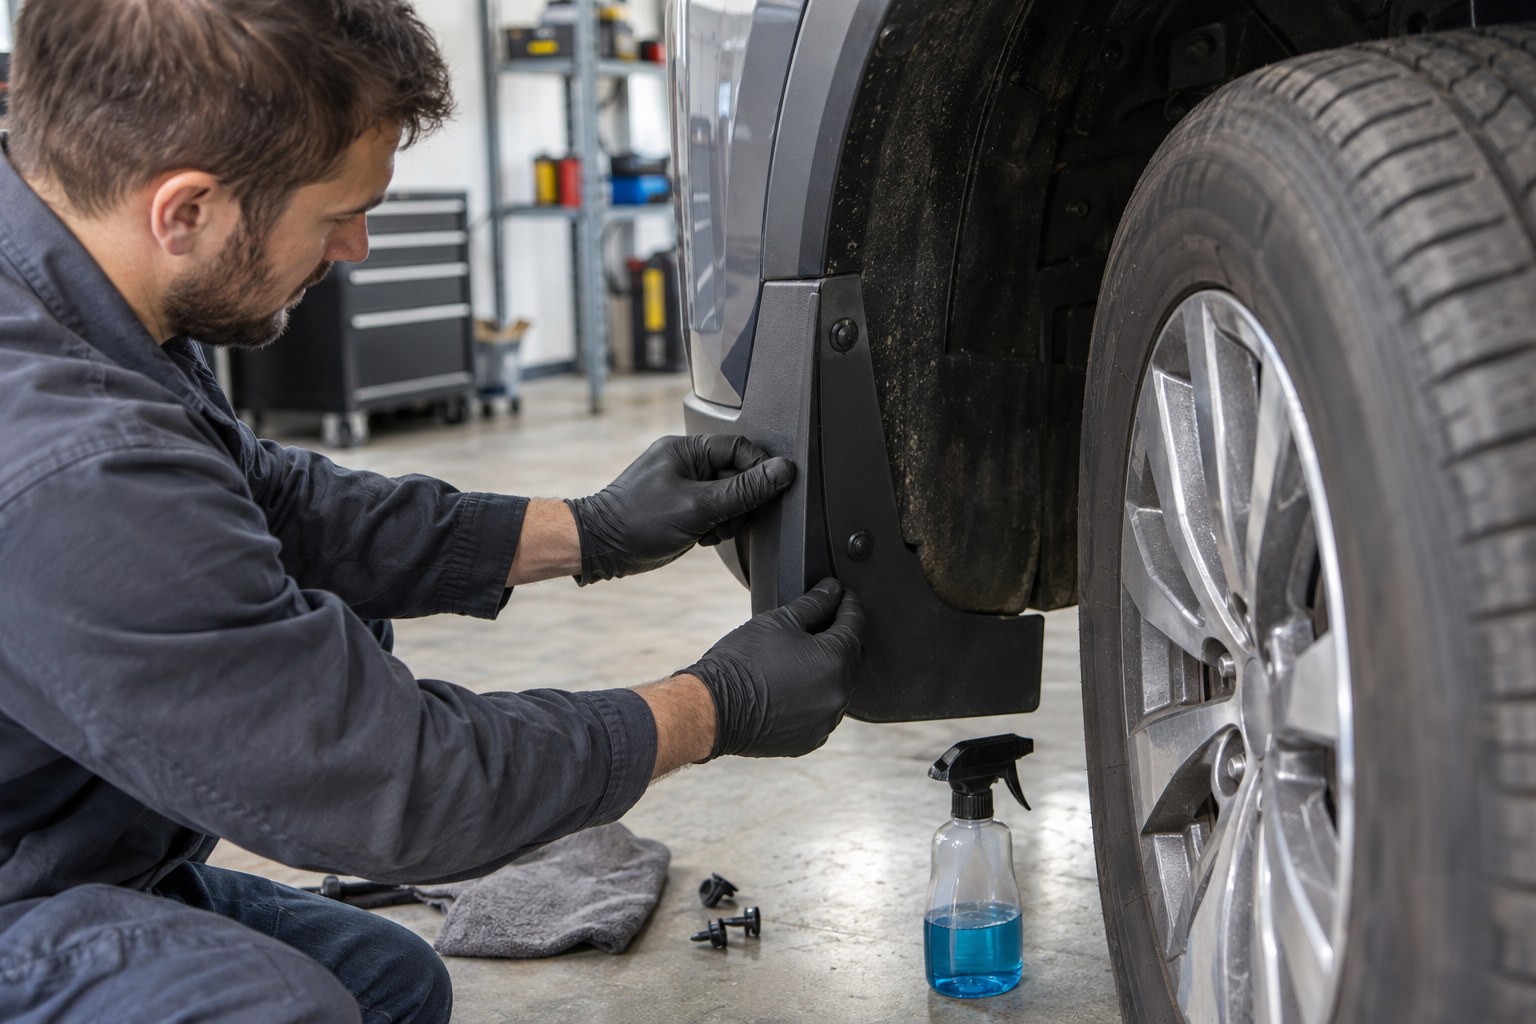
The least risk comes from mounting to factory points — where the original fasteners already exist. That’s how vehicle-specific mud flaps are designed: for example, Tesla mounts its on the wheel-liner clips — the old lower push rivets are removed and discarded, and the mud flap is fixed with the clips from the kit, without drilling. In the DD Tuning catalog, such products are marked in the specifications as “Installation type: factory locations.”
But “vehicle-specific” does not always mean “without any new hole at all.” Based on our managers’ experience, some vehicle-specific mud flaps are also fastened with self-tapping screws — into the plastic wheel liner or into the bumper. Here it is important to distinguish:
- a self-tapping screw into a plastic wheel liner or bumper — it does not touch metal and does not cause rust;
- a hole in a metal fender or bracket — that is exposed metal, and it must be protected.
Universal mud flaps are fitted on the car: they are test-fitted, sometimes trimmed or drilled with new holes. If there are no precise factory points and the car winters on salted roads, a vehicle-specific kit is usually the better deal specifically because of the mounting.
What to do if a hole in metal is still needed
Manufacturers approach this differently, and you can see it in their instructions:
| Instructions | What they drill | What they say about the hole edge |
|---|---|---|
| Honda Fit, original mud flaps | The rear fender garnish, step-drilling: 3 → 6 → 8 → 10 mm | Deburr with a file; areas that will be covered by the mud flap should be cleaned and coated with a quality paste-like wax |
| GM, original front mud flaps for Buick | One 5 mm hole, pressing the mud flap to the body with no gap | Clean and degrease the panel; there is no separate step for treating the hole |
| Fender flares for Ford Ranger (accessory kit) | They drill out the wheel-liner rivets with an 8–10 mm drill bit | A rust inhibitor is included in the kit — apply it to the holes |
So, the minimum everyone agrees on: drill in steps and remove burrs so the sharp edge does not scrape off the coating around it. If there is an anti-corrosion product in the kit — apply it to the holes обязательно, not “later.” Drilling “by eye” is not worth it: first test-fit the part, mark the points, and check that there are no wires, tubes, or wheel-liner elements on the other side.
If you are unsure whether the hole will end up in metal, it is better to доверити installation to professionals: mud flaps can be installed at the network of certified DD Tuning service centers — the manager will point you to the nearest one.
How to prepare the area before installation
- Wash and dry. Tesla starts the installation by cleaning the area with спирт and requires letting it dry completely. There must be no sand, dirt, or tar left under the mud flap.
- Protect the paint in the contact area. In the instructions for Fit mud flaps, Honda asks to clean and wax the areas that will be covered by the mud flap.
- Test-fit against the mounting points. Compare the part’s contour with the arch, bumper, and sill, as well as the number and position of holes. If you see misalignment, take a photo and message the manager — do not trim or heat the part until the cause is clear.
- Press snugly, don’t overtighten. The mud flap should fit with no gap, but fasteners in plastic do not like force: Tesla, for example, tightens the small mud flap screws into the wheel-liner nuts to only 1.5 N·m.
Clips, push rivets, and self-tapping screws: what to check in the kit
The most common customer question about mud flaps at DD Tuning is whether the mounting hardware is included. The answer depends on the product: clips, push rivets, brackets, bolts, or self-tapping screws may be included, or they may not, and they are not always sold separately. Before installation, check the kit contents and count whether you have enough for all mounting points.
A few rules that save the wheel arch:
- do not install a mud flap on half the fasteners “for now” — a part that moves rubs the paint and lets dirt under the edge;
- do not reuse old broken wheel-liner push rivets — Tesla, for example, explicitly says to throw them away;
- if there is no wheel liner or it is damaged, the mounting method is determined separately — you will not be able to hold a mud flap simply “in the air.”
How to care for a wheel arch with mud flaps in winter and spring
A mud flap shields part of the arch from spray, but it also makes it harder to wash: dirt accumulates behind the edge. So in winter, when washing the car, direct the water jet behind the mud flaps as well — what you can and cannot do with tuning parts at a car wash in winter, we covered in the article “Car wash in winter and tuning”.
In spring, ADAC recommends an additional underbody wash: salt and crushed stone often sit where you can’t see them at first glance, and regular inspection from underneath helps you spot rust and damage in time. For a wheel arch with mud flaps, this means: rinse the gap between the mud flap and the fender, inspect the paint under the edge, and check that the mounting has not loosened over the winter.
Which mud flaps are installed in factory locations
If the main thing is not to drill the body, look in the catalog at the “Installation type” field. For example, Premium Dongmart mud flaps made of rubber-plastic for Mercedes G-Class W463 2018–2024 and Mercedes S-Class W223 (version without 4MATIC), as well as GBT Type-B mud flaps in gloss black for Land Rover Defender 2019+, are installed in factory locations. Other vehicle-specific kits are in the “Mud flaps” section.
We ship via Nova Poshta throughout Ukraine.
How to install mud flaps so the wheel arch won’t rust underneath
- Choose the correct mud flaps Match your vehicle’s model, generation, facelift, body kit, and side skirts with the product card. For installation without drilling, see the specification field “Installation type: factory mounting points”.
- Check the fastener kit Count the clips, retainers, bolts, or self-tapping screws and compare them with the number of mounting points. Do not reuse old broken fender liner retainers.
- Wash and dry the installation area Remove sand, dirt, and tar from the fender, fender liner, and bumper, wipe the contact area with alcohol, and let it dry completely. If desired, coat the painted area that will be covered by the mud flap with wax.
- Test-fit the part Place the mud flap against the wheel arch and check the contour and holes. If you notice any misalignment or gap, take a photo and contact the manager without trimming the part.
- Secure it in the factory mounting points Install all fasteners so the mud flap sits firmly and does not move. Do not overtighten fasteners into plastic.
- If a hole in metal is required, protect it Use step drill bits, remove burrs with a file, and apply an anti-corrosion product to the hole if it is included in the kit. Not sure — have the installation done by a certified service center.
- Check the wheel arch in spring Rinse the gap behind the mud flap, inspect the paint under the edge, and check whether the mounting has loosened over the winter.