15.03.2026
518
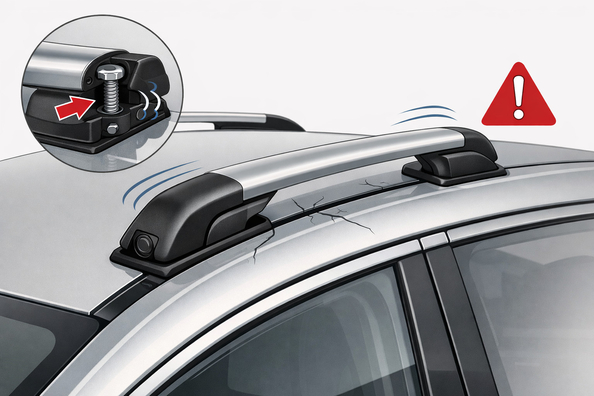
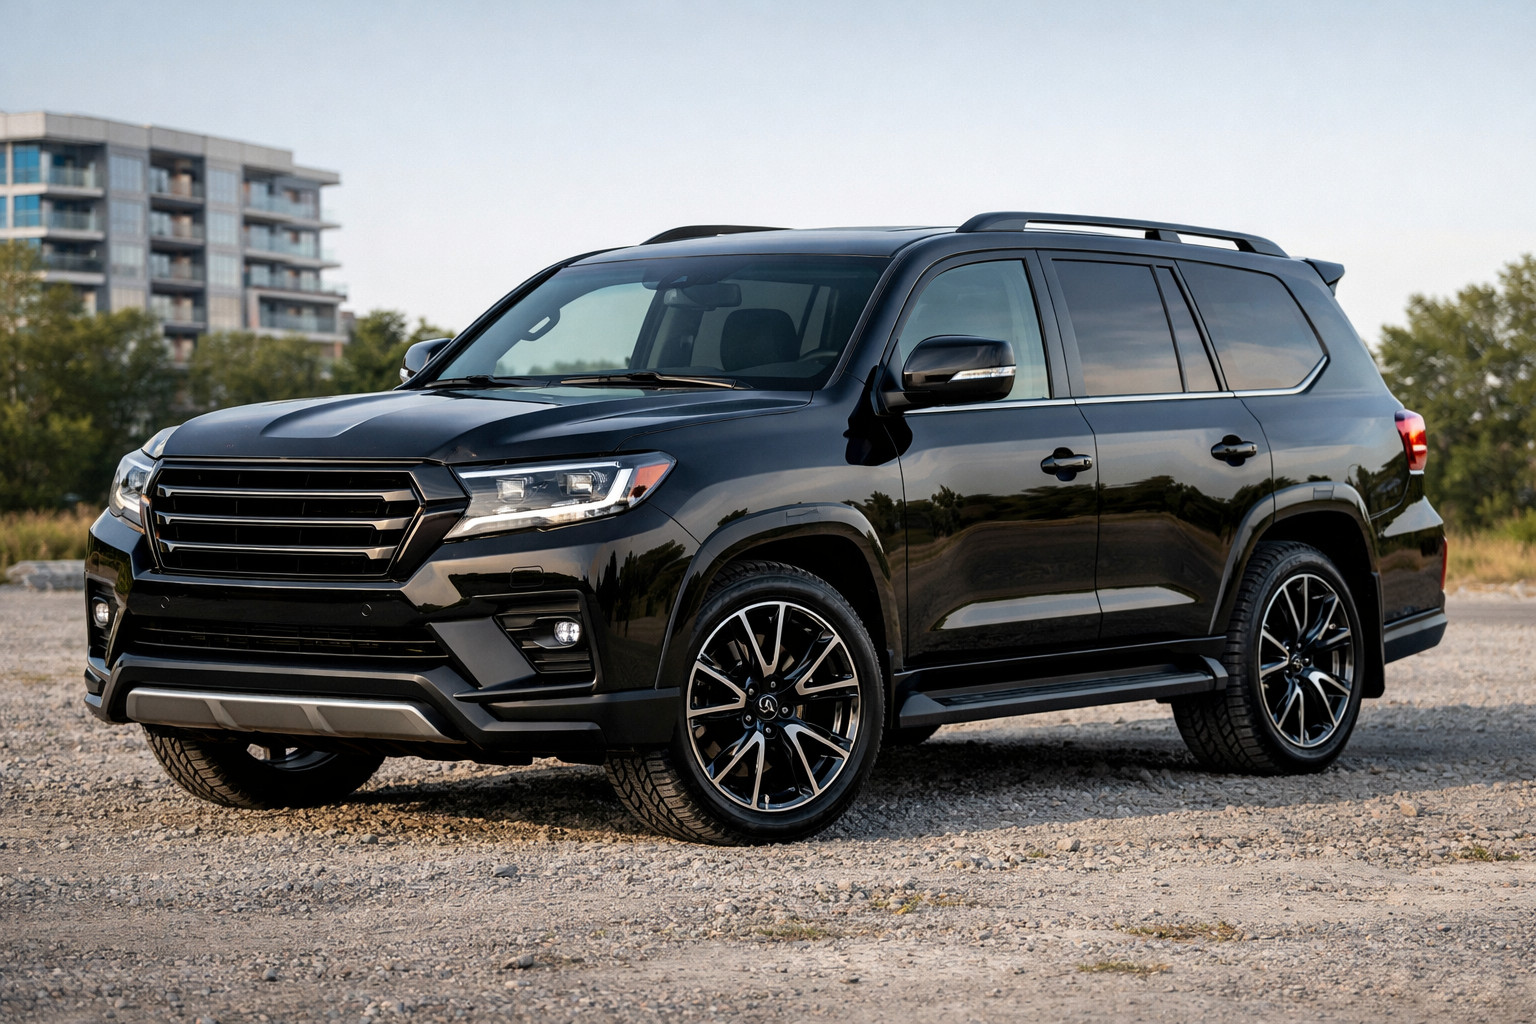
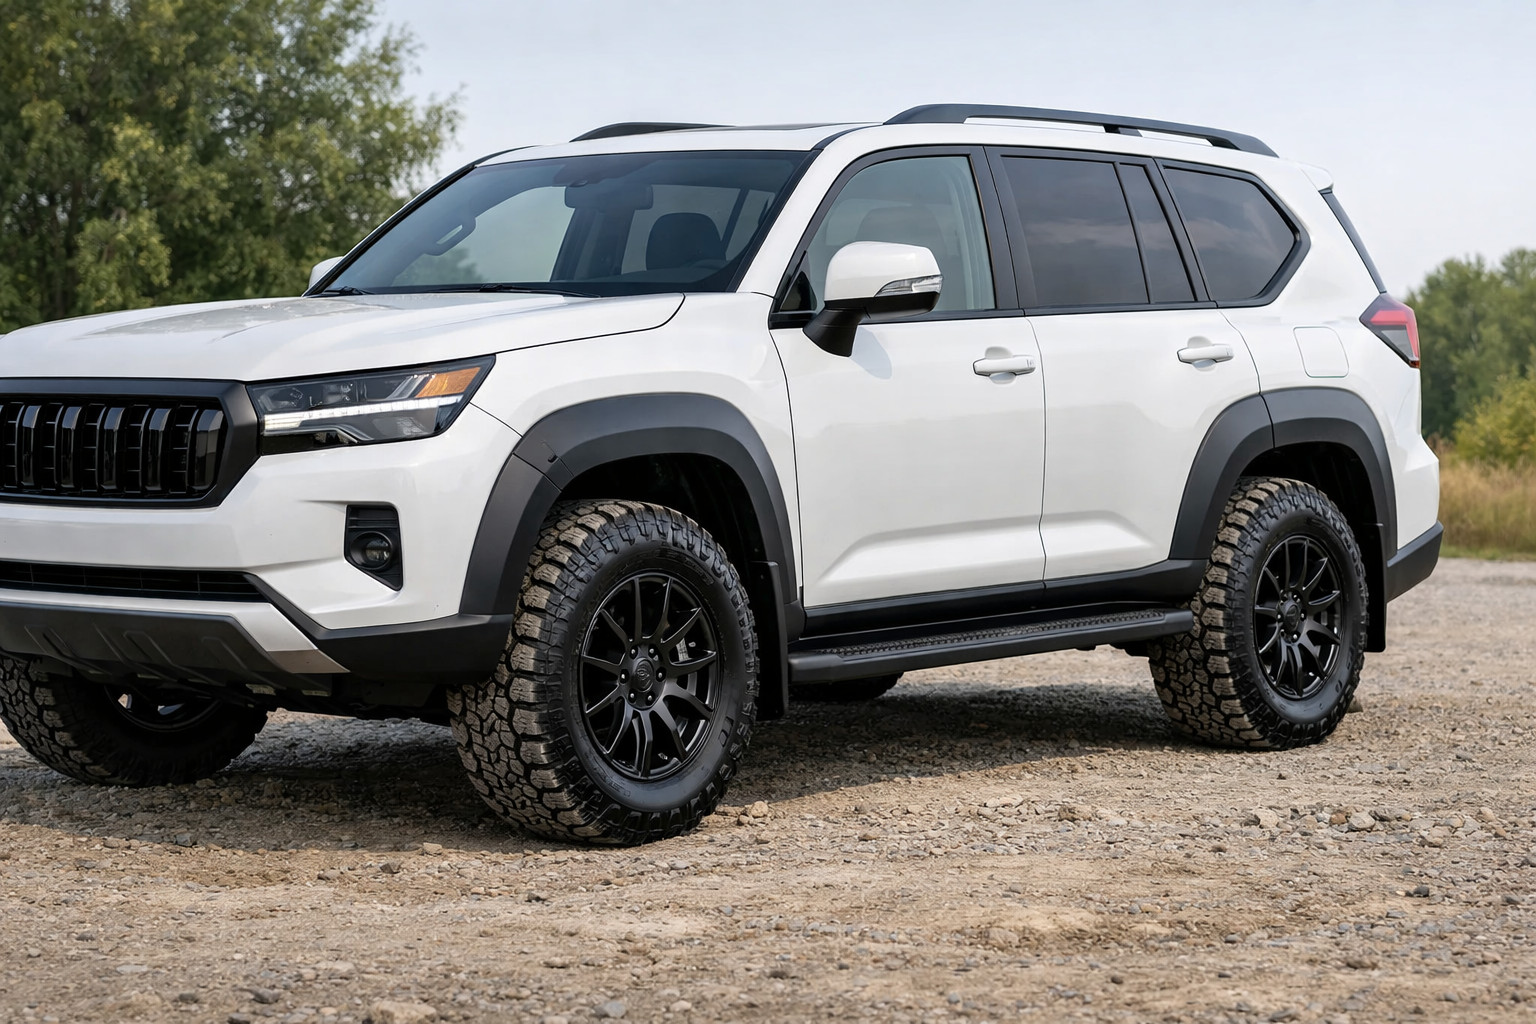
Roof rail play usually doesn’t appear “on its own” — it’s caused by a loss of clamping force in the mounting points: loose/backed-off bolts and nuts, worn or incorrectly seated clips, issues with sealant or adhesive mounting, corrosion, or the consequences of incorrect crossbar installation. As a result, the rail starts clicking, rattling, or rocking — which means the part is no longer working reliably.
The risk starts when the play can be reproduced by hand, pop/click noises appear while driving, there are visible signs of leaks, or you can see the rail pulling away from the roof. It’s also dangerous to keep loading roof-mounted components if there’s any suspicion of loosened fasteners or deformed mounting seats.
The most common cause of play is insufficient clamping force or a “loss” of fit over time. This can result from fasteners not being tightened to the correct torque, using the wrong retaining elements (clips/gaskets), or sealant in the channel preventing the gasket from seating evenly. After that, vibrations at speed loosen the assembly, and the rail begins to move relative to the roof.
A separate factor is corrosion and seized threads (especially after winter). Even if “everything looks fine,” moisture and road salt can degrade the threads, making the tightening torque unstable: today it “tightens,” tomorrow the play shows up.
1) Loose bolts/nuts or unstable clamping. Often the play is obvious in a hand test: you can rock the rail back and forth, accompanied by a characteristic sound. Official service guidance treats this as a sign of insufficient tightening.
2) Problems with clips and how they seat. Clips can be worn or may not sit evenly after a previous removal/installation. If a clip sits “crooked,” the rail starts to move under vibration.
3) Sealant/adhesive seating that interferes with the gasket. In some cases, sealant in the channel area prevents the gasket from seating correctly on the mounting point. This not only creates play but also sets the stage for leaks.
4) Corrosion and seized threads. After winter conditions, the hardware may start behaving worse: tightening no longer “holds like before,” and play and seepage appear.
5) Incorrect crossbar installation or orientation. Even if the issue is “in the rails,” sometimes the noise source is the crossbars (aerodynamics or mechanical whistling). It’s important to distinguish rail play in the mounting assembly from noise caused by the crossbars.
Step 1. Manual play test. Try rocking the rail by hand forward/back and side to side (no need to overdo it, but enough to feel the difference between “solid” and “moves”). If the play can be reproduced by hand and there are pop/click sounds, that’s already a reason to check tightening torque and the condition of the fasteners.
Step 2. Visual inspection of the seating. Look at the rail-to-roof joints: is there any gap, deformation, uneven clamping. If you suspect a leak, look for signs of moisture/dampness inside the cabin opposite the mounting points, or suspicious streaks in the channel area.
Step 3. Separate the rails from the crossbars. If the car has crossbars, check one by one whether the sound/vibration changes when you remove the crossbars. Keep in mind that wind noise can sometimes be caused by incorrect crossbar placement or by fasteners that aren’t fully tightened.
Step 4. Correlate with the vehicle history. If the play appeared after removing/installing the roof rack, after a rainy season, or after winter, the likelihood of fasteners or sealant/clips is higher. If the problem shows up only at certain speeds, it’s more often aerodynamic noise rather than mechanical play.
| Symptom | Likely cause | What to do |
|---|---|---|
| The rail can be rocked by hand, pop/click sounds are heard | Loose mounting (insufficient tightening torque or a loosened assembly) | Check fastener tightening per the manufacturer’s procedure, inspect the condition of nuts/bolts; replace retaining elements if needed |
| There is a visible gap along the rail-to-roof joint | Incorrect seating of clips/gaskets or sealant issues in the channel area | Remove the assembly and reseat it, taking into account how the sealant interacts with the gasket; check the clips |
| Whistling/noise at speed, but the rail is “solid” and doesn’t move by hand | Aerodynamic noise from crossbars/covers or crossbar orientation | Change the position of the crossbars or remove them when not needed; check correct installation and locking |
| Moisture/seepage near the rail mounting point | Sealant prevents the gasket from seating evenly, or a clip is damaged/incorrectly installed | Check sealing and the seating of the gasket/clip; after repair, be sure to monitor that there are no leaks |
| Play gets worse after winter | Corrosion, seized threads, degradation of seating surfaces | Inspect and restore threaded connections per the procedure; replace hardware/elements if needed |
1) Precise re-torquing or replacing fasteners per procedure. If the play is reproducible by hand, the basic action is to check tightening — not to “glue it so it stops.” Some official recommendations directly state that effectiveness comes from correct operation of the mounting assembly.
2) Correct seating of clips and gaskets, and reworking the sealant. If sealant prevents the gasket from seating evenly, play and leaks may recur. The solution is to restore proper seating (clip/gasket/sealant must work together, not “conflict”).
3) Proper crossbar positioning and checking their locking. When the noise is aerodynamic rather than mechanical, correct crossbar orientation, repositioning, or removing them when not needed helps. This reduces wind noise without interfering with the rail mounting itself.
4) Regular checks. Practically speaking: do a quick visual check monthly, and periodically (for example, once a year) remove/reinstall the roof rack and inspect the underside of the crossbars and the locks.
If you’re selecting/installing roof rack components for rails, start with the compatibility and correct installation guide: roof rails.
Tape, wraps, “layers of rubber” without fixing the mounts. They may partially reduce rattling or whistling, but they don’t restore the required clamping force. The play usually comes back because the cause remains: a weak or incorrectly seated connection.
Over-tightening “so it won’t move again.” In practice, this is a risk: excessive tightening can deform roof panel elements or ruin the fit. If the correct torque isn’t applied properly, the result can be worse than the original play.
Replacing the rails without diagnostics. If the real problem is in the crossbars (noise) or their incorrect installation, replacing the rail is a waste. First separate mechanical play from aerodynamic noise with a hand test and by removing the crossbars.
Replacement or accessories make sense when it’s confirmed that the cause isn’t “general noise,” but an actual mounting fit issue: the rail noticeably moves, the clips are visibly/physically worn, or there are signs of leaks. In that case, what works is not temporary covers, but a proper assembly: new fasteners, restored sealing, and correct gasket seating.
If the rail is solid and the problem is only sound at speed, it’s more logical to start with adjusting the crossbars (placement, locking, removal if needed). Noise-reduction accessories should be an addition, not a substitute for fixing the mounting.
| Solution | When it works | When it’s not worth spending money |
|---|---|---|
| Re-torque/restore rail fasteners with seating control | If the rail moves by hand, there are pop/click sounds, there are gaps along the joint | If the rail is solid and the noise appears only at speed without mechanical movement |
| Replace clips/gaskets and proper sealing (when sealant interferes with seating) | If there’s suspected leakage or uneven contact at the mounting point | If the issue is purely aerodynamic and isn’t accompanied by play or moisture |
| Check and correctly adjust crossbars (position, locking), remove when not needed | If the sound resembles wind noise and the rail has no mechanical play | If the play is reproducible by hand or there is a physical gap/detachment of the rail |
| Sound-deadening inserts/local covers without fixing the mounts | If you only need to “reduce discomfort” and there is no mechanical issue | If the rail has play or you can see poor seating/leaks |
| Replacing the rails “blindly” | Only if destruction/deformation of the part or mounting assembly is confirmed | If the cause is tightening, clips, sealant, or crossbars — then replacement won’t deliver a systemic result |
Roof rail play is a signal that the mounting is losing clamping force or proper fit. If you can rock the rail by hand and it’s accompanied by pop/click sounds, act at minimum by checking tightening torque and the condition of clips/gaskets — not by “masking” it with tape or covers. If there is no play and the sound appears only at speed, it’s more likely the issue is with the crossbars and their installation; then the repair logic is completely different.
Practical verdict: do not use the rails with a load if they move by hand, there are gaps, or there are signs of leaking. Start with diagnosing “play/no play” and checking the fasteners/seating — and only then either repair the mounting assembly or adjust the crossbars.
Shipping to EU
Wholesale and retail
Own warehouse
Опис продукту
Подарунки не надаються при оформленні покупки у кредит під 0,01% або при покупці частинами.