12.06.2026
293
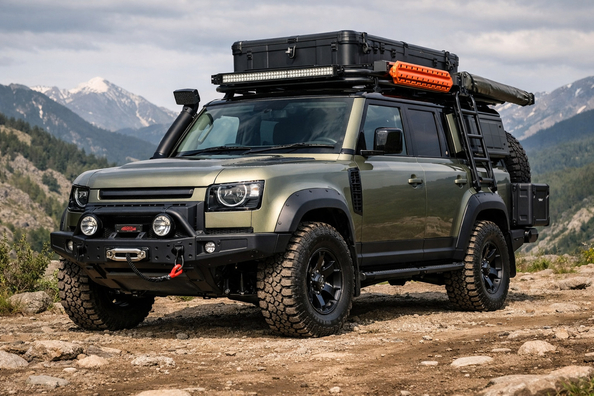
This upgrade plan is for a Land Rover Defender 2019+ owner who wants two things at once: a comfortable travel vehicle and a tougher, more composed look without turning the car into a noisy show build.
The logic below fits the Defender 110 best, because it’s most often built around a touring use case. For 90, 130, V8, OCTA, 5+2 versions and different model years, compatibility of specific accessories, roof solutions, and packs should be checked separately by VIN.
From the factory, the Defender already has a strong foundation: high ground clearance, good geometry, and serious off-road capability. So for travel, the main issue usually isn’t that the vehicle lacks capability—it’s that dirty items, gear, wet footwear, and tire pressure changes quickly ruin day-to-day comfort on a trip.
The right upgrade here should do three things: protect the cabin and cargo area, bring order to the load, and only then add an expedition or rugged look. If you start with the roof, ladder, and decorative elements, it’s easy to end up with a good-looking Defender that’s worse on the highway and not actually more convenient on a real trip.
The first stage for this scenario is simple: a cargo tray or rubber protection, floor mats, mud flaps, basic cargo organization, and a compressor. These upgrades start paying off from the first outing: the interior suffers less from sand and wet gear, luggage doesn’t slide around the trunk, and you can adjust tire pressure for gravel, sand, or the return to the highway.
If you don’t want to build a list item by item and prefer a ready-made approach, the best travel balance is the Adventure Pack. It includes things that actually work on trips: mud flaps, an exterior box, a compressor, arch protection, and a quick rinse system for washing off mud. The Explorer Pack is more interesting when you truly use the roof and want a more pronounced expedition silhouette.
| Upgrade | Why it’s needed | Who it truly benefits |
|---|---|---|
| Cargo tray and interior floor mats | Contain water, sand, and dirt; make post-trip cleaning easier | Those who carry gear, dogs, kids’ items, camping kit |
| Mud flaps | Less sand, stones, and mud on sills, doors, and arches | Those who often drive dirt roads, gravel, and in shoulder seasons |
| Integrated compressor | Lets you quickly change tire pressure and restore it for road driving | Those who regularly leave the asphalt, drive on sand, or rocky roads |
| Cargo organization, nets, rails | Secures the load and eliminates chaos in a large trunk | Those who travel far, carry boxes, jerry cans, photo gear, tools |
| Exterior side box | Moves wet or dirty items outside the cabin | Those who carry boots, wetsuits, gloves, recovery straps, small gear |
| Arch protection and trim | Less fine abrasive on the body plus a more substantial look | Those who want to combine practicality with visual effect |
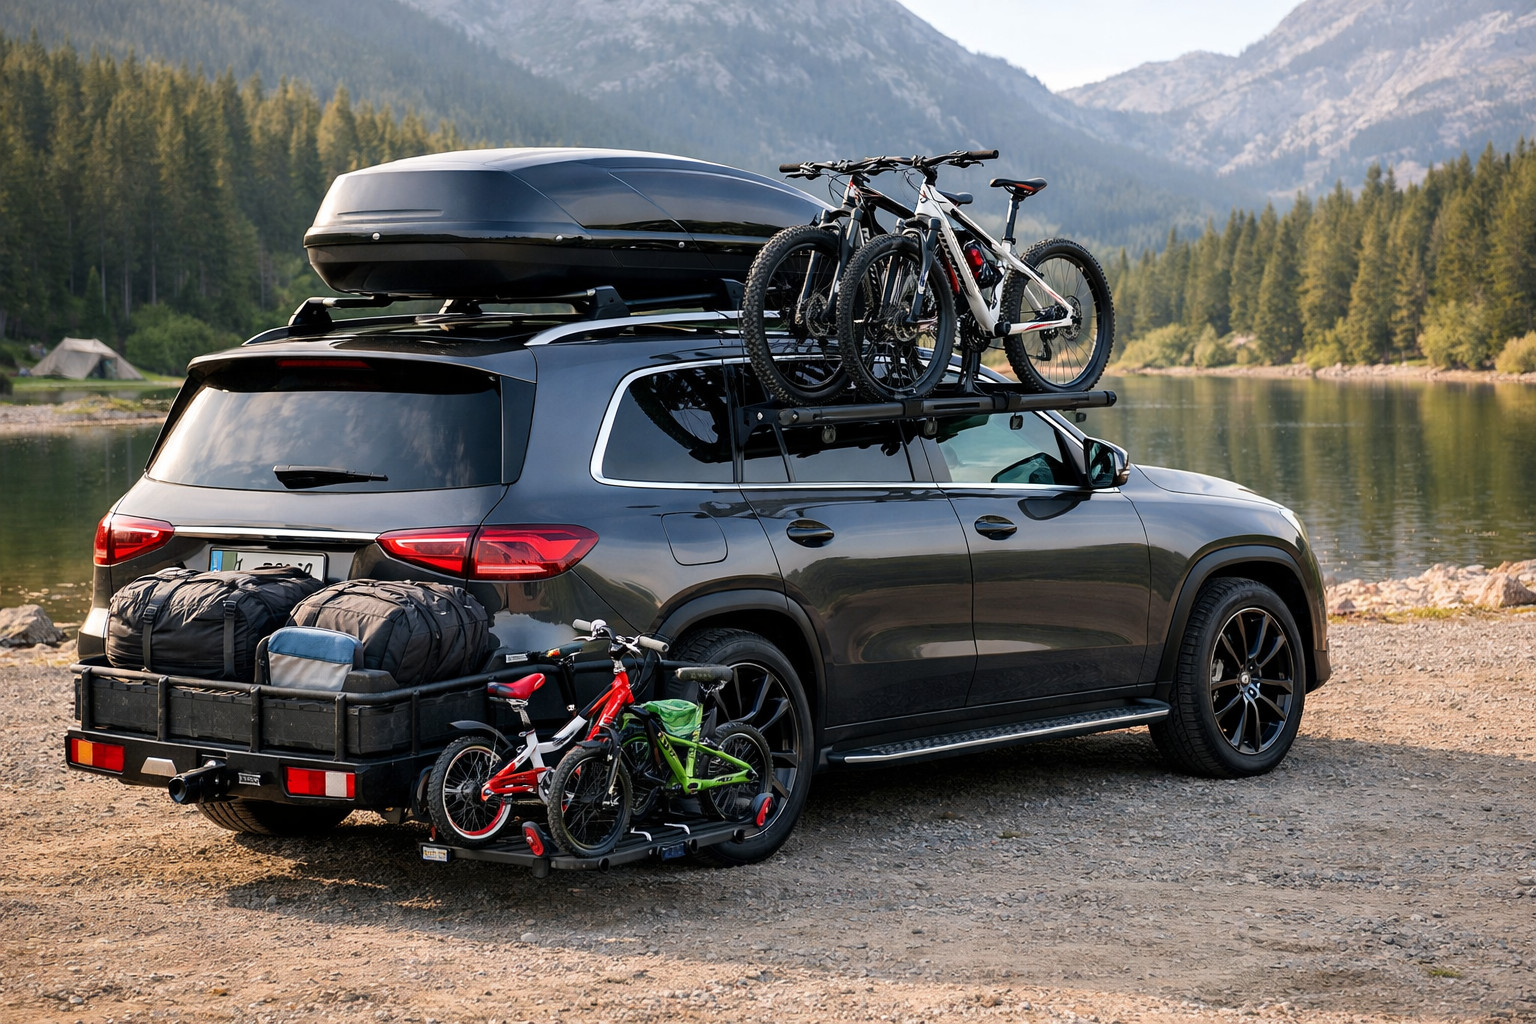
| Expedition roof rack and ladder | Add external cargo volume when the cabin is no longer enough | Those who actually carry gear on the roof, not just for the look |
| Side steps and exterior body kit | Make entry easier or change the vehicle’s silhouette | Those whose priority is access, appearance, or family use rather than heavy off-road driving |
DD Tuning expert comment: With the Defender, people very often start by ordering the roof, ladder, and bulky exterior decor because it changes the look quickly. Then they find out highway noise has increased, while basic items like cargo-area protection, mud flaps, and tire inflation still aren’t covered. For a travel scenario, it’s smarter to deal with dirt, cargo, and tire pressure first, and only then add what supports the look.
The second stage starts once you understand your own travel rhythm. If you’re short on space for dirty items, an exterior side box is the logical choice: its value is precisely that it doesn’t take up cabin space. But compatibility matters: it mounts on the right and doesn’t play well with a ladder on the same side.
This also includes the roof setup: rails, ladder, rack. A ladder only makes sense if you actually use the roof, not if you just want an expedition silhouette. Roof load limits and the allowable rack weight depend on the vehicle version and specific equipment, so you shouldn’t buy this part blindly. If you have a Defender 110 with a third row, cargo partitions and rails also need careful checking, because they can take away some interior functionality.
This is where the Urban Pack and similar solutions come in. Dark trim, decorative hood elements, side steps, and a bold body kit deliver a fast visual result and make the Defender look more cohesive. It works if the vehicle spends most of its time in the city, on the highway, or on travel outings without harsh terrain.
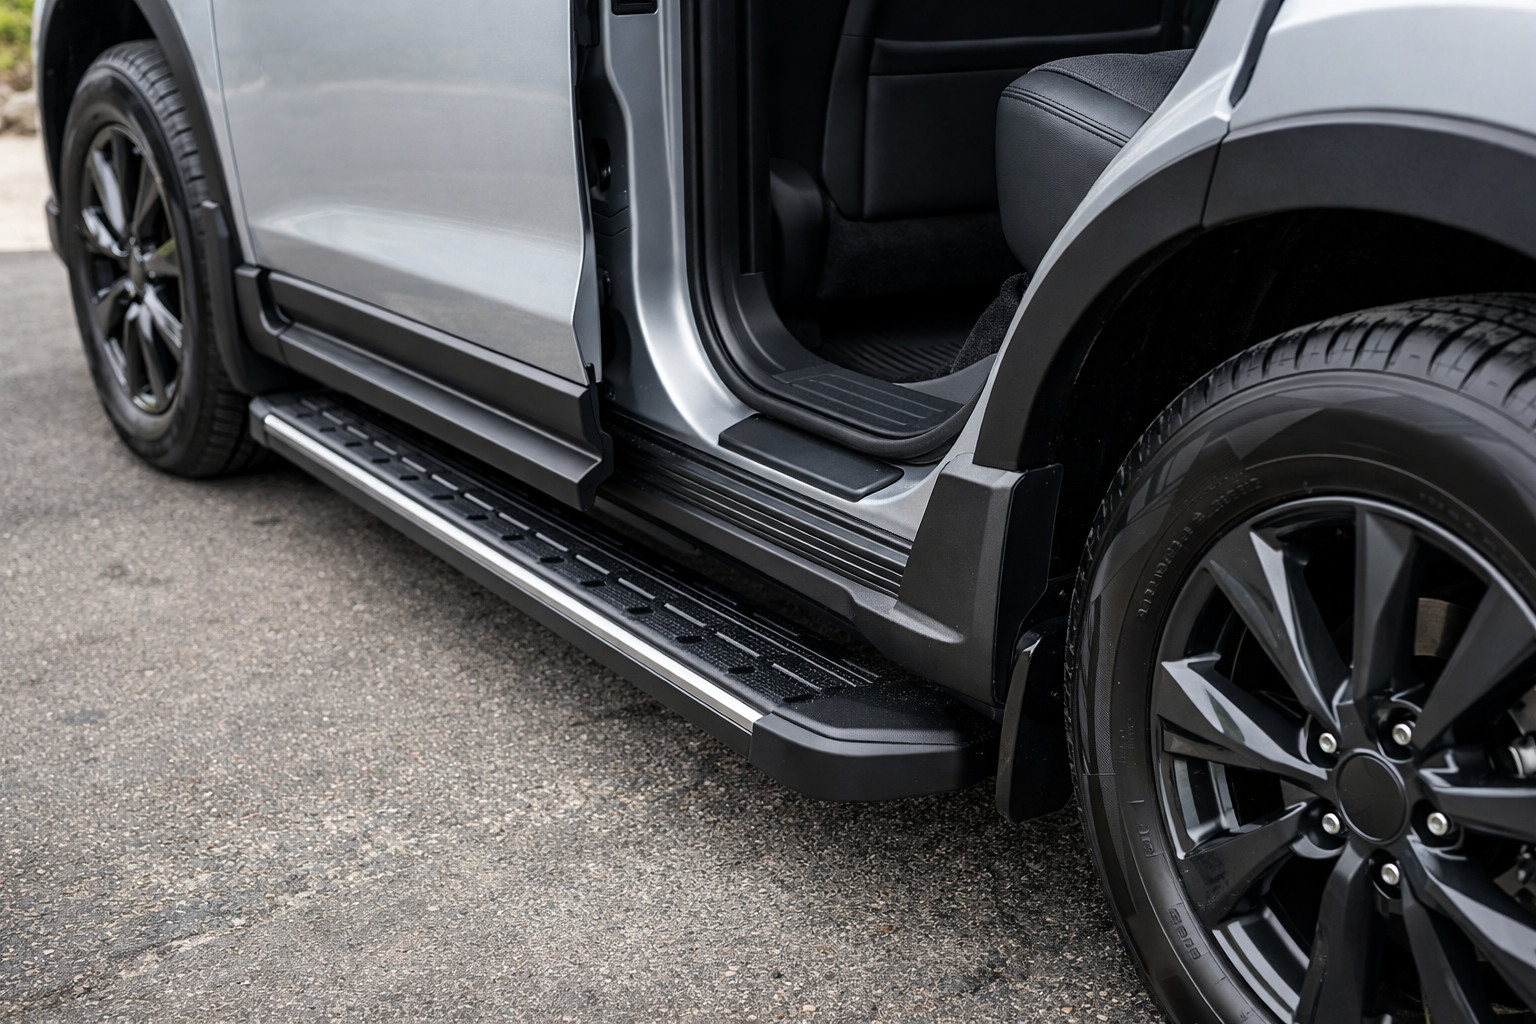
Fixed side steps are helpful for kids and older passengers getting in, but in tougher off-road use they’re not a top priority and can worsen the geometry. The same applies to large decorative kits: they enhance the image, but they don’t replace cabin protection, properly organized cargo, or a compressor.
The typical mistake is one: buying for the picture, not for the route. With the Defender this is especially noticeable, because expensive exterior parts quickly eat the budget but don’t solve a single everyday travel task.
| Install first | Can be postponed | Not required | Why |
|---|---|---|---|
| Cargo tray, floor mats | Arch protection | Decals and decorative trim | Dirt and water show up on the very first trip, while decor doesn’t change real-world use |
| Mud flaps | Exterior side box | Fixed side steps | Mud flaps work every day, a box isn’t needed by everyone, and steps are more about access and looks |
| Compressor | Roof rails and ladder | Snorkel | Tire inflation truly affects the trip, while the roof and snorkel only make sense for a specific route |
| Cargo organization | Expedition roof rack | Full decorative body kit | Controlled cargo matters more than extra noise, weight, and visual effect |
If you don’t want to build the exterior look piece by piece and want an immediate cohesive dark style, it makes sense to look at the Black Edition kit. But this step is justified only after the travel basics are already covered; otherwise the budget goes to the image before the function.
If the Defender regularly drives in mud, over rocks, and on long routes with gear, then more expensive off-road accessories make sense. This is where the Explorer Pack logic often appears: roof, a pronounced exterior profile, more expedition character. For vehicles that spend 80 percent of their time on the highway, it’s almost always smarter to go modular rather than a maximum roof setup because of noise and extra drag.
More expensive solutions also require a clear understanding of compatibility: the Adventure Pack offers the best balance for travel, while the Explorer Pack is better for an expedition scenario where roof gear is actually used. If the priority is only style, not function, the extra cost is often paid for the image rather than the benefit.
From a customer’s experience: For a Defender 110 used for regular mountain trips, they first put together a simple base—mats, cargo tray, mud flaps, and a compressor—and added the side box only after a few outings. The owner initially wanted a full roof kit and a snorkel, but after assessing the route they dropped them: everything fit without the roof, the vehicle stayed quieter on the highway, and the desired rugged look was achieved with dark exterior elements.
For a travel scenario and a rugged look, a Defender 2019+ should be built from practicality to image. Start with cabin and cargo protection, then mud flaps, a compressor, and load order—then the roof, side box, arches, and large exterior elements. This way you won’t overpay for marketing junk and won’t ruin everyday usability for the sake of photos.
This material is based on real selection experience, hands-on practice, and real use cases: with the Defender, the winner isn’t the one who installs the most accessories, but the one who installs them in the right order.
| ✔ | A trunk liner, floor mats, and door sill protection immediately reduce damage from dirt, water, and wet gear. After trips, the cabin and trunk are much easier to clean. |
| ✔ | Mud flaps are really useful on dirt roads, gravel, and in the off-season. They reduce the amount of sand, stones, and dirt on the sills, doors, and wheel arches. |
| ✔ | An integrated compressor makes it possible to quickly adjust tire pressure for different surfaces. This is practical for those who regularly leave the asphalt and then return to the highway. |
| ✔ | Nets, rails, and other cargo organization solutions help secure the load and eliminate clutter in a large compartment. This is especially useful when carrying a box, cans, tools, or photo equipment. |
| ✔ | An external side box lets you move wet or dirty items outside the cabin. It is convenient for boots, wetsuits, ropes, and other gear after active outings. |
| ✘ | A full expedition roof rack only makes sense when you actually use the roof regularly. For vehicles that mostly drive on the highway, it is extra weight and additional noise. |
| ✘ | A snorkel in this scenario does not solve everyday tasks on its own and does not increase the officially permitted water crossing depth. If it is installed only for appearance, there is almost no practical benefit. |
| ✘ | Fixed side steps are not a priority for rough off-road use and can worsen the vehicle's geometry. They are more about getting in and out conveniently and the look than about route tasks. |
| ✘ | Large styling kits and body kits do not replace basic trunk protection, mud flaps, and a compressor. If you buy them first, the budget goes into the image rather than real convenience on trips. |
Shipping to EU
Wholesale and retail
Own warehouse
Опис продукту
Подарунки не надаються при оформленні покупки у кредит під 0,01% або при покупці частинами.