23.04.2026
213
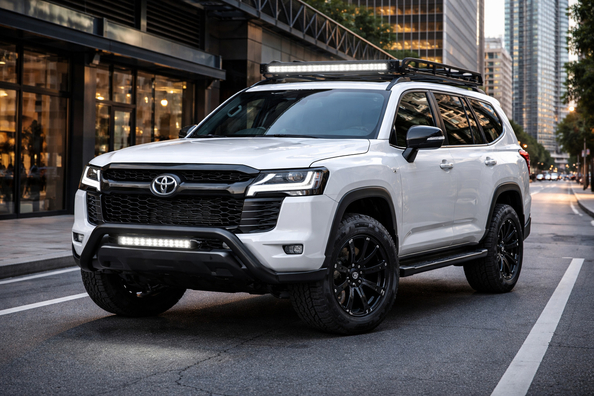

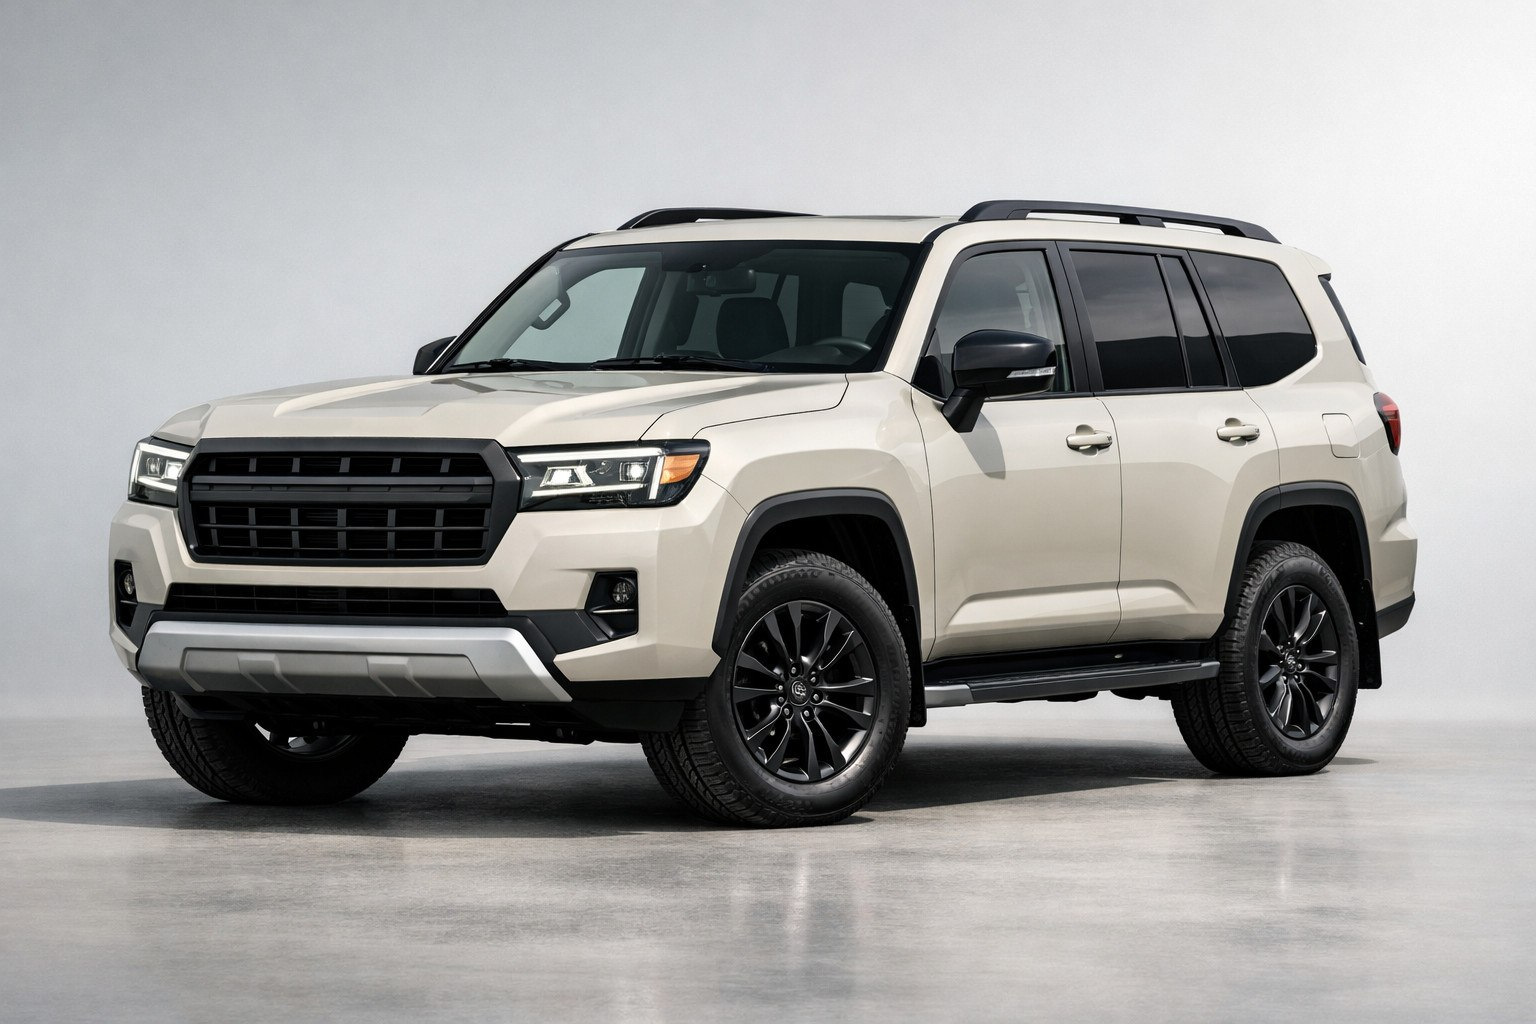
Starter Toyota Land Cruiser 300 city upgrade without “DIY hack” vibes — isn’t “put something on the roof” or “bolt on everything in sight.” It’s a short post-purchase upgrade plan that keeps the factory look, doesn’t add unnecessary weight, and genuinely makes daily use easier: parking, winter road chemicals, curbs, kids, shopping, tight courtyards.
If you’re googling “what to install after buying a Land Cruiser 300,” “LC300 city tuning,” “what actually helps” and don’t want to waste money on marketing junk — below is a ready, scenario-based order: what to do first, what to do second, what can wait, and what you can easily live without.
In a city scenario, the LC300 suffers more often not from off-road use, but from small, regular damage: chips from road sand on the highway into town, scratches from branches and parking lots, scuffs under door handles, dirty sills, wet mats, chaos in the trunk, risks of minor accidents and vandalism. So the logic is simple: protection and control first (body, interior, video, anti-theft), then comfort and convenience, and only after that — cosmetics that don’t break the factory style.
An important nuance: the set of upgrades depends on the trim level (presence of cameras, sensors, factory steps), number of seats, driving style, and whether you do weekly highway runs. That’s normal: the plan below is a “skeleton” you tailor to your conditions.
For an LC300 “without hack vibes,” the smartest first step isn’t chrome or a body kit, but protecting the risk zones. Most often that’s the front end (chips), door edges (parking), the area under the handles (rings, nails), and the trunk loading area. If you’re asking “how to protect the body from chips” — in real life, solutions that actually take the impact or abrasion work better than ones that only add shine.
If you need the most “invisible” solution — choose clear protective film on the risk zones. Ceramic coatings more often help with easier washing and hydrophobicity, but they don’t replace film as a barrier against stones and mechanical contact.
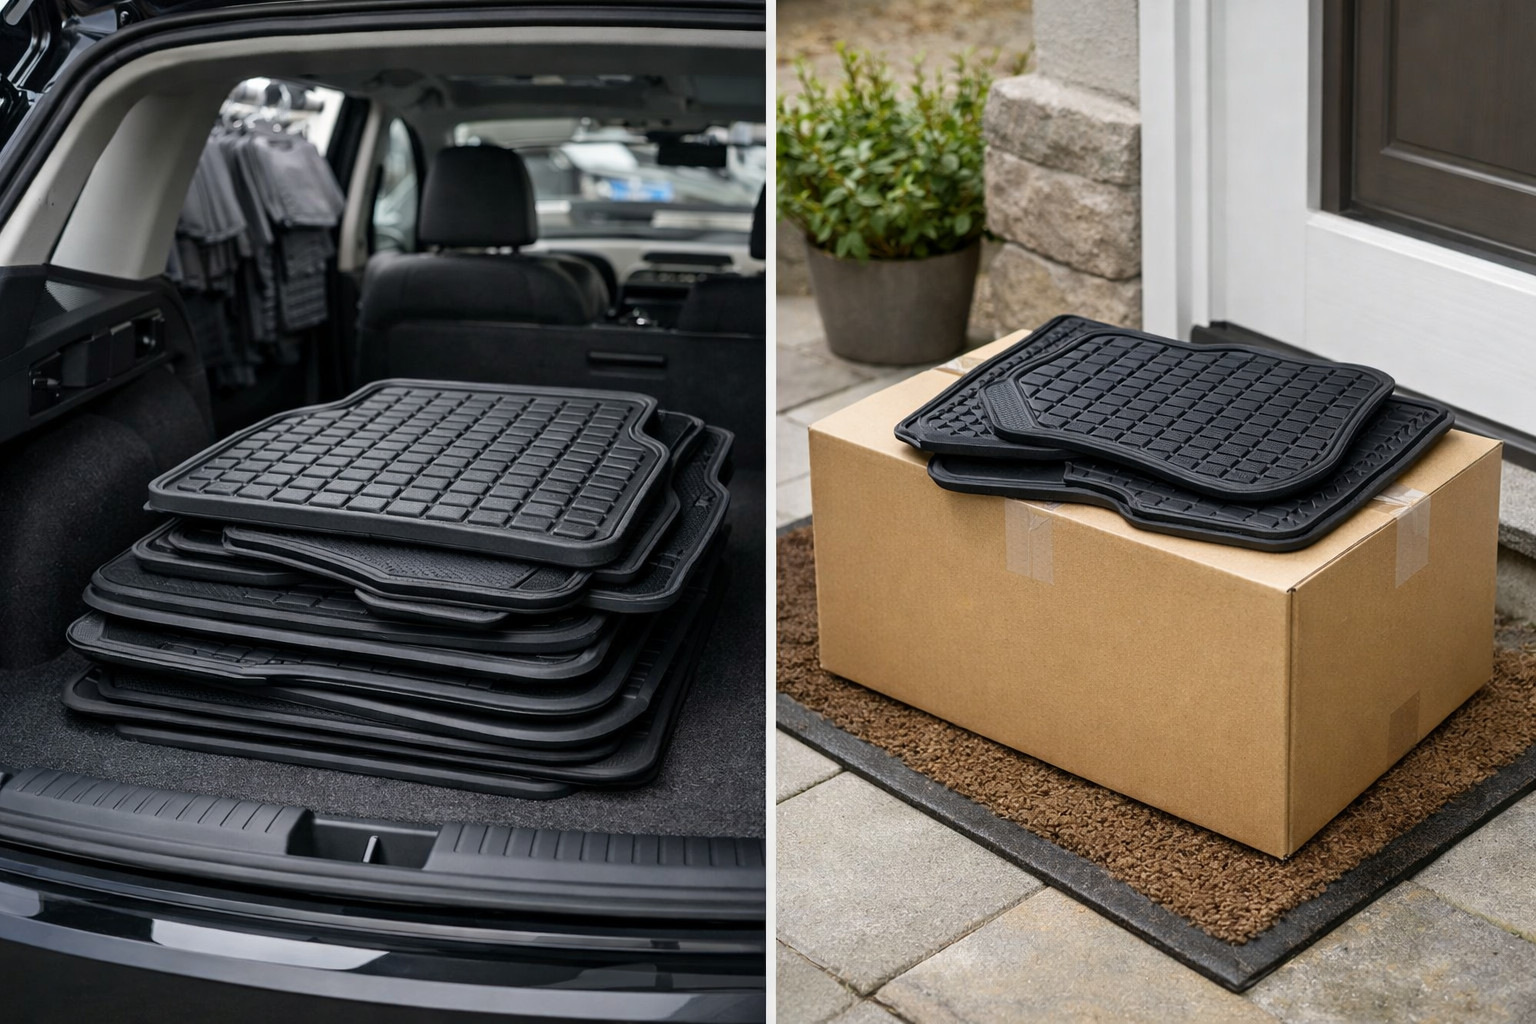
A city LC300 often carries kids, a stroller, sports gear, groceries. Here, “what to do” is very down-to-earth: install the right floor mats and trunk protection that are easy to wash and don’t slide. This is one of the few upgrades you feel from day one and it doesn’t ruin the look.
In the city, mud flaps aren’t about “off-road” — they’re about cleaner body sides, sills, and less sandblasting on the paint from your own wheels. This also reduces the number of small “sandy” damages around the arches and on the lower parts of the doors.
If you’re asking “how to reduce risks in the city” — a dash cam often brings the biggest practical benefit: disputed situations on the road, minor hits in parking lots, unwanted contact with the vehicle. Important: the wiring method and parking mode must be done neatly so you don’t create electrical issues or leave the cabin with extra wires.
Theft risks vary greatly by region, but for an expensive body-on-frame SUV it makes sense to plan a simple minimum: a mechanical element that complicates a quick theft, plus additional electronic protection (if needed) and tracking. The key here is not the “loudest alarm,” but layers of protection that don’t interfere with daily use.
| Upgrade | Why you need it | Who actually benefits |
|---|---|---|
| Protective film on risk zones | Takes chips and abrasion in the most vulnerable areas; visually almost invisible | Those who park in tight courtyards and often drive on highways, especially during sand and de-icer season |
| Protective coating for easier washing | Less dirt “sticking,” faster washing, easier to maintain the look | Those who wash the car regularly and want less manual “chemicals” and friction on the paint |
| Cabin mats and trunk protection | Stops water, sand, and snow; easy cleanup without damaging the factory carpeting | Families with kids, dog owners, active city use, frequent trips with cargo |
| Mud flaps | Less dirt on the body sides and sills; less sandblasting on the lower door area | City winters, wet asphalt, gravel shoulders, courtyards without proper pavement |
| Dash cam with parking mode | Evidence in accidents and parking lots; fewer “and you can’t prove anything” situations | Dense traffic, shopping centers, courtyard parking, city work routes |
| Basic anti-theft minimum | Makes quick theft harder and reduces the risk of being an “easy target” | Expensive trims, street parking, higher-risk areas |
The second stage is upgrades that are useful but not critical in the first weeks, or depend on your driving style and family scenario.
These upgrades can be nice, but it’s easy to make them look out of place if you chase the effect.
| What to install first | What can wait | What isn’t mandatory |
|---|---|---|
| Protect risk zones on the body | Full protection “package” over the entire vehicle | Expensive cosmetic body kits without a practical function |
| Cabin mats and trunk protection | Expensive designer interior solutions | Trim pieces “just to make it shiny” |
| Mud flaps | Fender flares if you’re not changing wheels and don’t drive in mud | Any “universal” parts with questionable fit |
| Dash cam with parking mode | Extra cameras if the factory view is sufficient | Screens and cut-ins that ruin the interior |
| Anti-theft minimum for your risk level | Complex multi-layer systems if the vehicle sleeps in a garage | A “loud siren” as the only protection argument |
Paying extra is justified where you’re buying not a “nice thing,” but a reduction in risk or daily time savings.
For a city LC300 “without hack vibes,” a simple order works best: body and interior protection first, then practical little things against dirt, then video and security, and only after that — comfort and cosmetics. First, check what in your scenario quickly ruins the look and your nerves: chips, dirty sills, wet mats, parking risks. That’s the answer to “what to install first.”
If you need a basic starting point to select upgrades for your trim and style, start with the Toyota Land Cruiser 300 tuning section and build the upgrade from real-world use, not from a picture.
| ✔ | Tyres suited to your urban conditions (asphalt, wet asphalt, winter) improve grip and predictability, and also reduce noise. |
| ✔ | Targeted protection for the front areas against stone chips (hood/fenders/front bumper/headlights — depending on the actual risks) addresses the main source of minor damage in the city. |
| ✔ | Rubber and moisture-resistant solutions for the cabin and trunk reduce wear from salt, dirt, and moisture and make cleaning after short trips easier. |
| ✔ | A front+rear dash cam helps record situations in traffic and in parking lots, which is useful when dealing with incidents. |
| ✘ | If you choose the wrong protection areas (for example, spend money on covering everything), the effect for city use may be weak for the price. |
| ✘ | Some dash cam elements may require technically correct installation, and parking modes often depend on a hardwired connection. |
| ✘ | Comfort or visual upgrades made before the basic practical items may not provide a noticeable improvement in handling or protection and may turn into overpaying. |
Shipping to EU
Wholesale and retail
Own warehouse
Опис продукту
Подарунки не надаються при оформленні покупки у кредит під 0,01% або при покупці частинами.