12.05.2026
320
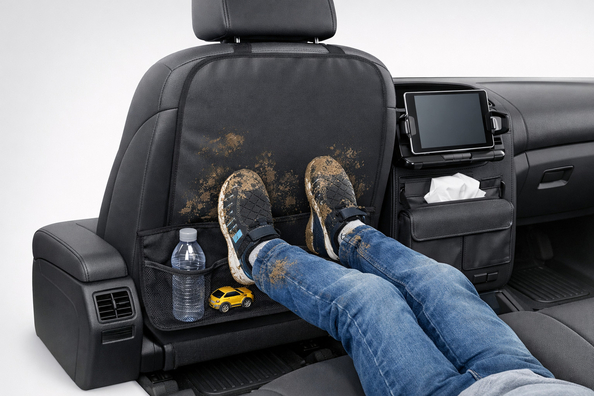
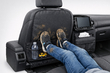
If a child regularly gets the back of the front seat dirty with their feet, the problem is almost never the upholstery itself. Usually it’s a combination of three things: wet or dusty shoes, a seating position that makes the child’s feet constantly push forward, and weak protection that slips after the very first trip. What really works isn’t one “magic” accessory, but a bundle: seat the child correctly, cover the actual contact area, and remove dirt from the soles before they get in.
There’s another common mistake: parents start hastily changing the travel setup. If a child rides rear-facing and their feet touch the seatback, that in itself is not a safety problem. And if they’re already in a booster, first check whether the belt fits correctly and whether the child can sit upright for the whole trip—because then the cause is often not the seatback, but the seating position.
The back of the front seat is the first hard surface in front of a child’s knees in the second row. In a compact cabin the distance is short, so even a calm child will touch it with their soles from time to time. In rain, snow, and the in-between seasons, this quickly turns into black streaks, wet spots, and fine abrasive dirt.
The issue gets worse when the protector covers the wrong area. Often the center stays clean, but marks appear on the sides, or the cover slides down after just a few entries. That’s why the very same pad works well in one car and barely changes anything in another.
DD Tuning expert comment: The most common mistake is buying the first protector you see and not checking where the child actually touches the seatback. The second is tightening only the top and leaving the bottom loose—then the pad does its own thing and collects dirt along the edges. Before buying, it’s worth observing the mark area for at least a day and then choosing the size and format to match it.
| Symptom | Likely cause | What to do |
|---|---|---|
| Stains appear mainly after rain, snow, or slush | Wet soles, snow, road grime | Wipe or shake off soles before getting in, remove the dirtiest shoes for long trips, install a waterproof protector |
| The center of the seatback is clean but the sides are dirty | Protector is too small or the child reaches side areas of the cabin | Assess the real leg path and choose wider coverage to match your cabin geometry |
| The pad slips after every trip | No lower attachment point or it’s weak | Choose a model with both upper and lower fastening and tighten both properly |
| The child constantly squirms, kicks, and touches the belt | Incorrect booster position or moving up too early | Check belt fit and don’t move the child up until they can sit correctly for the entire trip |
| Not only dirt, but scuffs are already on the seatback | Abrasive sand and constant shoe friction | Add a dense protector immediately, and if the material is already damaged—consider wider coverage or repair |
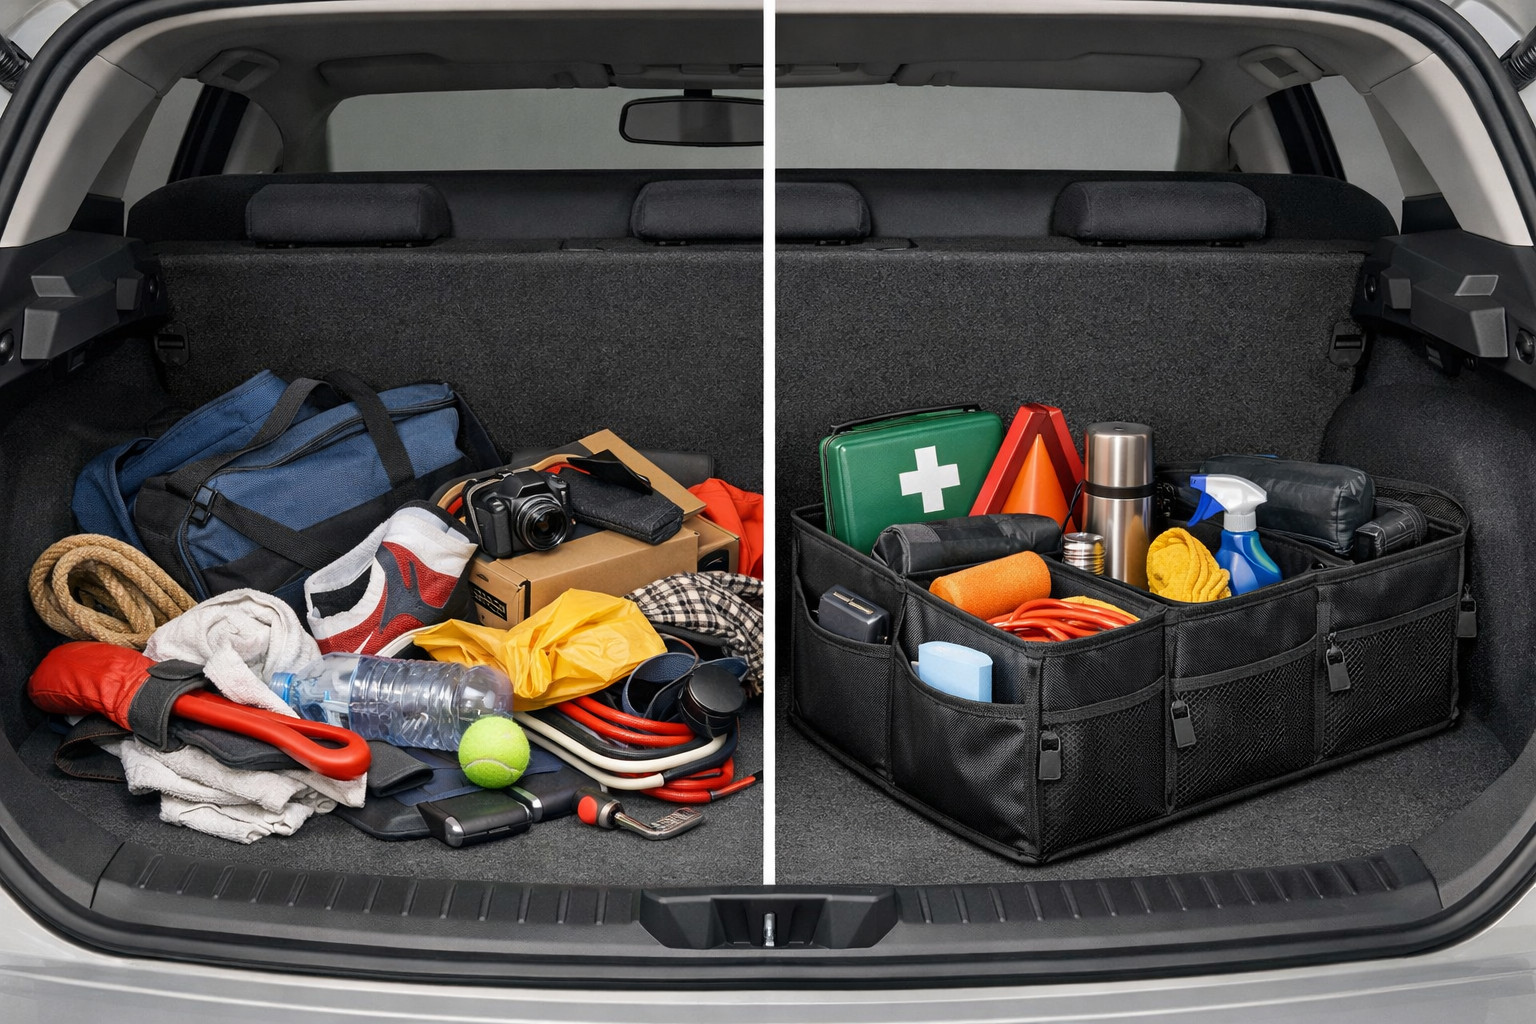
Accessories make sense once the cause is clear. If the dirt comes from the soles and the upholstery is intact, a logical first step is an seat-back organizer or seat-back protector: it covers the impact zone, washes easily, and doesn’t force you to redo the whole interior.
Seat covers are appropriate when marks are not only on the seatback, but also on the seat cushion, bolsters, or nearby areas. It’s broader protection, but it doesn’t replace a targeted protector if the child is hitting the back of the front seat.
If the upholstery is already scuffed, there are old stains, or you’re torn between local and full protection, it helps to first look at the comparison of covers vs. seat covers. Replacing or reupholstering an element only makes sense when the material is already damaged; for normal marks from children’s boots it’s usually an unnecessary expense.
| Solution | When it works | When it’s not worth spending money |
|---|---|---|
| A protector or organizer with upper and lower fastening | When the main dirt comes from footwear, and the contact area is clear and doesn’t extend far beyond the seatback | When the accessory covers the wrong area, interferes with seat mechanisms, or doesn’t fit your cabin geometry |
| Habit of wiping or removing dirty shoes | In rain, snow, slush, and short city trips where soles create most stains | When the problem has already turned into scuffing, or the child rubs the seatback constantly even with dry shoes |
| Checking booster fit or avoiding moving up too early | When the child squirms, tucks the belt under an arm or behind their back, and can’t sit upright | When the belt already fits correctly, and the seatback gets dirty simply from wet boots |
| A thin cover or towel as temporary protection | Only as a short-term solution in dry weather, when you need to cover the seatback for one or two trips | For everyday use, winter, rain, and an active child—you’ll be constantly adjusting it |
| Full covers, wider seat covers, or upholstery repair | When the damage is no longer local: there are scuffs, old stains, or not only the seatback gets dirty | When the problem is limited to fresh sole marks on one seatback |
From a customer’s experience: we were looking for “something so the child would stop kicking the seatback,” but after checking we found the main issue was wet boots and a cover that slid down. In the end we installed a dense protector with two attachment points and agreed to quickly wipe the soles before getting in. After that the seatback stopped getting dirty every day, and there was no need to buy full covers.
In most cases, radical spending isn’t needed. First determine exactly where the child touches the seatback, then check the seating position, and only after that install protection that won’t slip. The best results come from a three-step combination: proper seating, controlling dirty footwear, and a dense protector in the right area.
If the child rides rear-facing, foot-to-seatback contact alone isn’t a reason to rush into changing the seat. If they’re already in a booster, what matters isn’t an “adult” position, but correct belt fit for the entire trip. Buy not the most expensive solution, but the one that covers your specific dirty zone and doesn’t interfere with using the seat.
Shipping to EU
Wholesale and retail
Own warehouse
Опис продукту
Подарунки не надаються при оформленні покупки у кредит під 0,01% або при покупці частинами.