08.07.2026
362
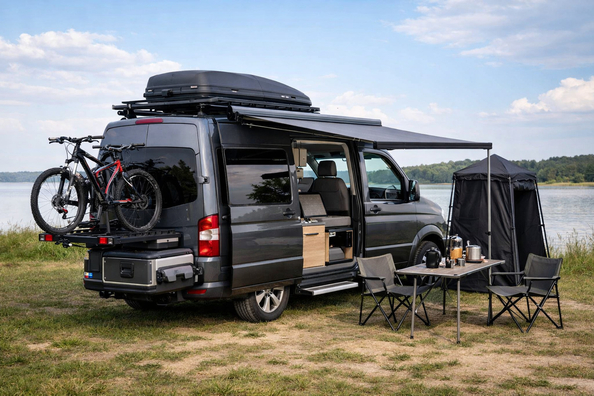
This package of upgrades is for those preparing a van for 2–10-day travel trips and wanting to cover the basics without chaotic spending: sleep, privacy, fresh air, device charging, food, water, and safety. If it’s a short city-based setup, the priorities are one thing; if it’s a long-wheelbase high-roof base with shoulder-season trips, you’ll need to think about heat, ventilation, and energy reserve as a single system right away.
What works best here isn’t one big tuning job, but a step-by-step package of upgrades. First you install what quickly makes a trip uncomfortable or risky without it, then what gives you autonomy, and only after that—expensive options for camping stops, looks, and longer routes.
A travel van shouldn’t just “look like a camper”—it should actually live well on the road. That means: having a safe living space, venting moisture and odors, not overheating at night, not turning the cabin into an insect aquarium, keeping food without ice, charging phones and a laptop, and not requiring a campsite every night.
The configuration depends on the body style and how you travel. For a couple on a weekend, ventilation, window covers, minimal electrics, and a simple water module are often enough. For a long-wheelbase base, a fixed bed, and a 4-season scenario, you’ll need well-planned wiring, heating, a larger battery, and the right order of work even before the interior lining goes in.
First priority is safety. In the living area you need a smoke detector, a CO detector near the sleeping spot, a fire extinguisher, a fire blanket, and a clear path to the exit. These aren’t “extras for later”—they’re the foundation, especially if the van will have gas, a fuel heater, or off-grid electrics.
Second priority is airflow. A roof fan is not something to skip: it handles cooling, moisture control, and odors. An important nuance: an exhaust-only fan doesn’t always create proper flow, so you need to plan where the air comes in—from a cracked window, vents, a screened door, or a dedicated intake.
Third priority is privacy and basic sleeping comfort: removable window covers, mosquito nets, a proper sleeping space, and basic lighting. These seemingly small things change the trip experience the fastest: less light in the cabin, less condensation, fewer insects, and less improvisation every evening.
| Upgrade | Why it’s needed | Who truly benefits |
|---|---|---|
| Smoke and CO sensors, fire extinguisher, fire blanket | Reduce risks in a compact living space where everything is close together: people, wiring, fuel, cooking | Everyone without exception, even for short trips |
| Roof fan | Removes moisture, odors, and hot air; critical for sleeping and rainy weather | Those who actually sleep in the van, not just haul gear |
| Window covers | Provide privacy, blackout, and better temperature control | City parking, early departures, summer travel, families |
| Mosquito nets or a bug wall | Maintain ventilation without insects, especially when doors are open in the evening | Summer, near water, forests, southern routes |
| Basic 200–400 Ah power system with DC-DC and charging | Provides autonomy for lighting, devices, the fan, and a fridge | Those traveling longer than a weekend or working on the road |
| 12V compressor fridge 40–65 L | Runs more consistently than a cooler and doesn’t tie you to ice | Trips of several days or more, couple or family |
| 2–3 kW diesel heater | Makes shoulder seasons and cold nights realistic without huge energy draw | Those who travel in autumn, winter, mountains, or simply don’t want to freeze |
DD Tuning expert comment: The most common mistake is starting with good-looking exterior solutions and only then remembering ventilation, wiring, and service access. If you’re planning a roof fan, external shore-power inlet, solar panels, or an awning, all cutouts, brackets, and cable routes need to be planned before the interior lining. Another typical story: they install a fridge but don’t calculate daily consumption—and by morning they’re already looking for a charge.
After safety and ventilation comes autonomy. For anything longer than just a weekend, the basic logic is: battery system, alternator charging, a well-thought-out panel, a fridge, and water. A typical working range for a travel van is 200–400 Ah LiFePO4, 200–400 W of solar, a 20–40 A DC-DC charger, and a 2000–3000 W inverter—if you truly have 220 V loads.
It’s important to calculate not “just to have headroom,” but your daily use case. A fridge, lighting, a laptop, phones, and a fan can easily add up to about 1000–2000 Wh per day, so a small system runs out fast. If you’re installing a fridge, water, and heating, plan it as a single module: where wiring runs, where the tanks go, where service access is, how the cabin is ventilated, and what happens with moisture in the cold season.
This is where an awning, large exterior organizers, extra camp lighting, expensive trim panels, seat covers, decorative overlays, and some suspension solutions come in. They can be useful, but their value depends heavily on how you travel. If you often stay in one place for 2–3 days, shade and a dry space next to the van are truly noticeable. But if your format is “arrive-sleep-leave,” an awning will often cost more than it gets used.
For a tall and already heavy van, suspension is a separate topic. It makes sense when the vehicle is genuinely loaded with water, batteries, furniture, and gear, or frequently drives on bad roads. If the van is empty or close to stock, a stiff kit for the sake of a “proper look” can sometimes only make daily driving worse.
The first typical mistake is overpaying for looks. Exterior plastic, heavy bars, body kits, decorative panels, and complex lighting solutions barely help on a trip if it’s still stuffy inside, there’s no privacy, and there’s no proper electrics.
The second mistake is an A/C unit or electric heater without an energy base. A 12V A/C makes sense only with a very large battery; for most travel vans, that’s a different budget and weight. An electric heater off the battery is also usually a losing scenario: it drains the system fast. Likewise, people often waste money on a thermoelectric cooler, which on paper is cheaper than a fridge but doesn’t deliver the needed result in heat.
The third mistake is buying materials and “vapor barriers” without understanding climate and ventilation. There’s no universal magic in a van: if you don’t control humidity with airflow, condensation will beat any beautiful wall build-up.
| What to install first | What can be postponed | What is not mandatory | When priorities change |
|---|---|---|---|
| Sensors, fire extinguisher, clear exit | Decorative camp lighting | Chrome, trims, exterior decor | Doesn’t change—this is the foundation for any scenario |
| Fan, window covers, nets | Second fan or more complex intake solutions | Panoramic or image-focused windows | In very hot regions, fresh-air intake becomes a higher priority |
| Basic electrics, fridge, water | Solar panels if you drive daily and have DC-DC | A large inverter if there are no real 220 V loads | For working on the road or long stays, electrics jump sharply up the list |
| Heater for shoulder seasons | Awning, exterior kitchen, suspension | A/C if you don’t live in heat and don’t have a large battery | For a 4-season van, heating moves into the first planning stage |
More expensive solutions are justified when you actually use them not once per season, but on almost every trip. If stops are long and life happens outside, it makes sense to look at awnings and tents: they add shade and dry space, but they cost money, complicate installation, and can create extra potential leak points. For short drives and frequent city parking, it’s not a must-have upgrade.
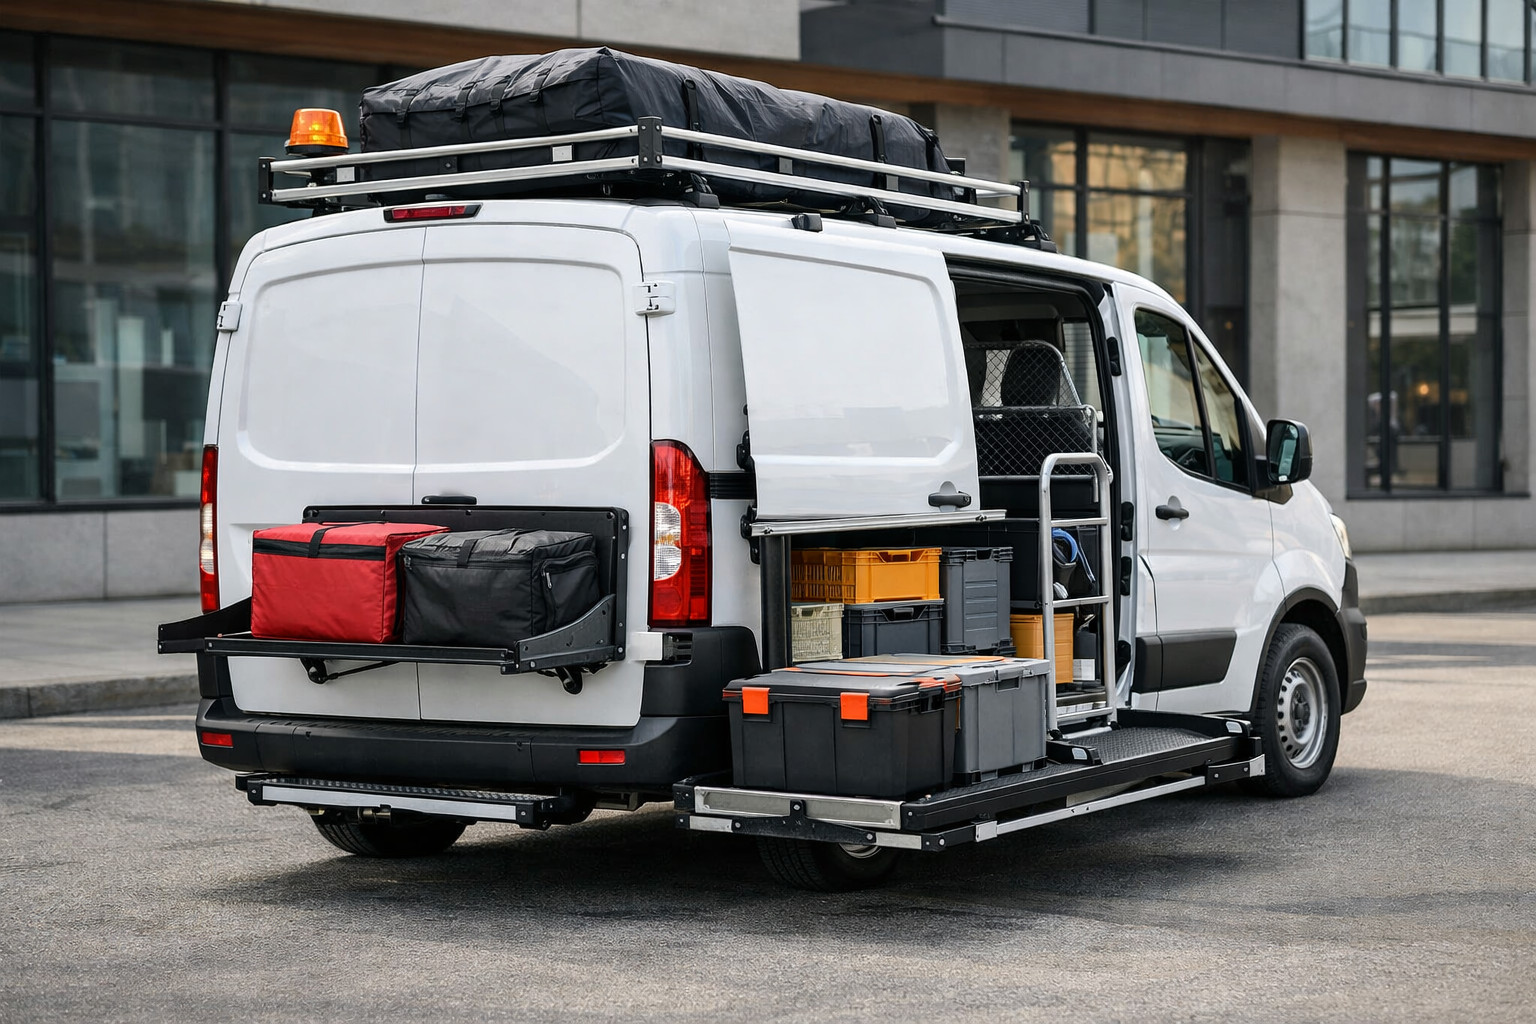
The second case is when the gear physically doesn’t fit in the cabin and you don’t want to live among bags. Then roof boxes or other external cargo solutions are justified—but only after checking roof load and the van’s real height. If you’re unsure about the base setup, it’s better to first figure out which roof rack fits your weight, length, and mounting method.
The third case is a heavy 4-season van. Here, the expensive items may not be exterior accessories, but invisible things: a bigger battery, a higher-quality charging circuit, a quieter fan, a better heater, proper cables, and service access. These are what make the difference in daily use—not a decorative checklist of options.
From a customer’s experience: we were looking for a solution for a van for 4–6-day trips, and at first we wanted to start with an awning and nice exterior equipment. In the end, we installed the fan, window covers, net, basic electrics, and a fridge first, and postponed the awning. After a few trips it became clear these were the things that brought the most benefit, and the expensive exterior upgrade was purchased later—without rushing and based on real stop frequency.
For a travel van, the right upgrade isn’t a maximal shopping list, but a sober order: safety, ventilation, privacy, electrics, fridge and water—and only then heat, an awning, roof cargo, and other expensive solutions. This approach reduces mistakes, doesn’t force you to pay twice for rework, and delivers a van that’s comfortable to live in for your scenario—not someone else’s picture. The material is based on real selection experience, practice, and real use cases.
| ✔ | The package covers the basics for living in a van: safety, ventilation, privacy, device charging, a fridge, and water. This reduces the risk of having to redo the vehicle after the first trips. |
| ✔ | The author presents a clear order of work: first safety and airflow, then autonomy, and only after that comfort and exterior upgrades. This approach helps avoid spending money on secondary things before the necessary ones. |
| ✔ | There is a practical link to usage scenarios: short trips, trips for several days, the off-season, and a 4-season format are described separately. This makes it easier to choose upgrades for real conditions rather than for an abstract “camper.” |
| ✔ | The article clearly explains which elements really add value on the road: sensors, a fan, covers, nets, basic electrics, and a compressor fridge. This helps filter out unnecessary purchases before starting. |
| ✘ | For a longer wheelbase or cold season, the package quickly becomes more complex: heating, a larger battery, well-thought-out wiring, and service access are needed. In other words, this is not a universal “for all cases” solution, but a starting scheme that will have to be built out. |
| ✘ | Some desired options depend heavily on the actual travel style, and some of them may turn out to be unnecessary. For example, an awning, exterior trim, or suspension will not bring noticeable benefit if you often stay only one night and move around a lot. |
| ✘ | Energy consumption needs to be calculated separately, otherwise even a basic kit may turn out to be weak. The article explicitly says that the fridge, lights, laptop, and fan quickly “eat up” the reserve if the system is selected without calculation. |
| ✘ | Some solutions seem simple at first glance, but in practice they require proper installation before the lining is done. If this is not done, you will later have to redo the holes, wiring, or mounts. |
Shipping to EU
Wholesale and retail
Own warehouse
Опис продукту
Подарунки не надаються при оформленні покупки у кредит під 0,01% або при покупці частинами.