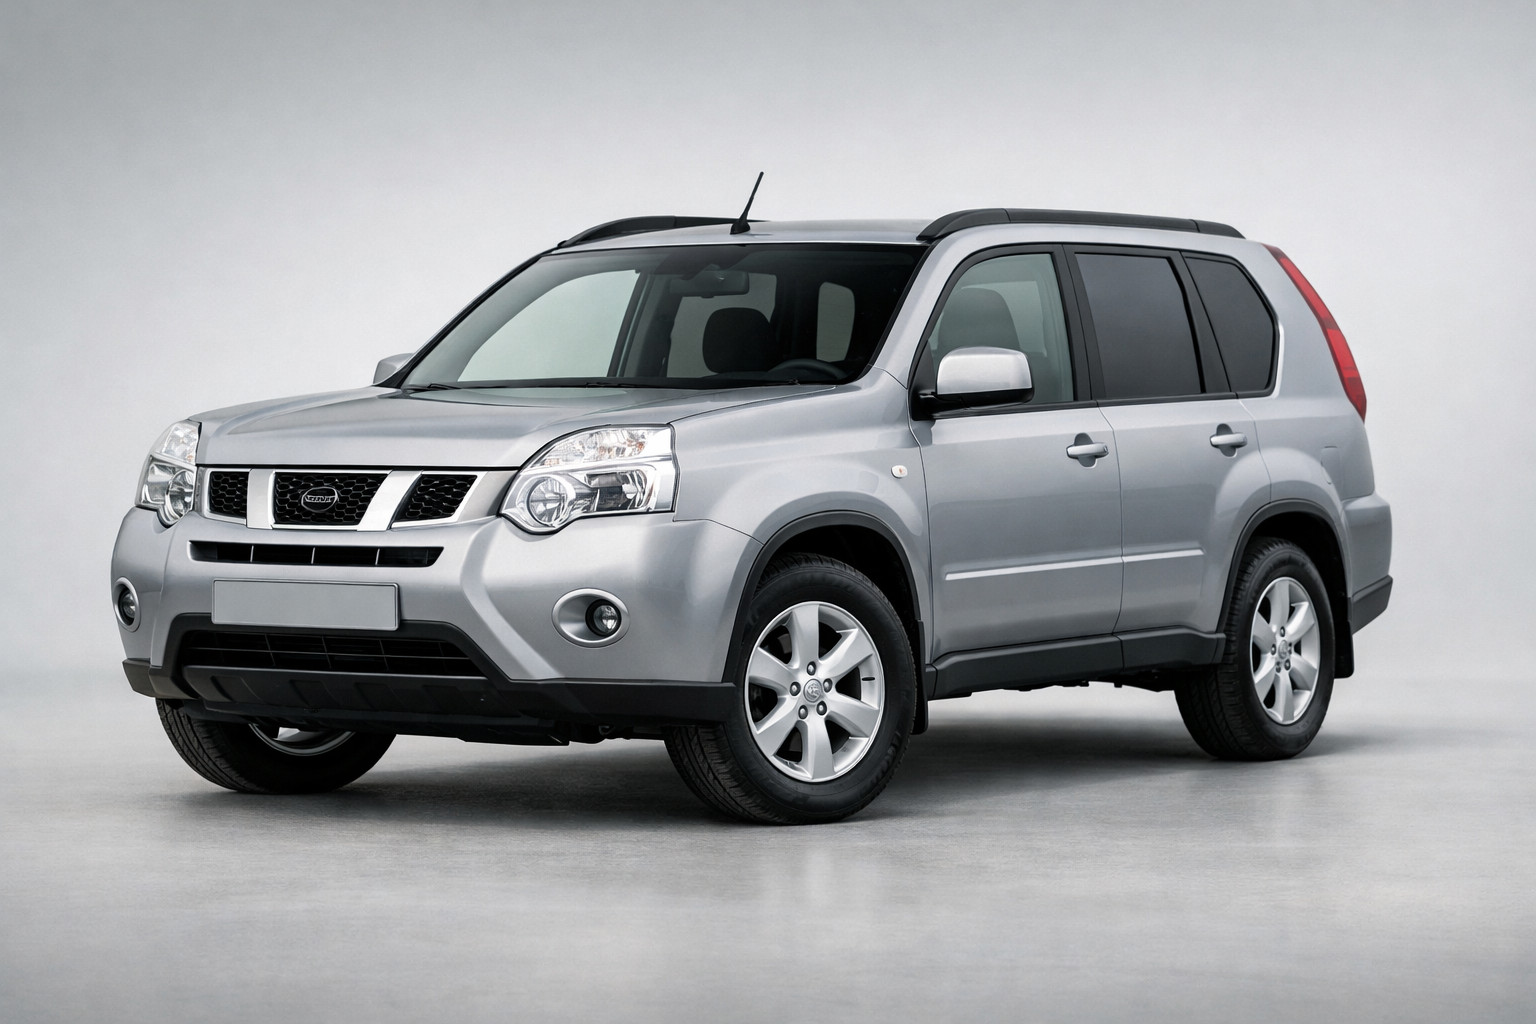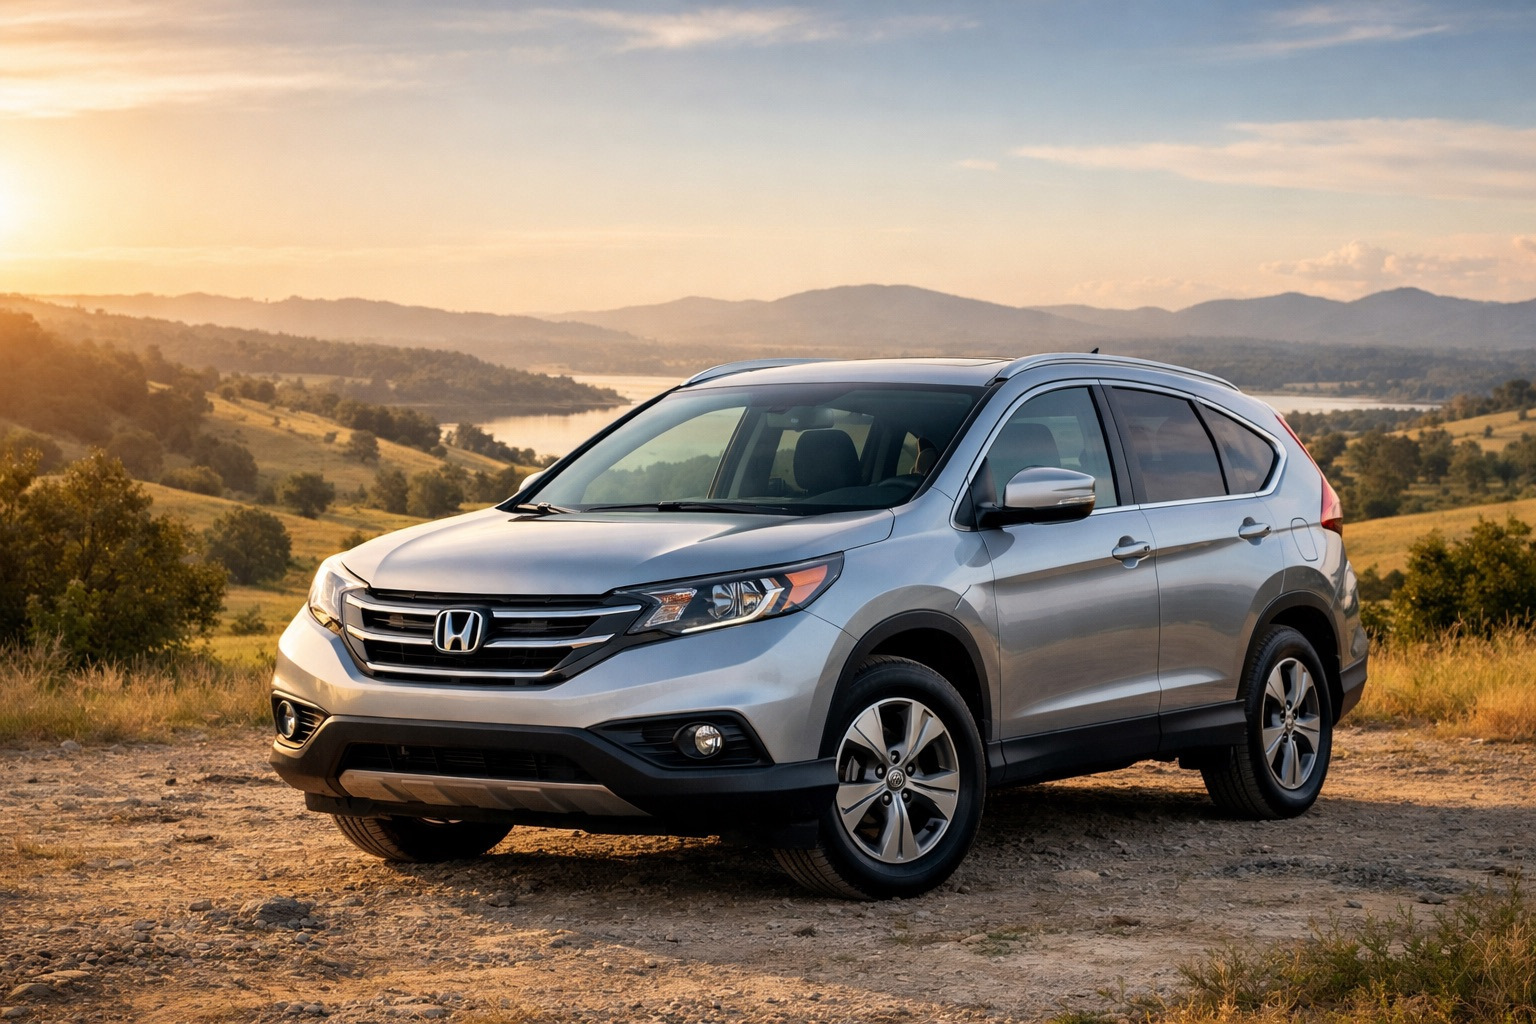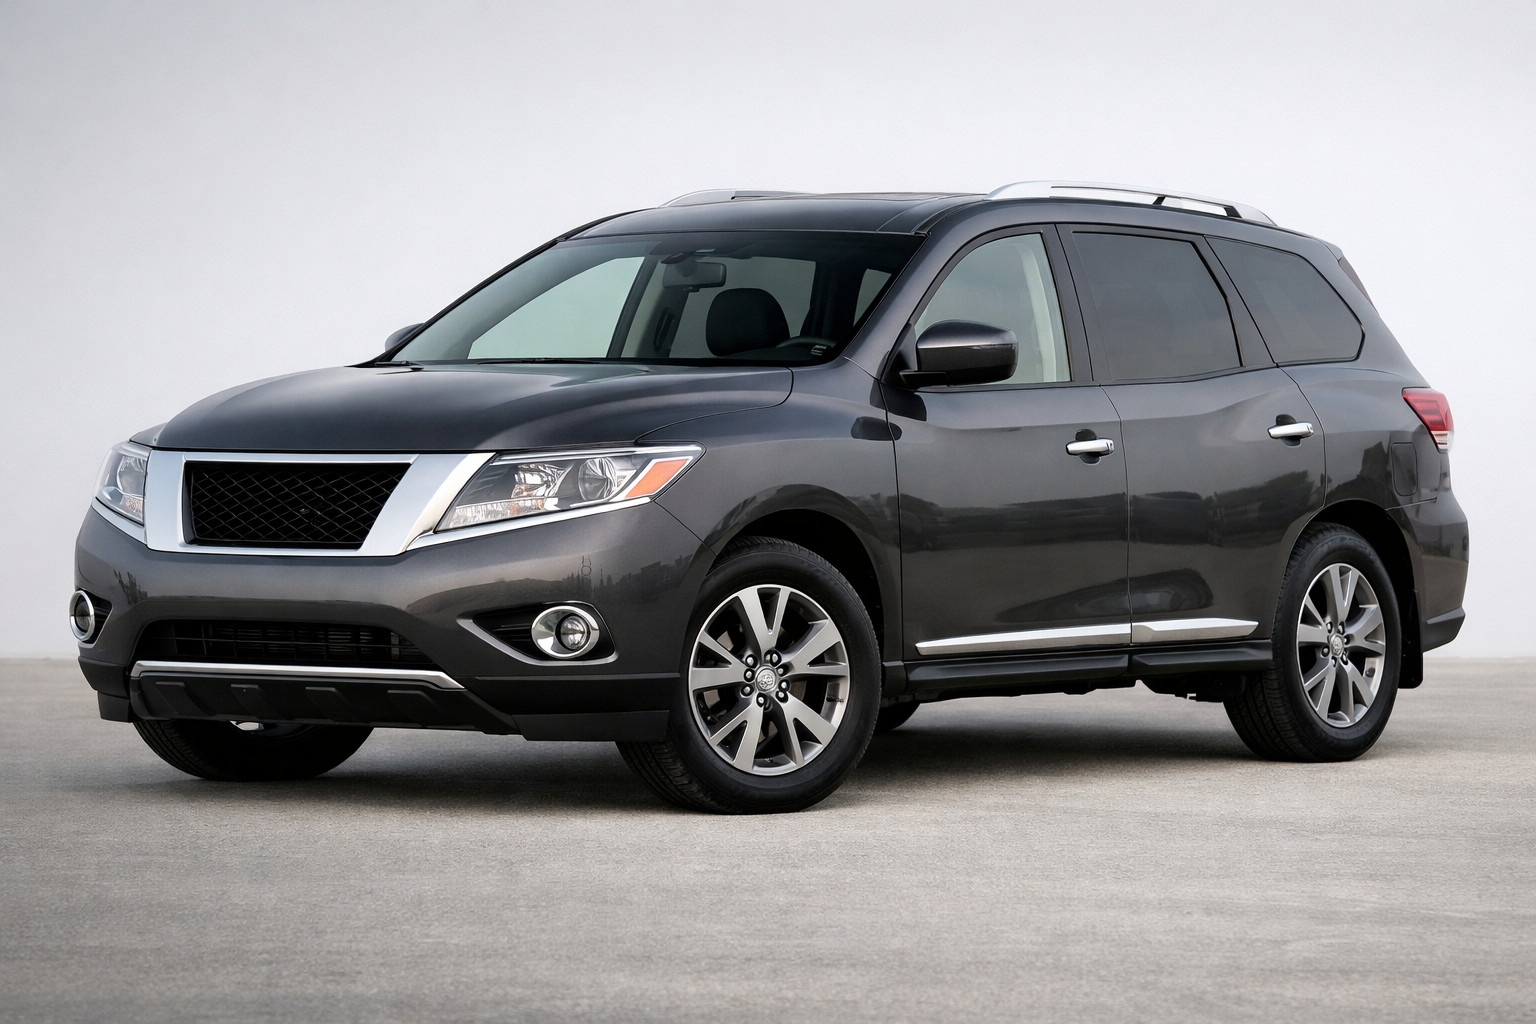
22.04.2026
782
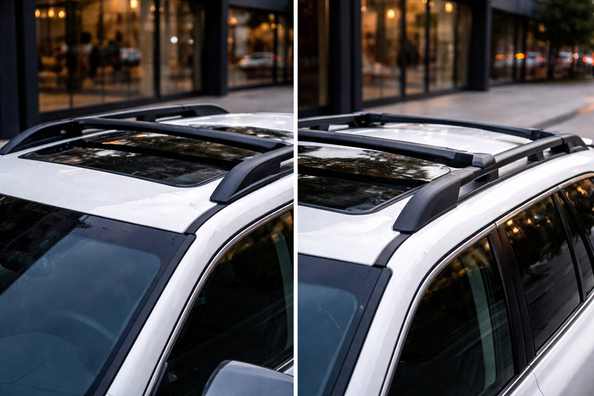
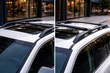
Crossbars for integrated vs. standard roof rails: how to choose without getting it wrong — this is the most common question right after buying a car, when a real need appears: to carry a roof box, bikes, skis, or simply free up the trunk on trips. The typical mistake is the same: people mix up the rail type, buy “almost universal” crossbars, and end up with play, scratches, noise, and the need to reorder mounts.
This plan is for owners of crossovers, wagons, and minivans with factory roof rails who want to choose the right crossbars for their scenario (city, highway, family, travel) once and for all—and not overpay for something that won’t bring real benefit.
A “roof crossbars” upgrade must cover three things: secure cargo mounting, predictable compatibility with accessories, and normal day-to-day use without constant tightening and stress. The choice between “for integrated” or “for standard” rails actually starts not with a brand, but with correctly identifying your roof.
Standard roof rails usually have a gap between the rail and the roof: you can slide your fingers or palm under the rail. Integrated roof rails look “built into” the roof: there’s no gap or it’s minimal, and you can’t wrap your hand underneath the rail. This is critical, because integrated-rail mounts often must match the rail geometry and work with a specific profile, while standard-rail systems more often clamp around the rail and are simpler to install.
Another possible scenario that gets confused with “integrated”: rails with caps and hidden fixed points. If you see caps or covers on the rail, there may be a thread or an OEM mounting point underneath. Then the choice is made not “by eye,” but by the mounting type and the specific kit.
A quick “how to tell what rails you have” check takes a minute: there’s a gap under the rail and your hand fits underneath—those are standard; no gap—integrated. If you’re unsure, don’t buy based on the first photo: different trims of the same model can have different rails.
Ask yourself honestly: how often will you carry a load, what exactly, and do you need quick removal. For city use and occasional trips, the priority is simplicity and fast take-off. For highways and regular travel, it matters more that the crossbars make less noise and don’t create that feeling of “I’m constantly re-tightening something.”
The most common mistake is buying just the bars without the correct feet and clamps for your rail profile. With integrated rails it’s especially important that the feet and clamps sit without skew and don’t touch the roof. If rubber pads or protective inserts are required somewhere, that’s not an “aesthetic option”—it’s how you avoid damaging the paint and eliminate play.
Even the right crossbars can be “killed” by a crooked install: skewed feet, too close to the roof edge, different distances from the left and right edges, over-tightening “until it strips.” Best practice is to check after the first short drive that nothing has loosened, and repeat the check periodically—especially when the weather changes and if you often remove and reinstall the system.
If the crossbars will stay on the car for more than a day, it makes sense to have locks, end caps, and closed channels right away—so you don’t get noise on the highway and don’t have to hunt for small parts later. These are exactly the “small add-ons” that make an immediate difference.
| Upgrade | Why it’s needed | Who it really benefits |
|---|---|---|
| Determine the rail type: integrated or standard | This determines the type of feet and clamps, which means fitment, stability, and scratch risk | Anyone who doesn’t want to buy twice and “make the mounts fit” |
| Check the roof load limit | So you don’t exceed what the car and the mounting system allow | Those planning a roof box, 2+ bikes, or heavy gear |
| Choose a crossbar kit with the correct feet for your roof | Compatibility and secure fit without play or misalignment | Especially important for integrated rails and non-standard profiles |
| Select the bar profile for your driving pattern | Reduces noise at speed and makes use more comfortable | Those who often drive on the highway and don’t want “whistling” |
| Set the correct spacing between crossbars and align them | Accessory stability, even load distribution, less humming | Anyone using roof boxes, sport mounts, or carrying long items |
| Locks, end caps, closed channels | Less chance of losing parts, less extraneous noise, basic protection from removal | Those who keep crossbars on all the time or often park outdoors overnight |
The second stage is things that depend on your “why”: travel, sport, work, seasonality.
It’s easy to overpay “for the picture,” but there’s logic when it’s justified.
| What to install first | What can be postponed | What isn’t necessary |
|---|---|---|
| Identify the rail type and choose the correct feet | Choosing roof accessories if you haven’t decided what you’ll carry yet | Decorative trims that don’t affect fitment and safety |
| A crossbar kit for your roof and scenario | Locks and extra small parts if you remove the crossbars after each trip | Questionable-fit “universal” adapters |
| Correct installation and torque checks | Anti-noise details if you mostly drive in the city and the noise doesn’t bother you | Overly long bars “just in case,” if there’s no real need |
| End caps, closed channels, basic security | Quick-release if the system isn’t installed permanently anyway | Any solutions that require DIY modifications to the roof |
Paying extra is justified if you want not “just to install it,” but a predictable real-world result day to day.
To choose the right system type right in the correct category: crossbars for standard roof rails and crossbars for integrated roof rails.
To choose without mistakes, answer two questions first: what type of rails and what scenario you’re installing crossbars for. For standard rails, simple wrap-around systems are more often suitable; for integrated rails, you need a precise fit to the profile and more attention to having the complete set of feet and clamps. If you’re not sure about the roof type or you see non-standard mounting points, it’s better not to experiment with “universal” options but to select a vehicle-specific kit—this is the shortest path to the result without unnecessary costs.
| ✔ | You need to select crossbars for the specific geometry of the mounting points and the appropriate fit kit for your rail type (flush or raised), which reduces the risk of play due to incomplete seating. |
| ✔ | Correct compatibility usually helps avoid road noise, because whistling often appears due to open gaps/voids or improperly closed elements, not only because of the “rail type”. |
| ✔ | Both options include installation instructions and requirements for rechecking tightness after driving (the article mentions checks after 50 km and 500 km), which improves installation consistency. |
| ✔ | For flush and raised setups, manufacturers separate solutions for different seating logic and even different stated kit parameters (the mentioned examples are Thule Evo Flush and Raised), so it is easier to choose the “right” option without modifications. |
| ✘ | If you choose the “wrong” kit for the rail type, play and re-tightening issues may occur, up to situations where the system does not sit fully in place. |
| ✘ | Even with the correct choice, noise can appear due to unclosed ventilation elements/gaps or resonances in areas like T-slots, so you will need to additionally check sealing and fastening. |
| ✘ | The difference between flush and raised affects the height/contact plane and tightening torque, so the choice requires careful adherence to the instructions and the correct orientation of the crossbars. |
Shipping to EU
Wholesale and retail
Own warehouse
Опис продукту
Подарунки не надаються при оформленні покупки у кредит під 0,01% або при покупці частинами.