22.07.2026
129
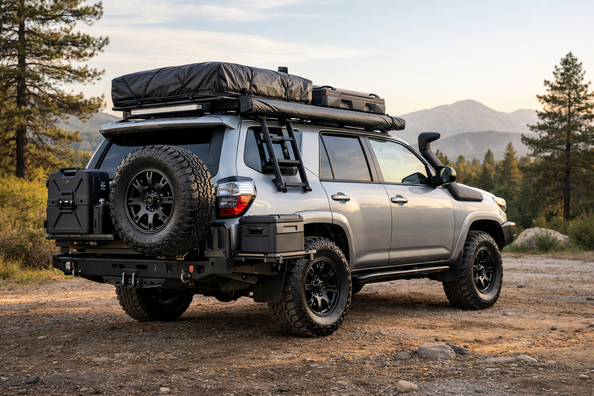

This upgrade plan for the Toyota 4Runner is for those who head outdoors, do long highway runs, and don’t want to turn a family SUV into a heavy expedition rig without real need. The task is simple: make the vehicle more comfortable, safer, and more durable specifically for forest roads, camping, fishing, picnics, and trips with kids—not for a showy checklist of mods.
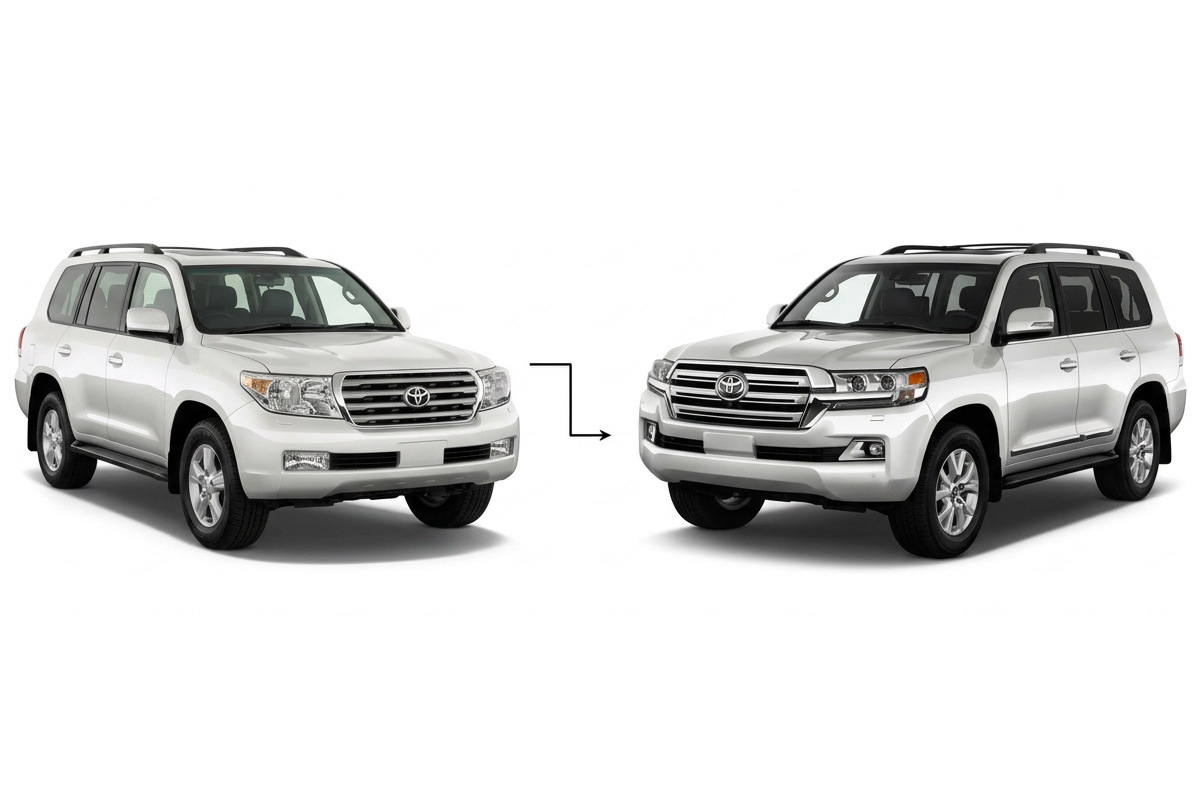
The 4Runner already has a strong base: body-on-frame construction, good ground clearance, a large cargo area, and solid geometry for moderate routes. That’s why the first real gains come not from expensive heavy parts, but from tires, a basic self-recovery kit, interior protection, and order in the cargo area. The key is to distinguish the fifth generation (2009-2024) from 2025+, because newer versions in certain trims already have some of the needed equipment from the factory.
In the “outdoors + highway + family” scenario, the vehicle should cruise on asphalt, not wear you out with noise, fit your gear, and not get stuck on a wet dirt road after rain. This isn’t about rock-crawling at the limit—it’s about stable versatility: drive far, turn off the highway, and not fear ruts, branches, a slick climb, or an overloaded cargo area.
For the fifth generation, this is especially relevant: even a stock TRD Off-Road has enough clearance and angles for most everyday routes. For 2025+ in TRD Off-Road trims, some items may already be covered from the factory, so the logic is even simpler there: don’t duplicate what’s factory—cover the real needs of your family and travel style.
If your base is a Limited with highway priority, don’t break its character just to follow the trend of a harsh off-road setup. And if you live in a region with snow and road salt, winter tires and underbody anti-corrosion protection may rise to the top of the priority list—not suspension or a roof rack.
First—tires. For mixed use, all-terrain tires are the smartest choice, or a dedicated winter set if winter is real. Mud-terrain tires on daily highway driving often bring more noise, worse fuel economy, and weaker wet-asphalt handling than any benefit they provide on easy routes.
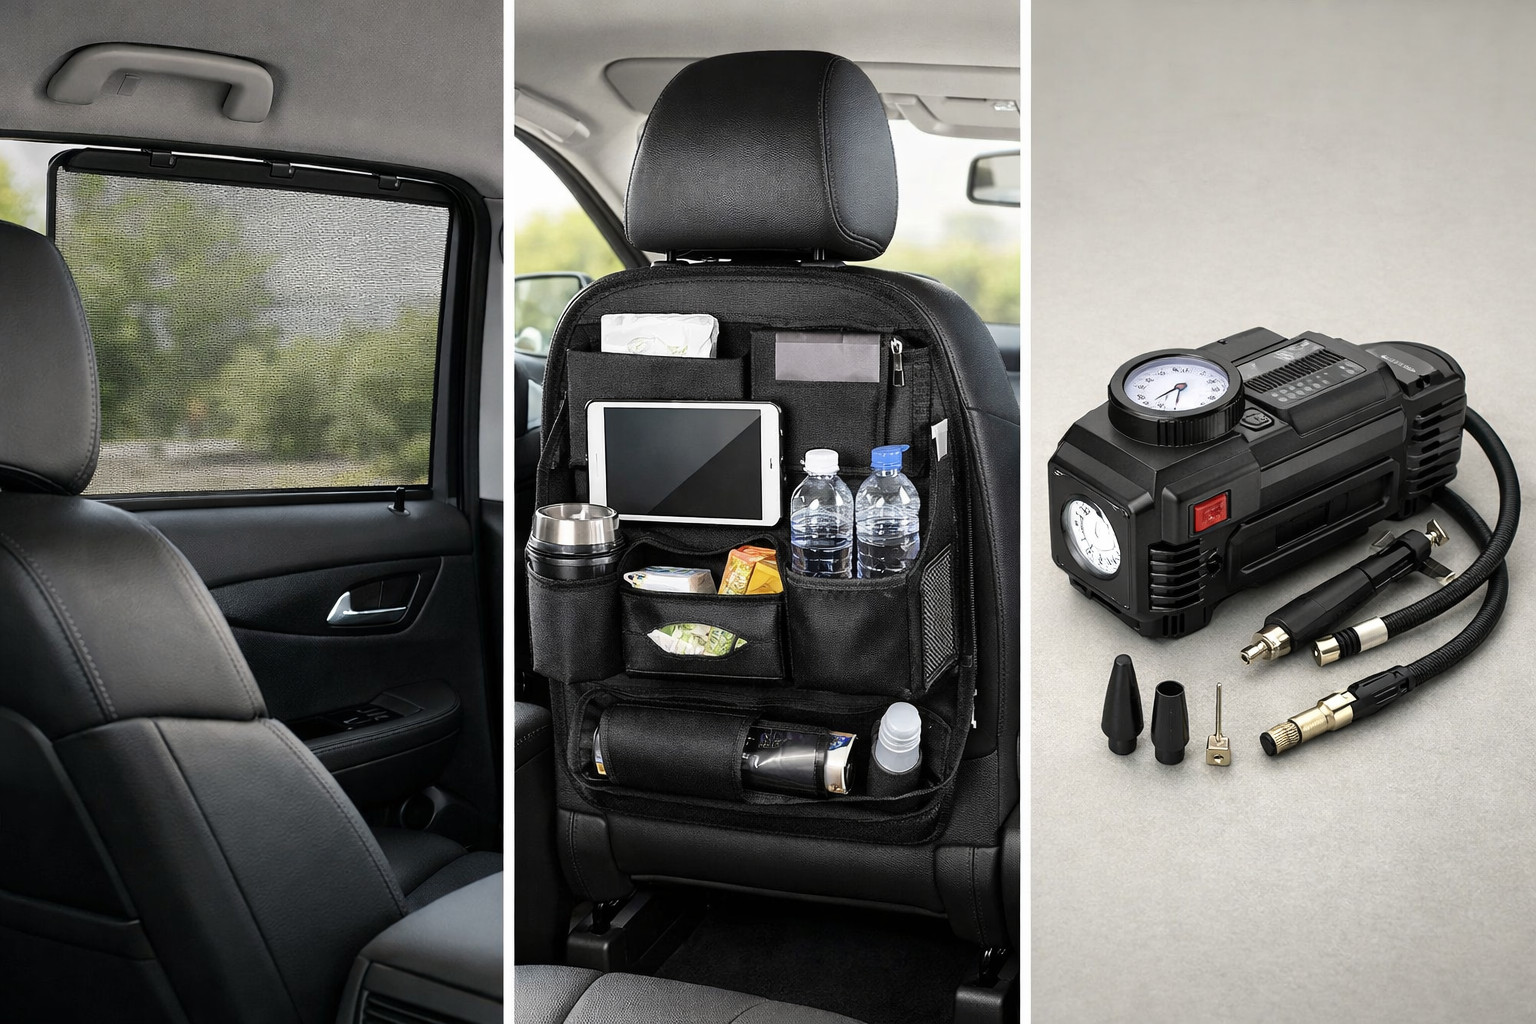
Second—a basic safety and self-recovery kit. A recovery strap, shackles or soft shackles, an air compressor, a deflator, a first-aid kit, a fire extinguisher, and a communication tool deliver more real-world value than flashy exterior mods. This is the case where an affordable kit saves a trip more often than a big steel bumper.
Third—cargo organization. For family trips, this isn’t a minor detail. A cargo liner, net, boxes, dividers, or a simple container system removes chaos, speeds up loading, and keeps small items from flying around the cabin on the highway.
| Upgrade | Why it’s needed | Who it truly benefits |
|---|---|---|
| All-terrain tires | Better grip on dirt, grass, gravel, wet climbs | Those who regularly leave pavement but drive a lot on the highway |
| Separate winter set | Better braking and control in cold climates | Those who drive daily in winter or often travel between cities |
| Compressor, deflator, strap, shackles | Lets you lower tire pressure for the surface and get out of a bad spot safely | Anyone who goes on sand, mud, forest roads, and far from help |
| Cargo liner and organizers | Less dirt, less chaos, faster loading | Families, travelers, anyone carrying kids’ items, cookware, tools |
| Underbody protection | Takes hits from rocks, stumps, and ruts | Those who regularly scrape the underside on rough routes |
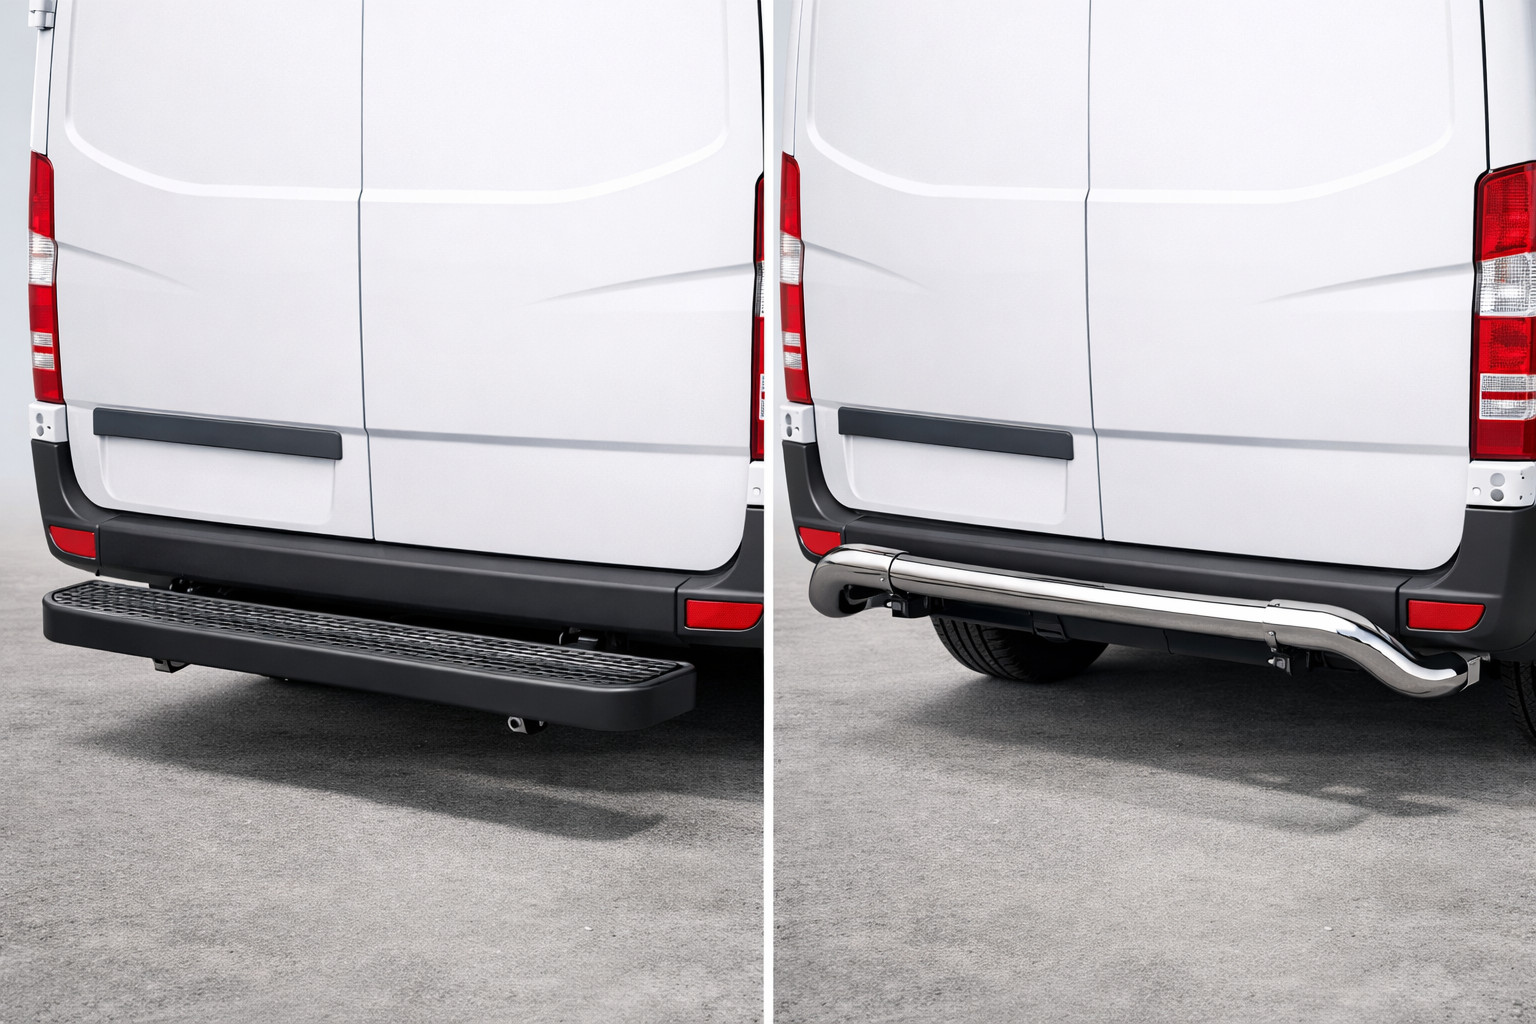
| Rock sliders or heavy-duty side steps | Protect the rocker area; sometimes help with entry | Those who drive narrow ruts, rocky sections, or often help kids in and out |
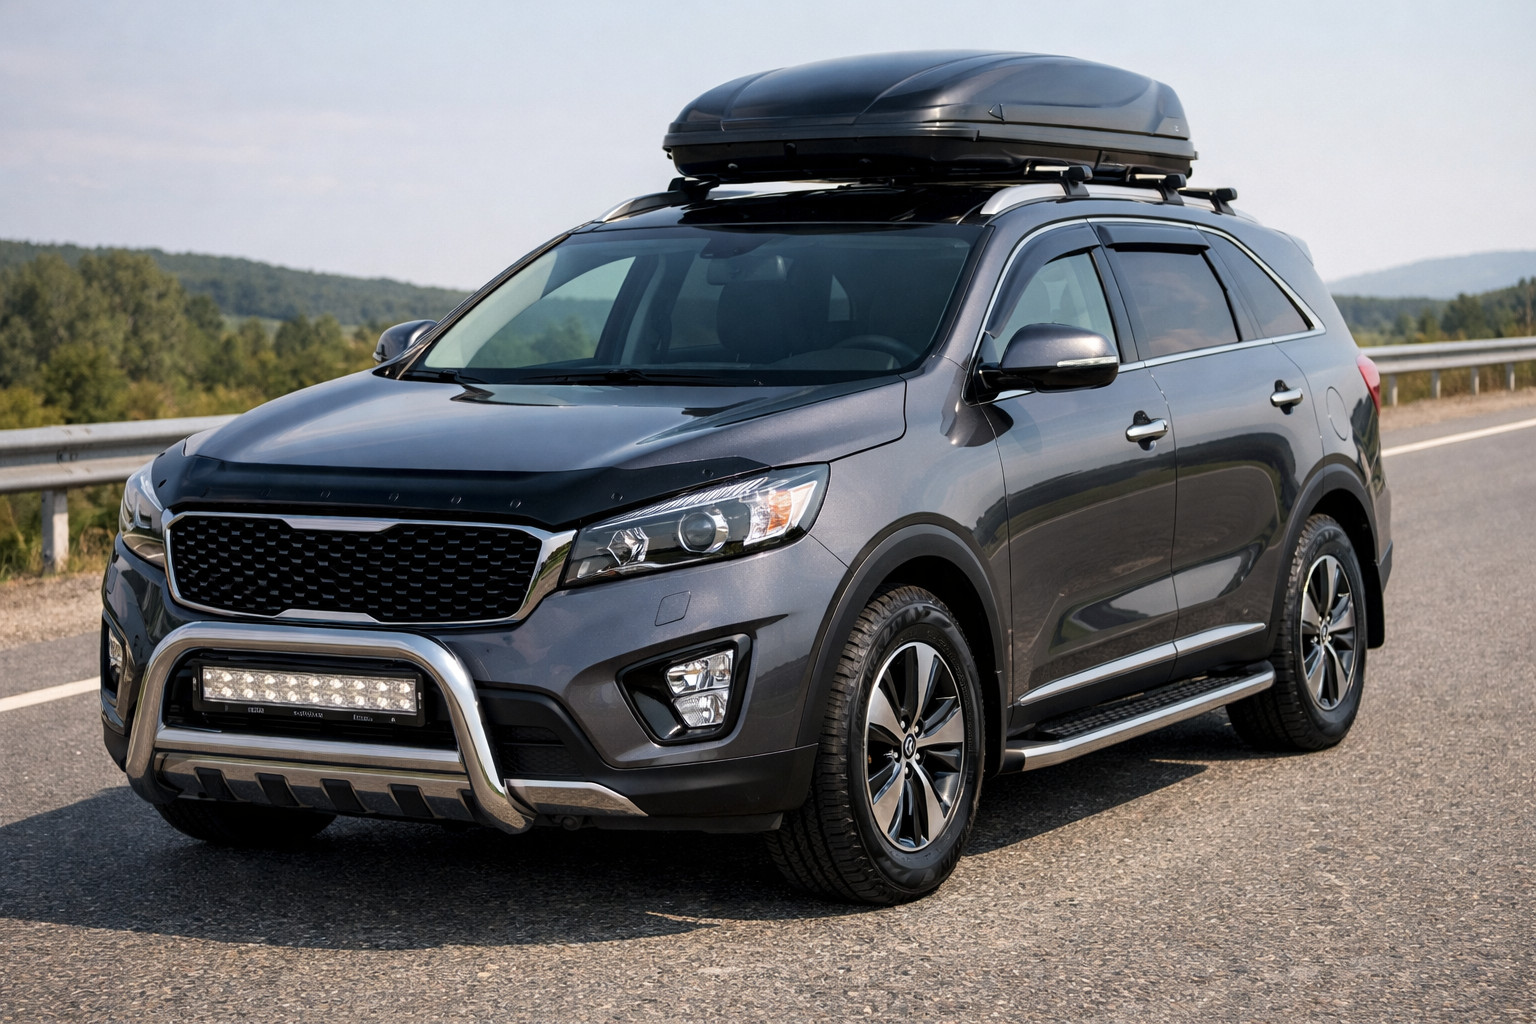
| Roof rack | Adds extra capacity for long or dirty items | Those who genuinely run out of space inside the cabin |
| Lift and larger tires | Add capability but change how the vehicle drives | Only those who have already hit the limits of the stock configuration |
DD Tuning expert comment: the most common mistake with a 4Runner is buying heavy parts before the first proper trip, and only then realizing what was missing was tires, a compressor, and order in the cargo area. The second typical mistake is confusing decorative side steps with real rock protection. If the vehicle spends 80% of its time on the highway, extra weight starts to annoy you every day very quickly.
The second stage starts after a few real trips, when it’s clear where the vehicle is actually hitting its limits. If you’re scraping the underbody on ruts, rocks, or sharp breaks in terrain, it’s logical to look at underbody protection. If the side of the body is taking hits or you want to place the vehicle in ruts more safely, then rock sliders make sense.
This is exactly where it helps to separate a weekend route from truly hard off-roading. For forest roads and family camping, stock geometry, good tires, and properly packed gear are often enough. A suspension lift, firmer shocks, or a serious tire-size increase should be added only when you know exactly why you’re doing it—and what you’re willing to give up on pavement.
Here I’d include cabin and cargo mats, seat covers, window deflectors, mud flaps, convenient steps, and small-item organization. For a family, this isn’t decorative clutter: the interior stays clean longer, kids can get in more easily, and wet items don’t turn the cargo area into a mess.
But there’s a difference between convenience and the “look.” Large wheels, tinted taillights, aggressive trim pieces, and bulky roof accessories often add style but don’t solve the core needs of the route. If you’re choosing between a nice exterior add-on and a quality set of tires, tires win in this scenario.
Most often, mud-terrain tires are a waste for a vehicle that lives on the highway most of the time. They’re noisy, increase fuel consumption, reduce day-to-day comfort, and don’t deliver on simple routes. The second popular mistake is buying a large roof rack or a rooftop tent “just in case,” when overnight trips actually happen only a few times a year.
Another expensive mistake is starting with a lift, heavy bumpers, a winch, and big tires without confirming you really need them. This adds weight, raises the center of gravity, worsens performance, and often eats away the light, easy feel that makes the 4Runner convenient for family travel. For 2025+ in well-equipped trims, duplicating factory off-road solutions is especially uneconomical.
A separate category of questionable spending is small electronic “feel-enhancers” and accessories that don’t change anything on a real route. If after the purchase you’re not driving farther off-road, traveling more calmly, or packing faster, then the mod wasn’t on target.
| What to install first | What can be postponed | What isn’t required |
|---|---|---|
| Tires matched to your climate and routes | Underbody protection if you’re not scraping yet | Mud-terrain tires for daily highway use |
| Self-recovery and safety kit | Rock sliders if there are no rocks and deep ruts | A winch for easy routes |
| Cargo organization | Suspension lift | Rooftop tent for rare trips |
| Mats and cargo-area protection | Roof rack if the cabin space is enough | Massive bumpers without real need |
| Winter set if the climate requires it | Expensive larger-size wheels | Small decorative electronic accessories |
More expensive upgrades are justified when you already understand your bottleneck. Not “I want it because I saw it in builds,” but “I’m out of space,” “I’m hitting the rocker,” “the stock setup isn’t enough anymore.” For the fifth generation, it’s useful to first compare your baseline with the 5th generation overview so you don’t duplicate what you already have from the factory.
If you simply want it “like the big builds,” it’s better to pause and check whether it’s cheaper and more useful to stay in the first or second stage for now.
From a customer’s experience: the owner of a fifth-generation 4Runner initially wanted a lift, a roof rack, and big tires because the vehicle was planned for family trips out of town. After a few trips, he started with tires, a compressor, a cargo liner, and storage containers, and postponed protection and sliders. In the end, this configuration covered 90% of his needs without noise, extra fuel consumption, or daily extra weight.
A Toyota 4Runner for the “outdoors + highway + family” scenario doesn’t need a chaotic list of trendy mods. A simple sequence works: tires first, safety and cargo order next; then protection if it’s truly missing; and only after that—expensive, heavy solutions. This makes it easier to separate what’s useful from marketing noise and avoid overpaying for looks.
This material is based on real selection experience, practice, and real usage scenarios, where what matters isn’t the loud names of the mods, but how much better the vehicle performs your specific task.
| ✔ | The author recommends starting with tires, a basic safety kit, and cargo organization as the first upgrades. This really covers everyday needs for highway driving, outdoor trips, and family journeys without unnecessary weight. |
| ✔ | It explains which tires are suitable for mixed use and which are better avoided for daily highway driving. This helps prevent noise, worse handling, and extra fuel consumption. |
| ✔ | There is a practical focus on configuring the vehicle for the climate and real routes: for snow and salt, winter tires and anti-corrosion protection matter more than aesthetic upgrades. This approach saves money on unnecessary modifications. |
| ✔ | For family trips, it separately highlights order in the trunk, a mat, containers, and nets. This reduces clutter in the cabin and makes loading belongings faster and more convenient. |
| ✔ | The article clearly separates what should be installed right away, what can wait, and what is not mandatory at all. This helps avoid starting with expensive and heavy solutions that provide no benefit on regular routes. |
| ✘ | The material provides almost no specific brands, models, or budget references. Because of this, it is harder to immediately understand what exactly to buy within an affordable amount. |
| ✘ | Some of the advice is tied to the author’s own route assessment rather than clear technical criteria. In other words, the decision about underbody protection, lift, or side steps will still have to be made after a few trips and personal experience. |
| ✘ | For those who often drive on rough off-road terrain, the list may seem too cautious. Winch, lift, and large wheels are deliberately pushed back here, although for certain scenarios they may be needed earlier. |
Shipping to EU
Wholesale and retail
Own warehouse
Опис продукту
Подарунки не надаються при оформленні покупки у кредит під 0,01% або при покупці частинами.