17.07.2026
240
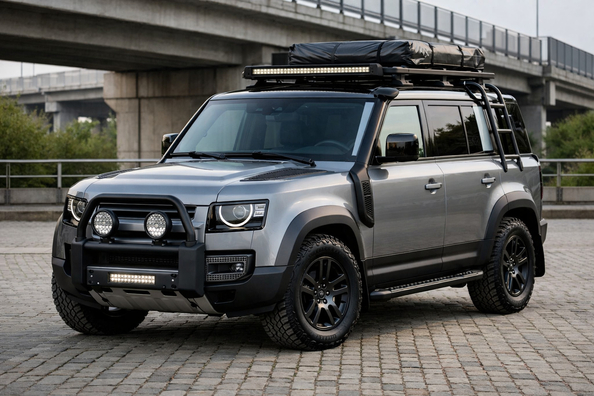
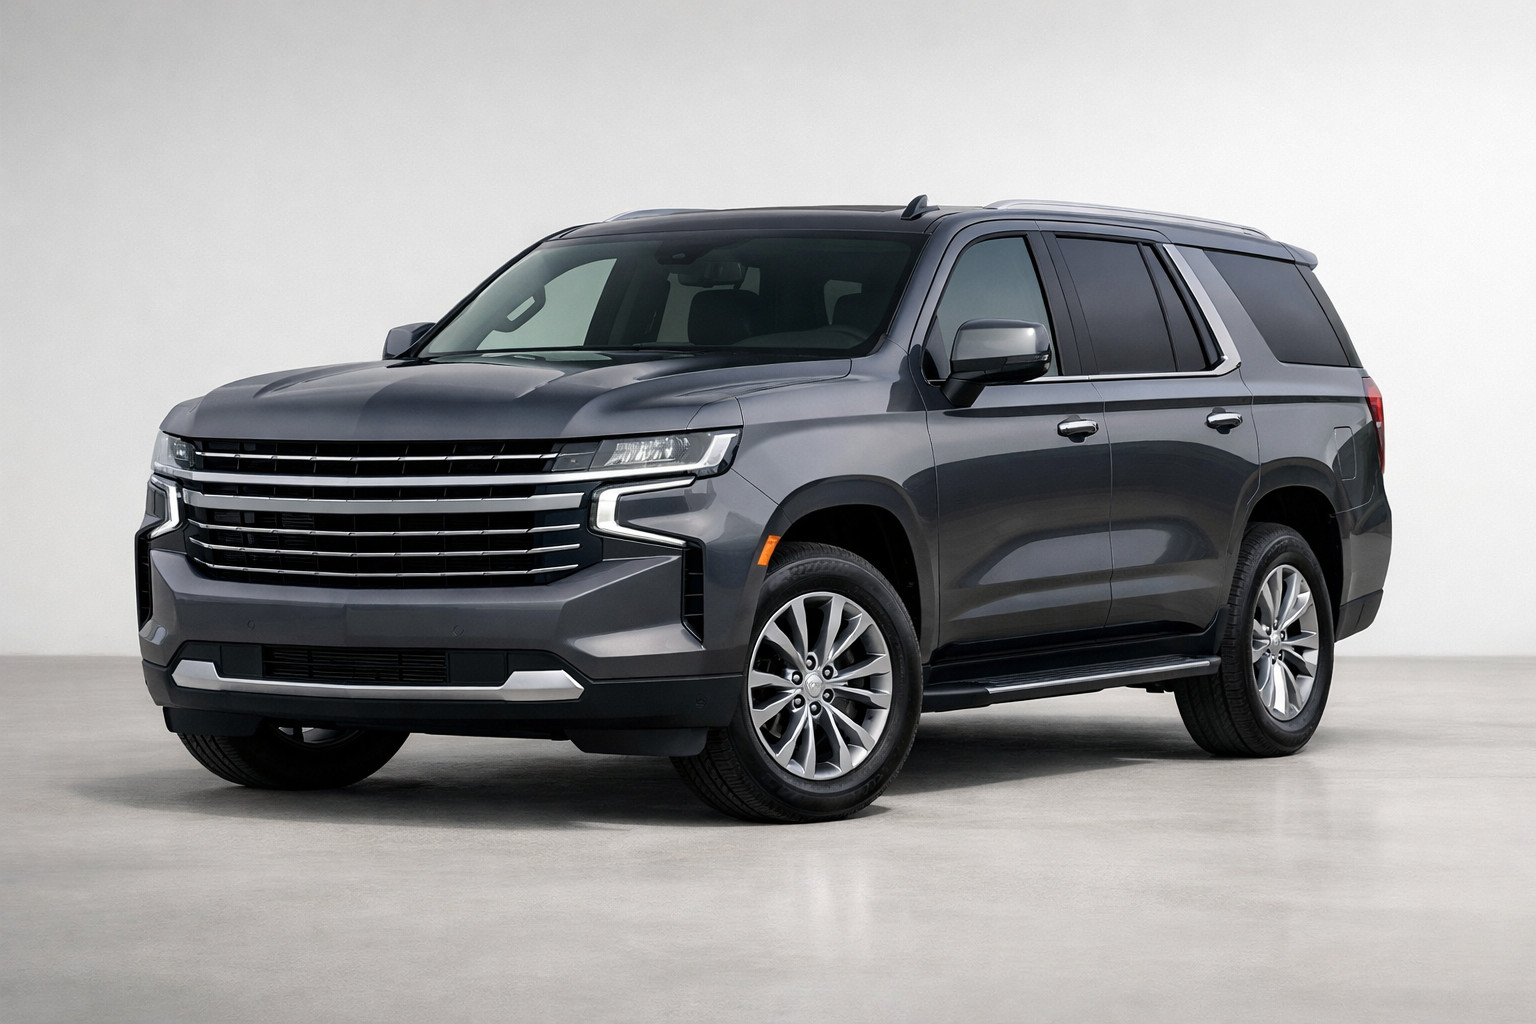
This upgrade plan is for a Land Rover Defender 2019+ owner who spends most of the time in the city, but occasionally heads out to dirt roads, snow, fishing trips, the cottage, or a picnic. The key here is not to turn the vehicle into a show expedition build, but to cover real needs: dirt in the cabin, a wet trunk, minor hits to the sills and bumper, and everyday convenience.
This Defender already has a strong factory foundation: for light outings, its geometry, clearance, and electronics are usually enough. So the starting upgrade should go not toward a lift, snorkel, or heavy roof setup, but toward protection, practicality, and the right order of purchases.
For the “city + light outings” scenario, an upgrade should do three things: protect the interior from daily dirt, reduce body wear around the cargo area and wheel arches, and not ruin the vehicle’s behavior in the city. Defender 90 and 110 differ here not in philosophy but in details: the 90 is easier in tight yards and parking, the 110 is more practical for a family, a dog, kids’ items, and gear.
The key mistake in this scenario is buying accessories as if the vehicle is going into heavy off-road every week. For light trips, it’s far more important to protect the floor, trunk, and lower body than to immediately hang a roof system, ladder, or massive side steps.
The first stage for Defender 2019+ is almost always the same: floor mats for the cabin, cargo-area protection, mud flaps, and protection for the top edge of the rear bumper. These are the things that work every day, not twice a season.
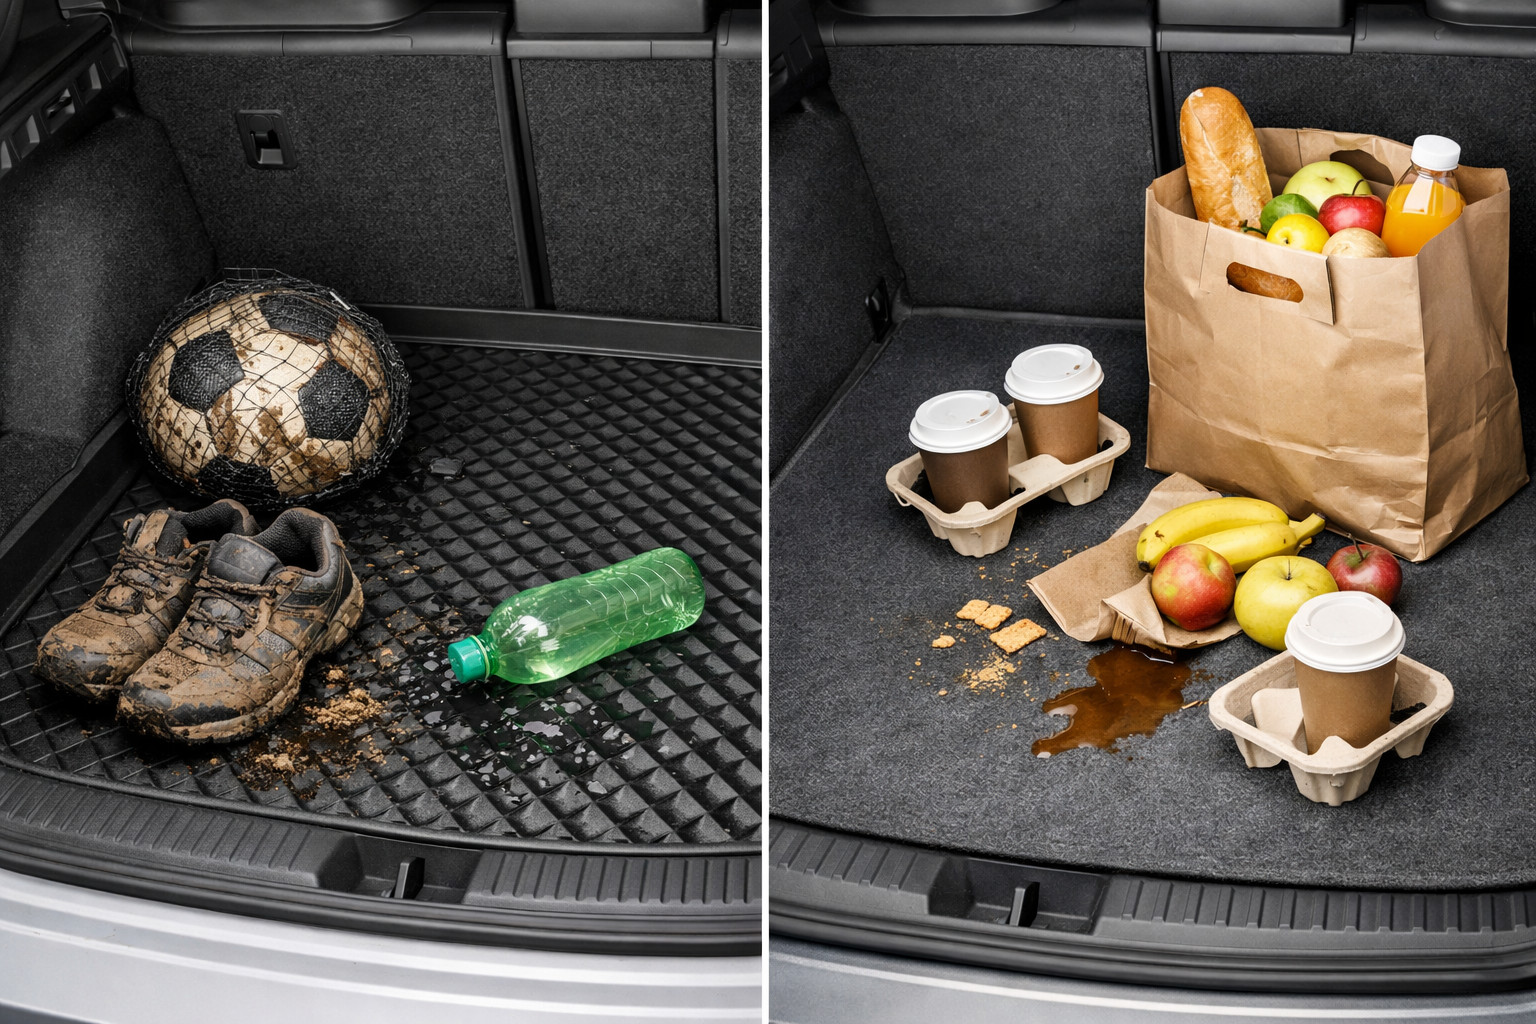
If the vehicle carries kids, a dog, a stroller, shoes after the fields, or sports equipment, a trunk mat becomes no less important than cabin mats. If your scenario includes a trailer, a boat, or a bike rack, then you can move the towbar up in priority in the first wave—but only if there’s a real need.
Tires for light off-road are useful, but not always the first purchase. If the stock set still has life and doesn’t limit you on wet dirt roads or in winter, you can comfortably run it out and move to tires as a second stage.
| Upgrade | Why it’s needed | Who really benefits |
|---|---|---|
| Cabin floor mats | Catch sand, snow, water, and dirt; make cleanup easier | Anyone who drives daily, especially in winter and outside the city |
| Trunk mat | Protects the floor from wet items, tools, pet food, and shoes | Families, dog owners, anyone carrying gear |
| Mud flaps | Less dirt and road grit on doors, arches, and sides | Those who often drive in slush, snow, and on dirt roads |
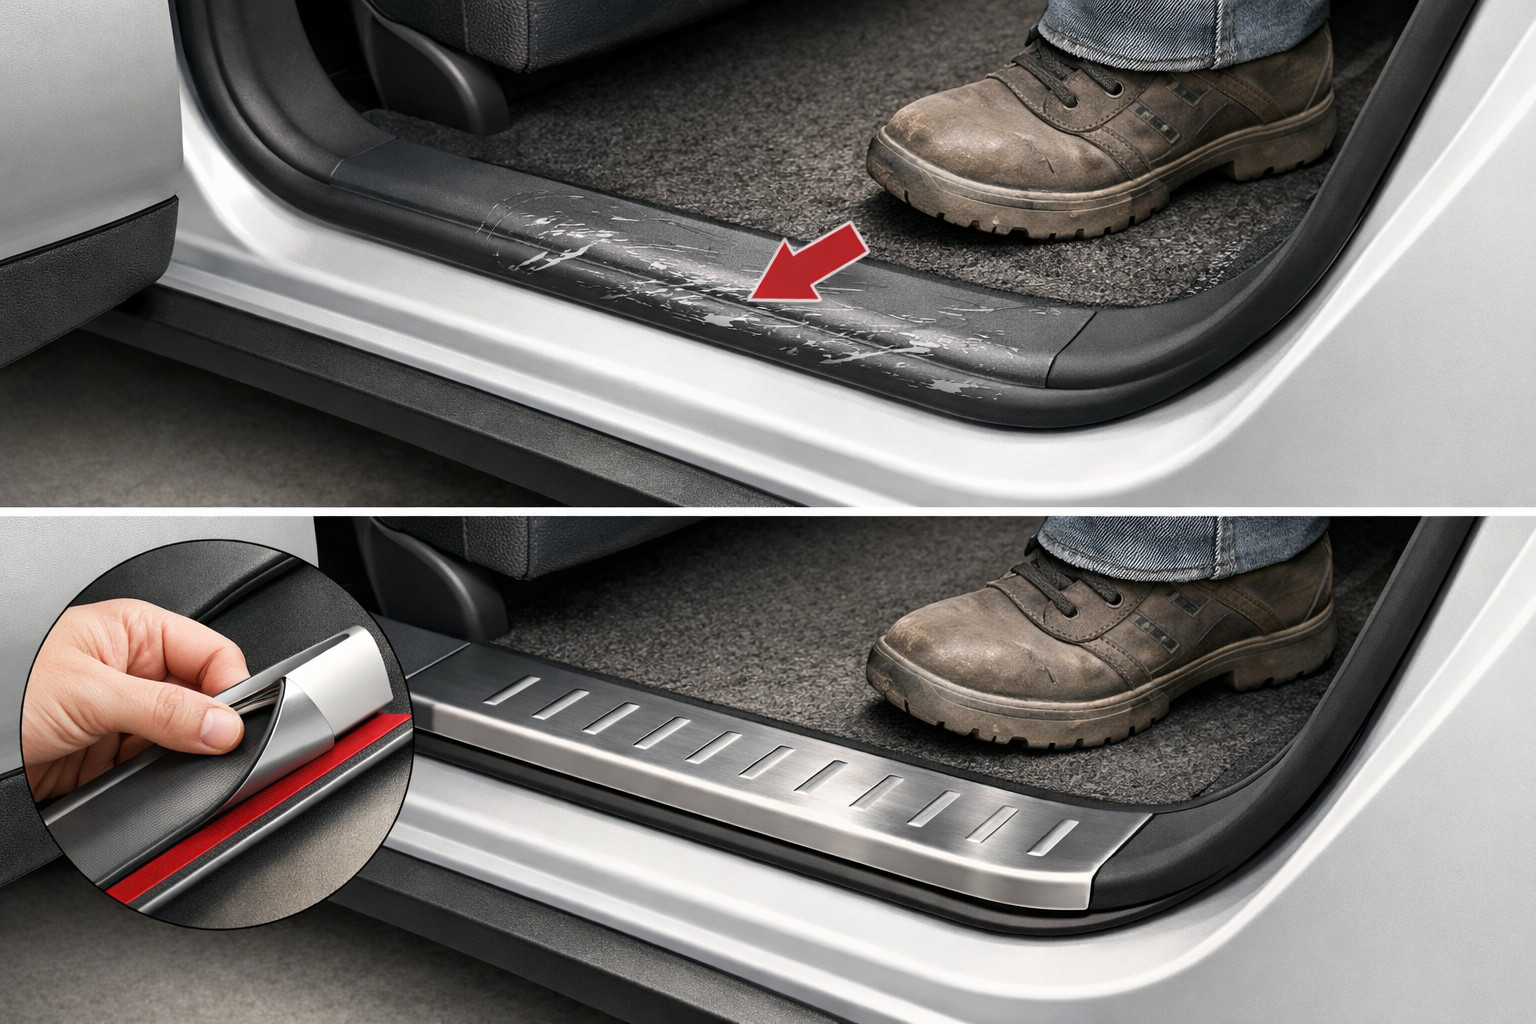
| Rear bumper edge protector | Takes scratches during loading/unloading | Those who use the trunk frequently |
| Towbar | Enables a trailer or bike platform without compromising cabin space | Only for those who actually need it, not “maybe someday” |
| Tires with a more universal tread pattern | Improve traction on mud, grass, wet dirt roads, and in the cold season | Those who regularly leave the asphalt |
DD Tuning expert comment: most Defender owners overpay in the wrong place. They start with exterior accessories for the look, and a month later realize what annoys them most is a wet trunk, sand in the cabin, and dirt on the sides. If the scenario is urban with light outings, model-specific protection is almost always more useful than big decorative add-ons.
The second stage starts when you already understand the vehicle’s real routine. If the Defender regularly goes onto forest roads, snow, or rocky approaches to a recreation base, then it’s worth thinking about tires with a more off-road bias. For mixed use, it’s usually more logical to look not toward big, pretty wheels, but toward a sensible tire profile and the right rubber choice for the season.
This is where the 20 vs 22-inch topic often comes up. For the city, 22s can look appealing, but for light outings and winter, smaller diameters with a wider tire selection are usually more practical. At the same time, compatibility depends on the exact version, brakes, and body, so checking for your specific vehicle is mandatory.
If you use a bike platform or a trailer, a towbar can also be considered a second-stage item if it wasn’t critically needed right away. Roof solutions should be moved here only when you truly don’t have enough interior volume.
Side steps, decorative trims, a spare-wheel cover, certain elements of the Urban package—these are no longer about basic usefulness, but about ease of entry and visual effect. For a family with kids, steps can make sense, but you should remember they’re not a free bonus for driving off asphalt and can affect underbody geometry.
Fender flares and exterior overlays make sense when you want a bit more protection from minor road grit, or you’re deliberately building a certain look. But if you have one budget, that money is almost always better spent on protecting the interior, trunk, and on the right tires.
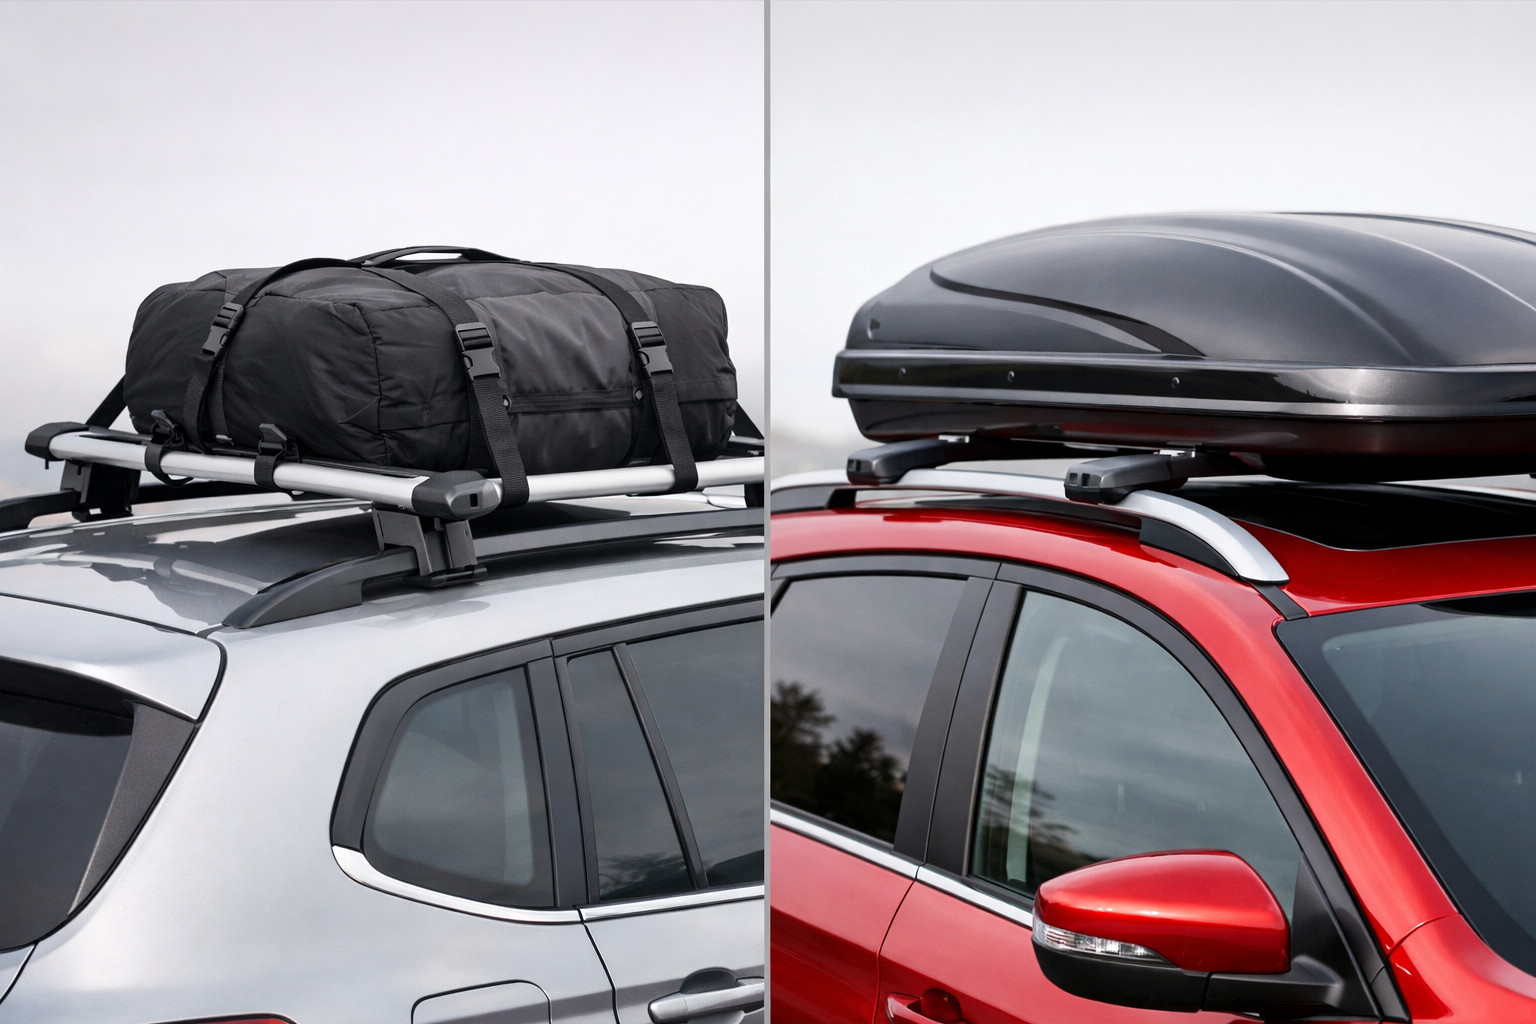
First: a big roof rack “just in case.” If you don’t carry cargo on the roof regularly, it adds height and weight, and often noise at speed. In the city it’s more of a minus than a plus, especially on a vehicle that’s already not small.
Second: a snorkel or raised air intake without dusty routes, fording, or real expeditions. In the light-outings scenario it’s usually an expensive part without proportional benefit.
Third: a suspension lift as the first step. The Defender 2019+ already has enough reserve for dirt roads and snow, so for this scenario a lift rarely delivers as much benefit as it costs. The same goes for 22-inch wheels if you want not only the look, but also real versatility.
| Scenario | What to install first | What can be postponed | What isn’t mandatory |
|---|---|---|---|
| Daily city use |
|
|
|
| City plus family, dog, gear |
|
|
|
| Regular light trips onto dirt and into snow |
|
|
|
A more expensive option is justified where precise fitment and daily use matter. For the five-door body, a logical start can be EVA mats if you want a neat, model-specific option for city dirt. If your cargo area is constantly in use, it makes sense not to skimp on a trunk mat. And when proper fit without compromises matters, it’s worth looking toward original mud flaps rather than random universal solutions.
More expensive expedition items only make sense when your scenario has already moved beyond “city plus light outings.” If you don’t carry roof cargo weekly, don’t drive dusty routes, and don’t tow equipment regularly, a big accessory package will look more solid than it works.
From customer experience: a typical request for Defender 110 looks like this—people first look at the roof, steps, and big wheels, but after a few trips they realize what really bothers them is dirt in the cabin and scratches near the trunk. In the end, the most successful set is often mats, cargo protection, mud flaps, and a postponed decision on tires. This order delivers a noticeable result right away and doesn’t force you to redo the vehicle a second time.
For a Land Rover Defender 2019+ in the “city and light outings” scenario, the right start is simple: first protect the cabin and trunk, then add mud flaps, then a towbar or tires if they’re truly needed. Side steps, big wheels, roof systems, and expedition elements should only be considered after the basic tasks are covered.
This order helps you avoid paying for nice-looking but secondary items too early. The material is based on real selection experience, practice, and real usage scenarios—not on the desire to compile the longest possible list of accessories.
| ✔ | The first items on the list are the things that really work every day: cabin floor mats, cargo area protection, mud flaps, and a tailgate edge trim. They reduce dirt, moisture, and scratches without вмешательство into the technical side of the car. |
| ✔ | The plan is well suited to a city Defender, because it does not change its behavior with unnecessary heavy upgrades. The author directly advises not to start with a lift, snorkel, or a large roof rack. |
| ✔ | There is a clear priority order: first basic protection, then tires, and only after that a tow hitch or additional accessories if needed. This is convenient for those who do not want to overpay for unnecessary options. |
| ✔ | Different usage scenarios are separately taken into account — 90 or 110, children, a dog, gear, a trailer, or a bike platform. This makes it possible to adapt the upgrade to real tasks instead of buying a universal set with no benefit. |
| ✔ | The plan directly suggests that for light trips the stock Defender setup is enough, as long as you do not go into heavy off-road. This makes it possible to keep running the factory tires and not spend money ahead of time. |
| ✘ | If you want a more noticeable visual effect or extra step-in comfort from the start, this plan may seem too pragmatic. It deliberately pushes side steps, decorative trims, and other visual elements into the background. |
| ✘ | For those who often drive with a loaded trunk, a separate budget is needed for a mat and bumper edge protection. Without these items, the cargo area itself quickly starts showing signs of use. |
| ✘ | If you regularly carry a bike, trailer, or a lot of gear, you will have to address the tow hitch and, possibly, tires separately. In other words, the initial upgrade does not cover all scenarios at once. |
| ✘ | Wider and nicer wheels, roof systems, and a snorkel are effectively postponed or not recommended in this approach. For an owner who wants to “do everything” right away, this means more stages and a longer path to the final setup. |
Shipping to EU
Wholesale and retail
Own warehouse
Опис продукту
Подарунки не надаються при оформленні покупки у кредит під 0,01% або при покупці частинами.