28.04.2026
363
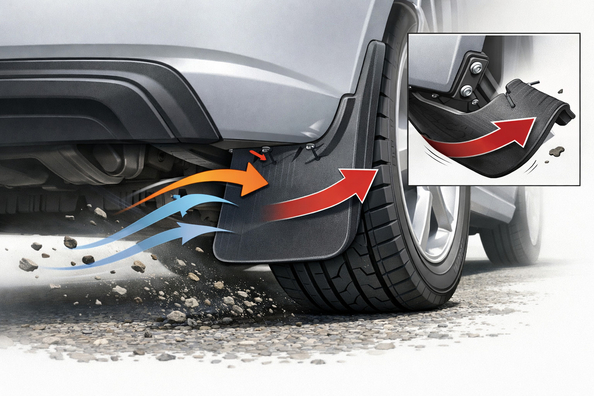
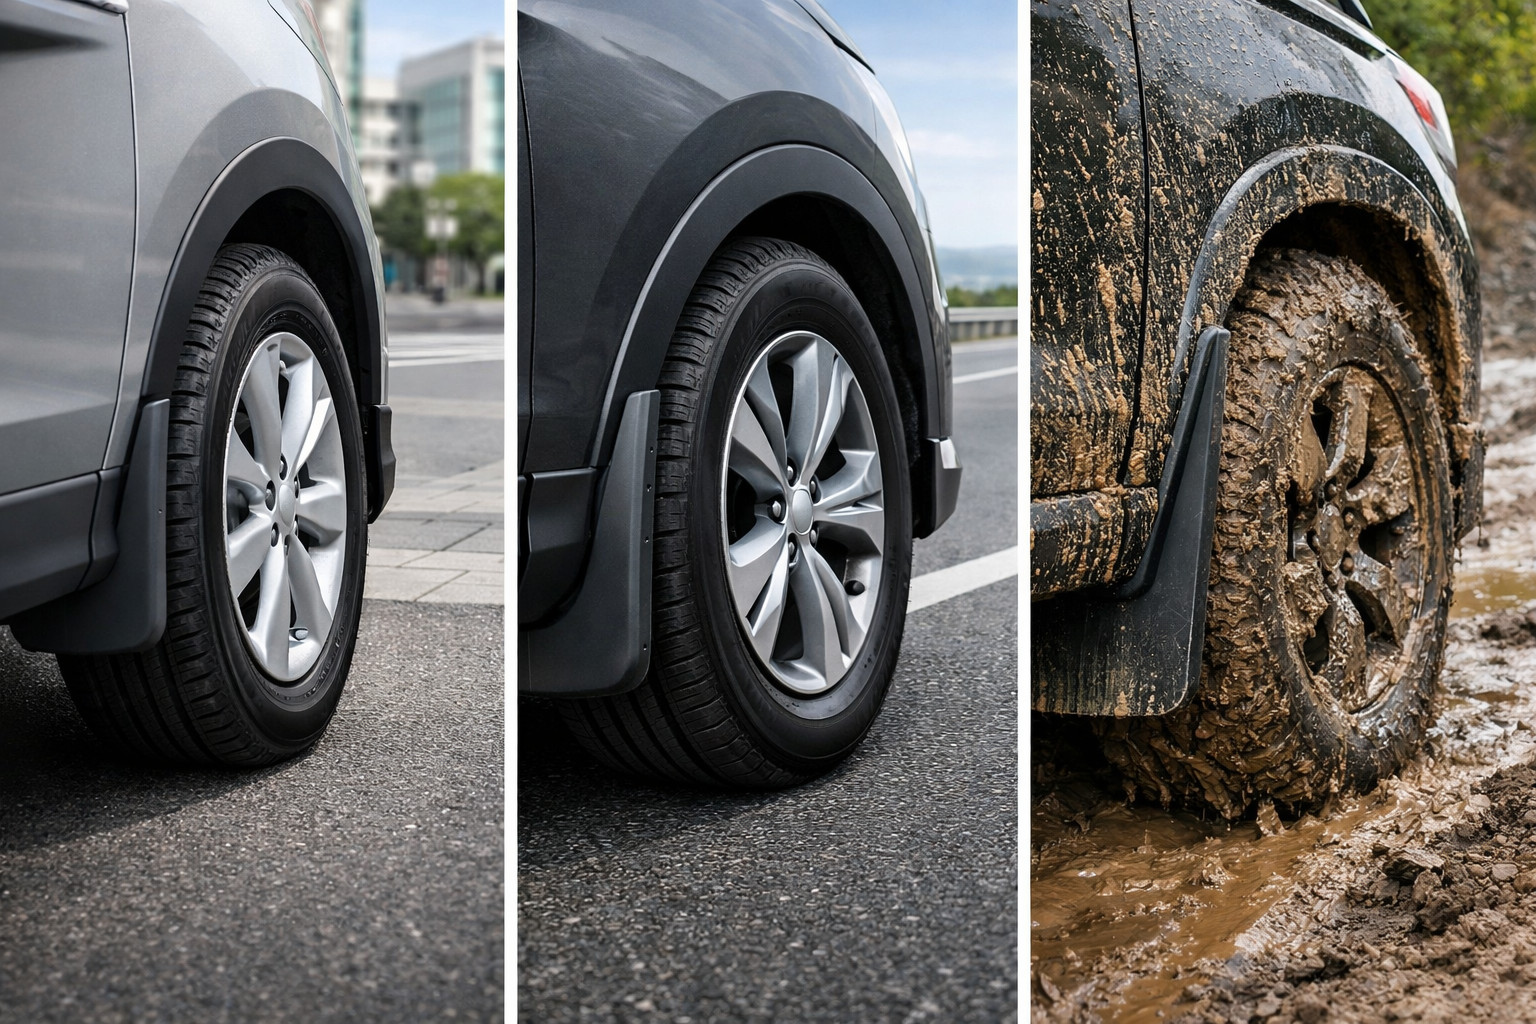
Universal mud flaps get torn off at speed when the sheet starts working like a sail and the mounting and arch geometry aren’t ready for it. Most often it’s not a single mistake, but a combination: the mud flap doesn’t follow the body shape, has the wrong clearance to the tire or the road, and is held on a weak or already fatigued mounting point.
Because of this, the same kit can run fine on one car, but fly off on another after a few highway trips, the first wet snow, or a hard loaded turn. Below is how to quickly tell a shape issue from a mounting issue—and what actually works.
A universal mud flap is a blank, not a part made for a specific wheel arch. The typical sheet dimensions may look fine on paper, but during real installation it turns out the arch edge, inner fender liner, wheel offset, and mounting angle don’t match. If the mud flap doesn’t sit flat but is twisted or “bridges” over a bend, the airflow at speed starts to oscillate it.
Then the load is added by the tire, suspension, and season. At full steering lock the mud flap may barely touch the tread; in winter slush and ice build up on it; and after wider tires, a different wheel offset, or a suspension lift, the wheel path changes. In the end it’s not always the sheet that fails: often the hole gets ripped out, the liner edge breaks, or the fasteners loosen.
Start by checking the position, not by buying a new kit. Park the car on level ground, turn the steering fully left and right, and see whether the clearance to the tire disappears. Then press the lower and outer edge by hand: if the mud flap easily moves back and forth, at speed it will be even worse.
After that, inspect the mounting points. Elongated holes, cracks near washers, waviness in the liner, rubbing marks on the inside, or a shaved-off lower edge clearly show where the problem is—rubbing, “sailing,” or weak support. If the car has larger wheels, a different wheel offset, or a lift, the check should also be done under load, because on an unloaded car the clearance may look fine.
DD Tuning expert comment: The most common mistake is trimming a universal mud flap only to match the arch visually and not checking it at full steering lock. The second typical mistake is fastening into an already fatigued liner without reinforcement. On the highway such an install looks fine only for the first few trips.
| Symptom | Likely cause | What to do |
|---|---|---|
| On the highway the mud flap bends back strongly | Sheet is too soft or too long; not enough stiffness in the upper zone | Check length, remove excess from the bottom, add a rigid upper mount or a reinforcement strip |
| A rustling sound at full steering lock | Too little clearance to the tire; changed tire size or wheel offset | Check for contact on both sides, trim the problem edge or change the mud flap position |
| The upper self-tapping screw gets pulled out or the hole gets enlarged | Weak liner; too few fixing points; narrow clamping area | Restore the base, install wide washers or a strip, use more rigid mounting points |
| Breaks or falls off in winter | Ice and snow add extra load; the material is brittle in cold weather | Don’t mount the mud flap too low, regularly clean buildup, if needed change the material or kit type |
| Right after installation the mud flap already sits crooked | The sheet shape doesn’t fit the arch; holes were drilled poorly | Redo the template and marking, or switch to a kit closer to the geometry of your specific car |
The best result comes from an accurate fit to the arch. If the mud flap has to be heavily bent, pulled, or forced into place, the risk of tearing off is high even before the first drive. The second truly effective step is rigid mounting: where the design allows, it’s better to have at least four proper fixing points rather than rely on two random self-tapping screws.
Next—control clearances after installation, not only during test fitting. Re-check full steering lock, suspension compression, distance to the road, and for rear elements, a safe distance from hot parts. For long mud flaps on the highway, a rigid anti-sail bracket or clamping strip works well because it reduces oscillation specifically at speed.
Glue, sealant, one more self-tapping screw in a random spot, threadlocker as the main retention method—these are not proper structural solutions. Just as bad is trying to keep extra length “for better protection”: if the edge catches ruts, ice crust, or wet snow, the load on the upper holes increases sharply.
Another common mistake is overtightening small fasteners. This doesn’t make the plastic stronger: the hole deforms, the liner goes wavy, and then the joint starts to loosen even faster. If the base is already damaged, tightening only delays the next tear-off.
If the problem is the universal shape itself, buying the same kit again makes little sense. In that case it’s more logical to look at vehicle-specific mud flaps: they’re closer to the geometry of a particular arch and more rarely require heavy trimming.
When you need a budget option with manual fitting, universal mud flaps are appropriate—but only if there’s a place to mount them rigidly and normal clearance remains after installation. And if the arch plastic is already wavy, cracked, or torn out, you should first check and restore the inner fender liners, otherwise the new kit will share the fate of the old one.
| Solution | When it works | When it’s not worth spending money |
|---|---|---|
| Trimming to the real wheel path | When the issue is excess length or light rubbing at steering lock | When the mud flap basically doesn’t match the arch and sits with a big twist |
| Adding rigid mounting points, washers, or a strip | When the base is intact and the play is caused by weak fixing | When the liner is already torn or barely holding together |
| Anti-sail bracket | When a long mud flap oscillates specifically on the highway | When the main cause is rubbing the tire or incorrect mounting geometry |
| Replacing or restoring the inner fender liner | When holes are ripped out, there are cracks, and there’s no rigid base | When the old liner is intact and the issue is only an oversized sheet |
| Switching to a vehicle-specific kit | When a universal mud flap requires too much fitting and still sits crooked | When the car is heavily modified in wheels and suspension and you still can’t avoid custom work |
From a customer’s experience: After switching to wider tires, the universal mud flap at first only lightly rubbed the edge at steering lock, and then one side got torn off after a trip on a wet highway. The issue was solved not with another identical sheet, but by trimming to the real wheel path, restoring the liner, and using firmer mounting at proper points. After that the play disappeared and the mud flaps made it through the season without another tear-off.
Universal mud flaps get torn off at speed when several factors come together: poor fit geometry, weak mounting, incorrect clearance, and extra load from speed, snow, or changes in the running gear. If you consistently check the geometry, fixing points, and possible contact with the tire, the cause is usually found quickly.
Money is worth spending on what removes the root cause: the right shape, rigid fixing, or restoring the mounting base. Glue, overtightening self-tappers, and replacing “with the same one” rarely deliver a proper result. The material is based on real selection experience, hands-on practice, and real-world usage scenarios.
| ✔ | The article clearly explains that universal mud flaps usually come off not because of a single mistake, but due to a combination of issues with shape, clearances, and mounting. This helps you look for the cause practically rather than replacing the part at random. |
| ✔ | There is a specific inspection algorithm: check the clearance at full steering lock, press on the edge of the mud flap, and inspect the holes and wheel arch liner. This approach makes it easier to quickly understand exactly where the weak point is. |
| ✔ | Typical symptoms are described together with their causes and actions: from rubbing in turns to torn-out self-tapping screws or detachment in winter. This is useful for local repairs without unnecessary expenses. |
| ✔ | The article separately emphasizes that the best solution is a precise fit to the wheel arch and rigid mounting, not attempts to force the part into place. This is practical installation advice that directly reduces the risk of detachment at speed. |
| ✔ | It also breaks down solutions that should not be considered a proper fix: glue, random self-tapping screws, overtightening the fasteners. Such an assessment helps avoid wasting time on temporary patches. |
| ✘ | For cars with changed wheels, offset, or a suspension lift, a universal mud flap often needs individual fitting. In other words, “universality” works worse in such cases than expected. |
| ✘ | If the wheel arch liner is already wavy, cracked, or has broken-out holes, the new mud flap will not hold for long. First, the base has to be restored, and that means extra work and costs. |
| ✘ | Long or too low-mounted mud flaps on the highway catch snow, ice, and ruts, which sharply increases the load on the fasteners. This means the problem may return in the cold season even after proper installation. |
| ✘ | Cheap fixing methods like glue, sealant, or one or two self-tapping screws are directly called unreliable by the author. Without proper geometry and a rigid base, such a repair usually only delays the tear-off. |
Shipping to EU
Wholesale and retail
Own warehouse
Опис продукту
Подарунки не надаються при оформленні покупки у кредит під 0,01% або при покупці частинами.