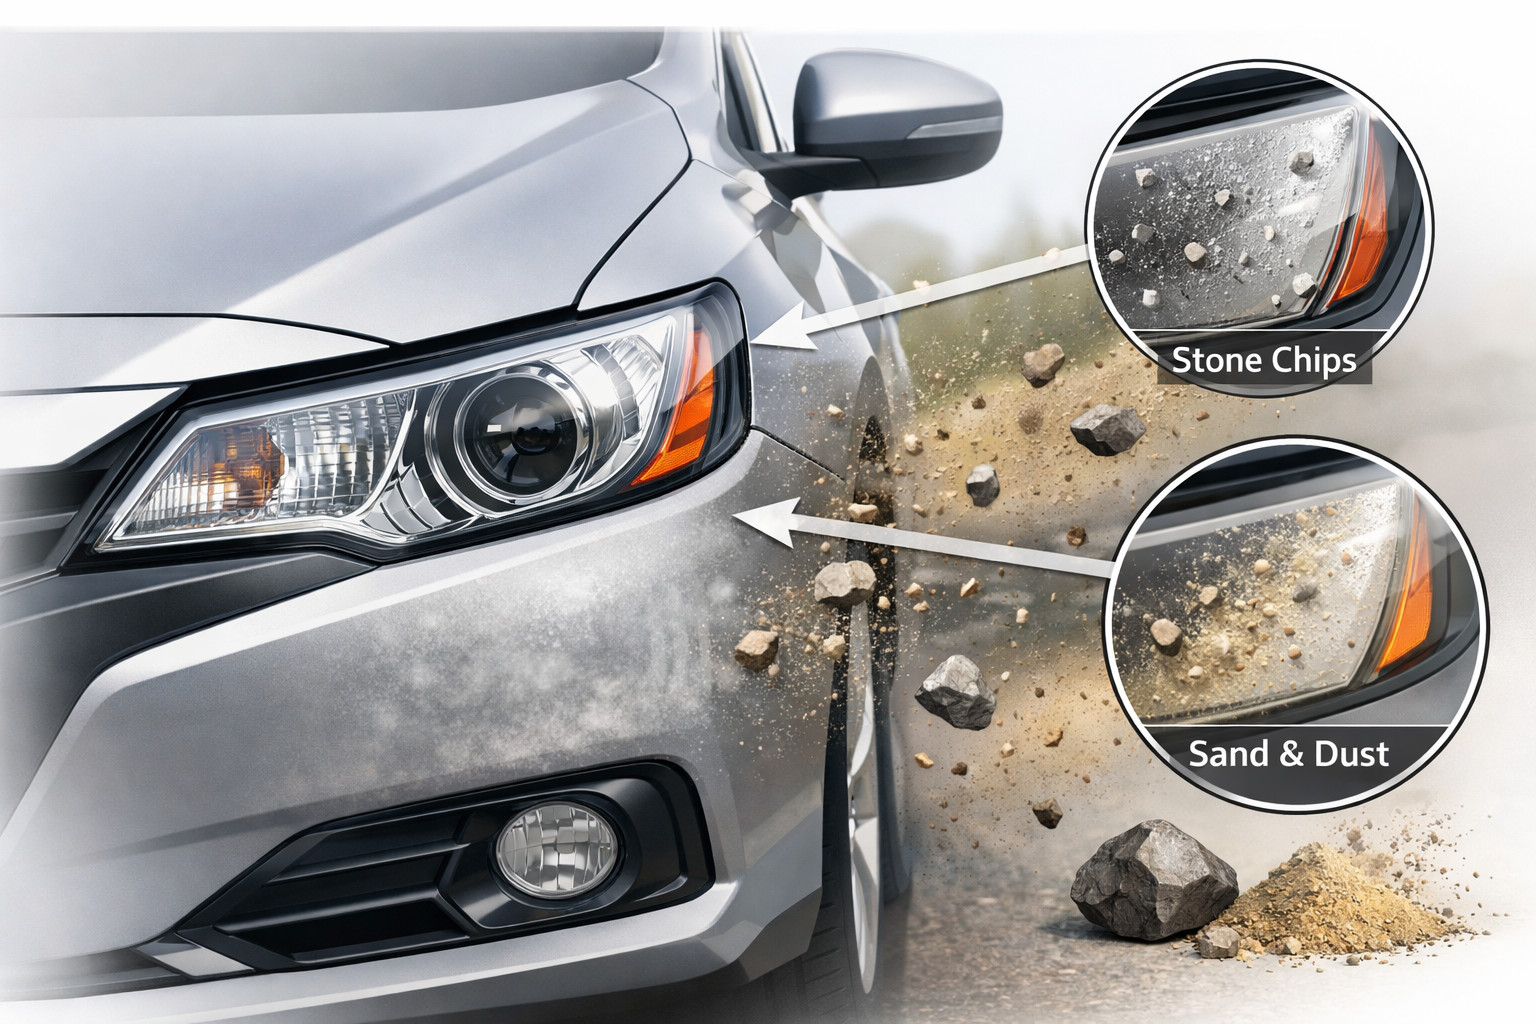
02.10.2026
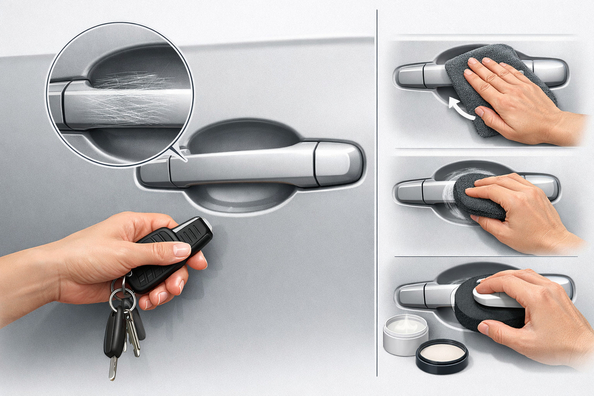

Door handles get scratched quickly not because the “clear coat is weak”, but because the same area gets repeated contact every day. Nails, rings, keys, and dirt in the recess under the handle all work along the same path, so marks build up very locally and become noticeable earlier than on other body panels.
Without repainting, the solution depends on the depth of the defect and where exactly it appeared: in the cup/recess under the handle or on the handle itself. If it’s light marks in the clear layer, they can often be reduced with polishing. If your nail clearly catches or the base coat is visible, polishing won’t remove the mark completely: then it’s either about protecting against further wear or masking it with a cover.
The recess under the handle concentrates friction in a very small area. When you pull the handle the same way every time, your finger or nail passes over the same spot, and even minor contact over months turns into a dull patch, spider-webbing, or grooves.
The problem gets worse in winter: thick gloves reduce grip precision, and dirt and road salt add abrasive particles. On dark cars it’s especially noticeable not because the damage is deeper, but because the contrast is higher.
One more practical guideline: if you can see a color change, the base coat, or metal, this is no longer a “light polish” situation. Without repainting, the goal isn’t to “remove everything”, but to carefully stop further wear and make the defect less noticeable.
DD Tuning expert comment: the most common mistake is applying protection or using polish without first figuring out where the damage actually is. If the mark is in the cup, clear protection works well; if the handle itself is worn, film will only highlight the defect. The second typical mistake is installing it in the cold: the material edge bonds worse and picks up dirt faster.
| Symptom | Likely cause | What to do |
|---|---|---|
| Light spider-webbing or haze under the handle | Micro-friction from nails and dirt in the clear layer | Gentle polishing, then immediately protect the area with clear polyurethane film |
| Distinct grooves that catch your nail | Deeper scratch below the clear layer | Don’t remove too much clear coat by polishing; either leave it and protect it, or mask with a cover if the handle is affected |
| Scratches not under the handle but on the handle itself | Rings, keys, constant palm contact on the handle surface | Consider a vehicle-specific cover or handle replacement, not just polishing the cup |
| Marks became much worse after winter | Gloves, salt, moisture, dirt | Clean, assess depth, polish surface marks, then install protection |
| The edge of old film/wrap is visible and collects dirt | Poor shape, universal material, or cold-weather installation | Remove it, clean off adhesive, install new pre-cut protection on a warm surface |
| Base color or metal is visible | The defect has already gone through the top layer | Without repainting you can’t remove it completely; you can only cover it to prevent further rubbing, or replace the element |
Light polishing works when the damage is in the clear layer and your nail doesn’t catch, or catches only slightly. It’s a way to reduce visibility, not magic for any groove.
Clear polyurethane film in the handle cup is the most practical option specifically for the area under the handle. It won’t restore clear coat that’s already been worn away, but it takes all further contact instead. On films with a self-healing top layer, small surface marks on the film itself can reduce with heat.
A cover or cap for the handle is needed when the handle itself is already worn, but it’s mechanically intact. That makes more sense than trying to hide deep scuffs with thin film.
If you’re applying protection yourself, don’t do it in the cold. For proper bonding, both the surface and the material should be warm, and after installation it’s better not to stress the area for a few days with washing and harsh chemicals.
If the worn area is the outer surface of the handle itself rather than the cup under it, it makes sense to look at handle covers: they cover the worn area without repainting and without trying to “pull out” a deep defect with polishing.
When the damage is no longer cosmetic and the part has heavy wear or coating issues across the entire surface, it’s more practical to move to door handles as a separate part rather than wasting time on temporary masking.
If you’re unsure about shape, fitment, and kit type, it’s useful to first review the material on choosing and installing door handle covers. This helps you avoid a universal solution where a vehicle-specific option is needed.
| Solution | When it works | When it’s not worth spending money |
|---|---|---|
| Light polishing | Only surface marks in the clear layer | Your nail catches clearly or the base coat is already visible |
| Clear polyurethane film in the handle cup | You need to stop repeat scratching and keep the part’s appearance unchanged | You need to completely hide an already deep defect |
| Cover or cap for the handle | The handle itself is worn, but the mounts and mechanism are intact | The problem is only in the cup under the handle, where clear protection works better |
| Handle replacement | The coating is heavily worn, there are cracks, or overall part wear | Damage is limited to minor marks that can be solved more simply |
| Wax, quick masking products | Only as a short finish after light correction | When you expect to remove a noticeable scratch without repainting |
From a customer’s experience: the owner of a dark car first tried to remove grooves under the driver’s handle with a polish, but some marks remained because the nail already caught. After lightly correcting what was in the top layer, he covered the cups with clear protection, and chose a cover for the worn handle itself. As a result, the look became cleaner and new marks stopped building up so quickly.
The key with this problem is not to look for one universal product, but first to separate surface marks from deep ones, and the cup under the handle from the handle itself. If the scratch is minor, light polishing followed by protection works. If the defect is deep, don’t waste money on wax or aggressive polishing: for the cup, clear protection is logical; for a worn handle, a cover or replacement is the right move. This material is based on real selection experience, practical work, and real usage scenarios—not the myth that any scratch can be “erased” without consequences.
Shipping to EU
Wholesale and retail
Own warehouse
Опис продукту
Подарунки не надаються при оформленні покупки у кредит під 0,01% або при покупці частинами.