13.09.2026
141
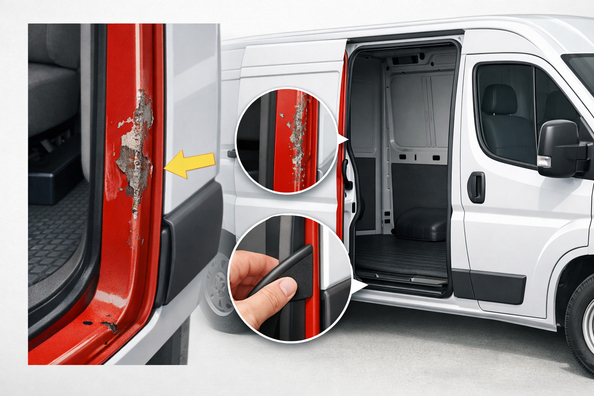

If the edge of a van’s sliding door gets chipped quickly, the cause is almost never “weak paint” — it’s repeated contact between the door and the body opening, seal, or trim. In other words, the door follows the same path every time with micro-friction, and the paint on the edge simply can’t handle dozens or hundreds of cycles.
The correct order is: first find the contact point and eliminate the cause, then stop corrosion locally if the chip has already gone down to bare metal, and only after that install protection. If you do it the other way around and just cover the edge with film, it will wear through quickly as well.
Sliding doors are heavier and more complex than regular doors: they run on tracks, rely on roller assemblies, and must engage precisely with the lock and striker. Any slight misalignment, play, or extra tension along the path immediately changes the approach angle of the door edge to the body.
On vans, the issue shows up faster because of the large door area, frequent opening, the weight of the door, and the load on the rollers. In hot weather, gaps can sometimes get worse: the trim or seal starts pressing harder, and the door begins to catch where it previously passed with minimal clearance.
Don’t start with adjustment — start by finding the exact contact point. Wash the door edge and the adjacent opening, apply masking tape to the suspected area, and slowly open and close the door several times. The tape or a fresh rub mark will immediately show where the contact is.
If the door is power-operated or noticeably heavy, it’s better not to do rough DIY adjustments without support and without understanding the sequence. On these assemblies, one big shift at a time often ends with new scratches on the opening itself.
DD Tuning expert comment: The most common mistake is seeing a chip on the edge and immediately ordering protection without checking why the door is rubbing. The second typical misstep is adjusting only the striker, while a vertical issue often sits in the center roller or in the overall door position. If the contact mark returns to the same spot after washing, it’s almost always not cosmetic — it’s geometry or play.
| Symptom | Likely cause | What to do |
|---|---|---|
| Paint worn through at one height on the rear edge | Door shifted relative to the opening, lock engages off-center | Check flush fit to the body, inspect the mark on the striker, adjust in small steps |
| Rubs the lower corner near the entry | Lower roller wear or dirt in the lower track | Clean the track, check roller play, replace the roller assembly if needed |
| Door bounces or moves in jerks | Dirty track, dry roller, bracket play | Clean tracks gently, check for smooth travel, don’t delay replacing worn parts |
| You have to push the door by hand to close | Incorrect door position or excessive seal tension | Check gaps in the lock area, inspect the seal condition, don’t try to solve everything with the striker alone |
| In hot weather the contact gets stronger | Heat warping of trim or extra seal pressure | Find the contact point on a warm body, check trim and seal, adjust according to the procedure for the specific model |
| Bare metal is already exposed | Rubbing has been going on for a long time; protection was installed too late or not at all | After eliminating the cause, touch up the chip locally and only then cover with protection |
One small detail that’s often underestimated: after any intervention, you need to slowly open and close the door a few times and recheck the gaps. If the movement is smoother and the contact mark is gone, then it makes sense to apply the final edge protection.
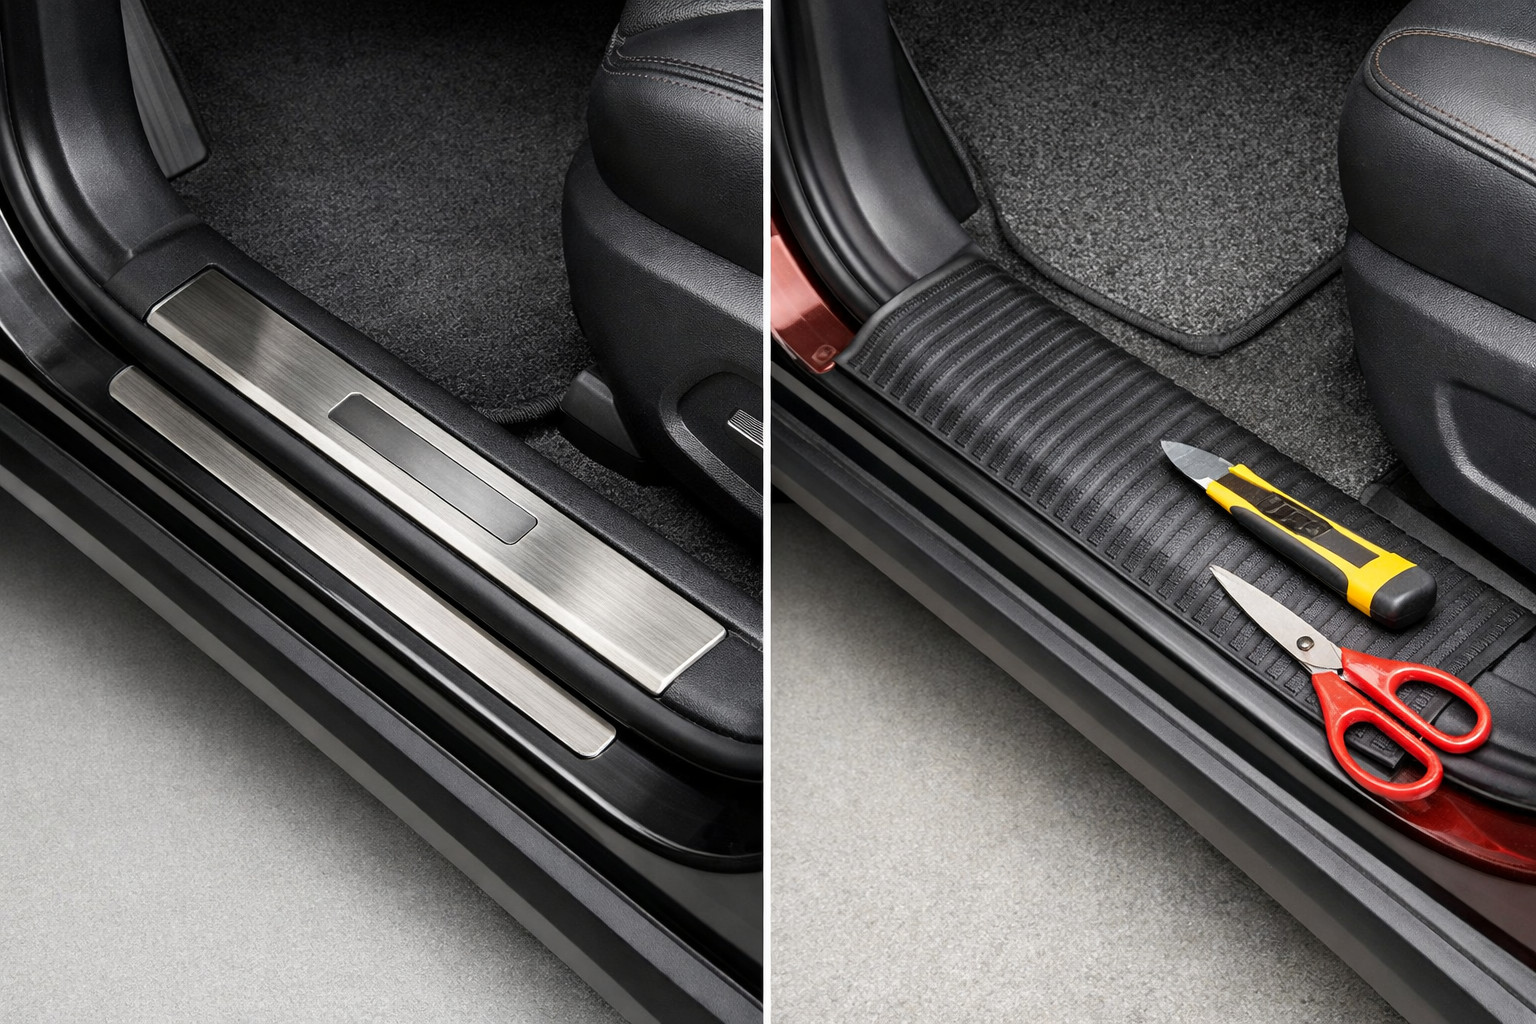
Accessories make sense when the geometry is already set and you want to eliminate everyday wear from shoes, cargo, or frequent boarding. For the lower entry area, it’s logical to look at a sliding door sill protector; for regular use of a passenger van — door sill scuff plates; and where you need the most practical, easy-to-clean option, plastic door sill covers are a good fit.
But if the door edge is hitting the body during door travel, an accessory does not replace repair. In that case, it makes sense to replace the roller, bracket, seal, or to precisely adjust the striker and door position. And if there is already noticeable play, a dull knock at the end of travel, or an uneven gap, you should not start with a trim piece.
| Solution | When it works | When it’s not worth spending money |
|---|---|---|
| Cleaning tracks and basic service | The door moves heavily, but without major play or obvious misalignment | If the door has sagged or the roller is already worn out |
| Adjusting door position | There is a clear contact point, and the rollers are not critically worn yet | If play or deformation of assemblies hasn’t been eliminated first |
| Striker correction | The lock engages off-center, but the overall door height is correct | If the problem is vertical and the door has actually sagged |
| Replacing a roller or bracket | There is bouncing, jerking, noise, or noticeable play | If the track is simply dirty and the assembly is intact |
| Local touch-up and clear edge protection | The cause of rubbing has already been removed, and the chip needs sealing from moisture | If the door is still rubbing at the same point |
| Sill covers or sill protection | The main wear is in the entry area from feet or cargo | If the upper or rear edge is being damaged due to an incorrect door path |
| Body repair of the edge | There is edge deformation, a deep chip, or early corrosion | If the damage is fresh, superficial, and the metal hasn’t been affected yet |
From a customer’s experience: on a work van, a chip quickly appeared on the lower rear edge of the sliding door, and the owner initially wanted to simply cover the spot with a trim piece. After inspection, dirt was found in the track and play in the roller assembly, which caused the door to sag slightly at the end of travel. After cleaning, replacing the worn part, local touch-up, and protecting the lower entry area, no new chips appeared in the same spot.
A quickly chipped sliding door edge is almost always a sign of repeated contact, not just a cosmetic defect. The best approach is a three-step combination: find the contact point, eliminate the cause in geometry or assemblies, and then protect the now-correct edge or sill. This approach delivers results in real-world use, and this material is based on real selection experience, hands-on practice, and real van usage scenarios.
Shipping to EU
Wholesale and retail
Own warehouse
Опис продукту
Подарунки не надаються при оформленні покупки у кредит під 0,01% або при покупці частинами.