13.09.2026
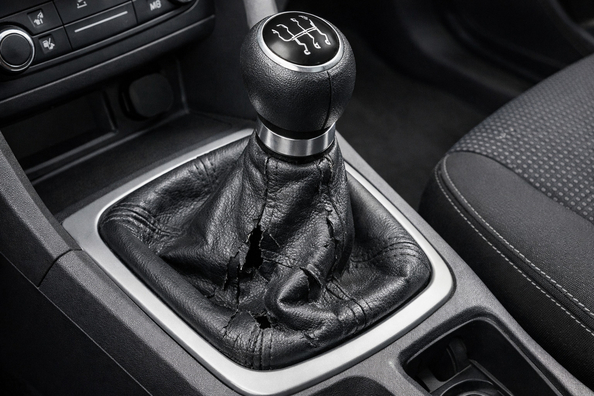

A cracked gear shift boot isn’t just about looks. If the material has already hardened or the crack has gone all the way through, extra heat, dust, and even odors from under the tunnel can enter the cabin—especially when the lower dust boot or seal under the top boot is already damaged.
The good news is that the cause can usually be identified quickly without complex diagnostics. Small surface defects can still be patched temporarily, but if the boot is peeling, tearing on the folds, or sagging near the trim frame, the right solution is almost always the same: replace the damaged part and, at the same time, check what’s underneath.
The gear shift boot is constantly working in harsh conditions: heat in a closed cabin, UV exposure, daily flexing during shifts, and friction against the knob and trim frame. Because of this, vinyl, rubber, or leatherette gradually lose elasticity, dry out, and crack right on the creases.
There’s also a second reason the problem is often underestimated: on many cars, the upper decorative boot and the lower dust-protection element are not the same part. So replacing only what you can see on top doesn’t always eliminate heat, odor, or air being drawn from the tunnel.
DD Tuning expert comment: the most common mistake is buying a new upper boot and not checking what’s underneath. If there’s odor, heat, or noticeable airflow near the shifter, you need to inspect the lower dust boot and seals—otherwise the appearance improves, but the problem remains. The second typical mistake is installing a universal boot without checking the frame and tension.
| Symptom | Likely cause | What to do |
|---|---|---|
| Fine cracks without holes | Over-dried top layer from sun and heat | Temporarily patch with a flexible repair compound, then protect from UV |
| Through tear along a crease | Material has lost elasticity and can’t handle the load | Replace the upper boot |
| Peeling, hard surface, fading | Severe aging of vinyl or eco-leather | Don’t waste time on glue and touch-up dye—replace it |
| Oil smell or sulfur-like smell in the cabin | Damaged lower dust boot or seal | Lift the boot and check the lower assembly; replace separately or together as needed |
| Hot air near the console | Compromised sealing or heat insulation under the boot | Inspect the dust boot, foam, and insulation, not just the decorative part |
| Boot is skewed or pops out of the frame | Poor fit, worn clips, or an incompatible part | Check the frame and compatibility; sometimes a model-specific boot is better than a universal one |
If the problem is already visible, the basic solution is to replace the gear shift boot itself. This is logical when the crack goes through, the edges are crumbling, or the material has become stiff.
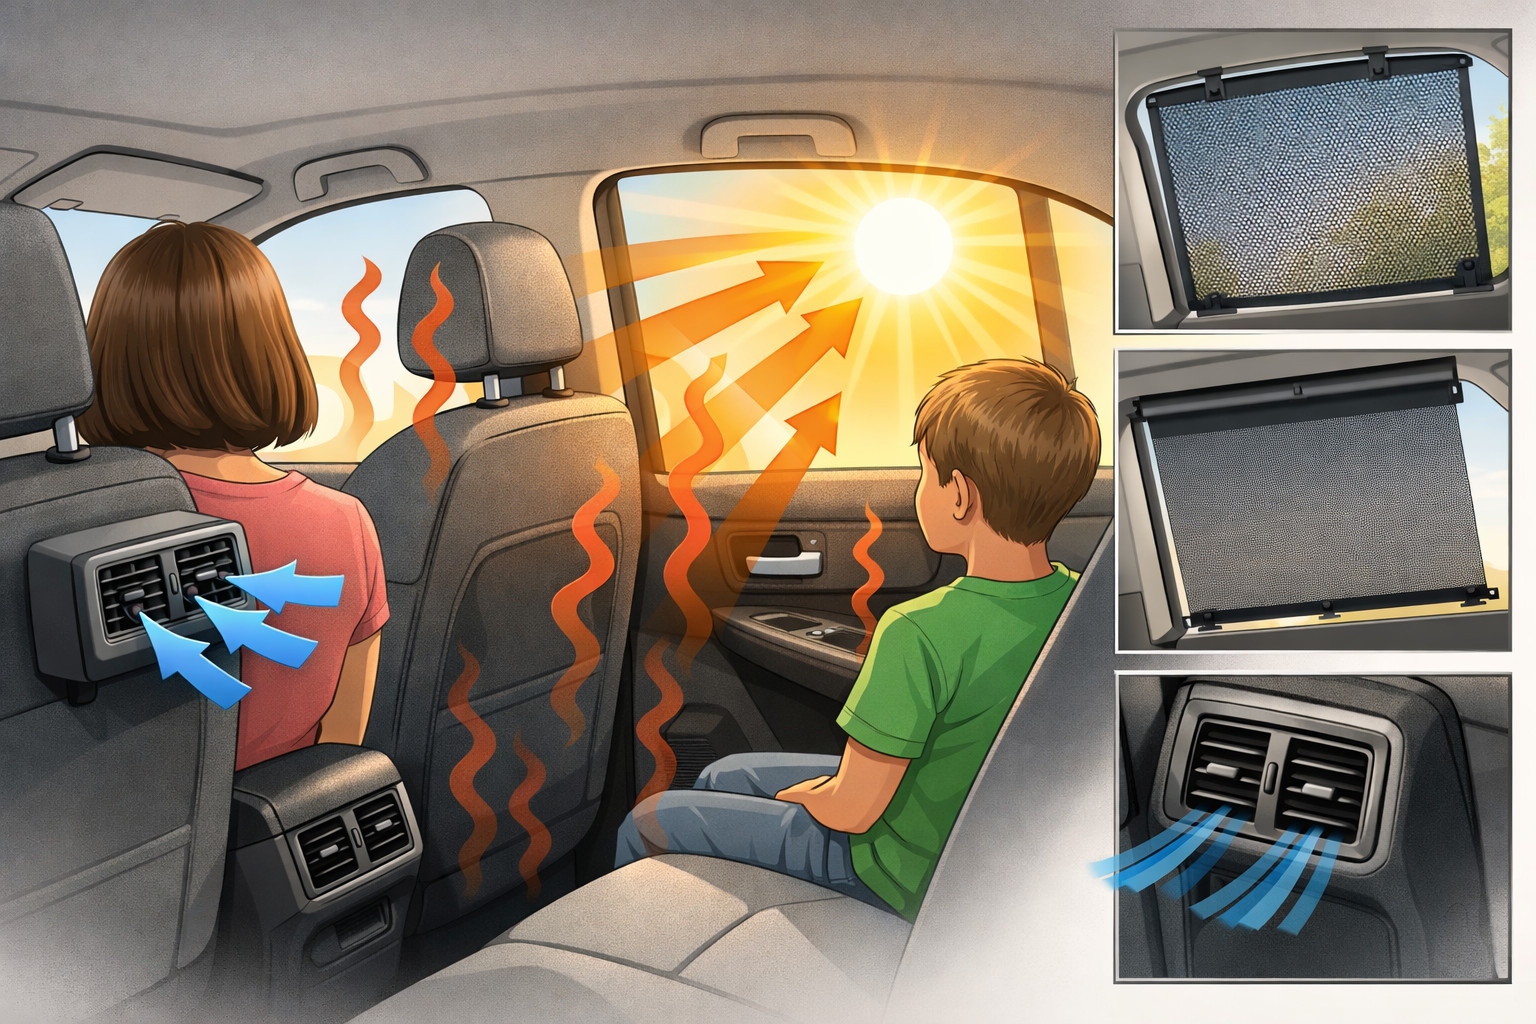
If the car often sits in the sun, prevention also makes sense: a sunshade reduces overheating around the console area, and for long outdoor parking a car cover is useful. This doesn’t repair an old boot, but it noticeably slows the aging of a new one.
Replacing only the lower dust boot or seal makes sense when the upper boot is still more or less alive, but heat, odor, or dust is getting into the cabin. If both the upper and lower elements are worn at the same time, it’s usually quicker to replace the assembly completely right away.
| Solution | When it works | When it’s not worth spending money |
|---|---|---|
| Local repair compound | Small surface cracks, material is still flexible | There’s a hole, peeling, stiffness, or a seam tear |
| Replacing the upper boot | Interior looks worse, material has hardened or torn | If there’s also odor or heat and the lower assembly hasn’t been checked |
| Replacing the lower dust boot/seal | Air leakage, heat, odor, dust from the tunnel | If the upper boot is also falling apart and needs replacement too |
| UV protection and reducing overheating | For prevention on a new or still-usable boot | When the old material has already cracked through |
| Universal boot | Only when the frame, height, and tension match exactly | If the model has non-standard mounting or a neat fit is important |
From a customer’s experience: someone came in because the upper boot was cracked and they just wanted to cover the defect. After inspection it turned out the lower element under the frame was already damaged, which is why heat was felt near the console. In the end, the upper boot and the lower seal were replaced together, after which the interior looked neater and the sensation of hot air from the tunnel disappeared.
If your gear shift boot has cracked, the key is to distinguish cosmetic wear from real assembly failure. Surface defects can still be corrected temporarily, but a hardened, torn, or deformed boot is better replaced without experiments. And if there’s odor, heat, or dust in the cabin along with it, you need to check the lower dust boot, seals, and insulation.
Masking with glue and paint makes the least sense; proper diagnostics and replacing the part that’s truly worn makes the most. This material is based on real selection experience, hands-on practice, and real-use scenarios, so the conclusion is simple: don’t “treat” a cracked boot with cosmetics if the problem has already gone deeper than the outer layer.
Shipping to EU
Wholesale and retail
Own warehouse
Опис продукту
Подарунки не надаються при оформленні покупки у кредит під 0,01% або при покупці частинами.