11.06.2026
305
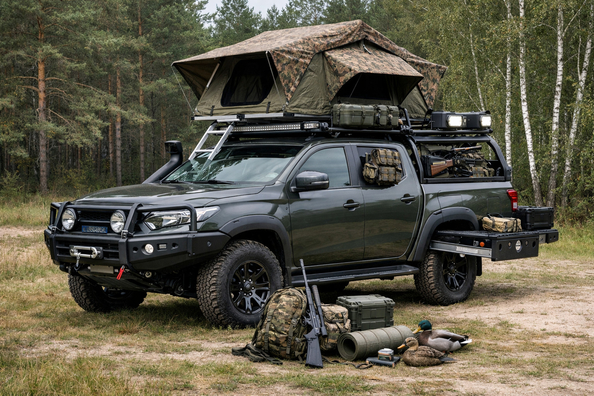
This upgrade package is for those who drive to hunting spots via dirt roads, forest tracks, snow, and rutted access roads to the fields, but don’t plan to build a dedicated trophy rig. The goal is simple: get there and back without stress, without drowning the budget in good-looking but low-value parts, and without getting stuck in the mud because of some small detail.
The logic here is scenario-driven: first, what truly adds traction, autonomy, and protection; then what makes life easier on a trip; and only after that—expensive, narrowly specialized solutions. For a pickup, a body-on-frame SUV, and a crossover, the order is the same, but the line between useful and unnecessary will differ.
A hunting vehicle rarely needs an extreme setup for rocks or deep water crossings. Much more often, it has to deal with wet black soil, snowy ruts, a forest road with roots, a dark early-morning departure, and hauling gear so that everything stays dry and doesn’t fly around the cabin.
That’s why the right upgrade package should cover five tasks: grip on slippery surfaces, the ability to self-recover, underbody protection from impacts, proper gear storage, and predictable behavior on asphalt. If you have a crossover without a low-range transfer case, don’t try to turn it into a tractor with a lift and oversized tires. If it’s a pickup or a body-on-frame SUV, it makes sense to think about more strength and load capacity—but not before the basics.
Top priority: all-terrain tires in a sensible, standard-ish size. They make the biggest difference on wet grass, dirt, snow, and light mud, without turning daily driving into a loud compromise. Step two: a full-size spare—not a temporary donut, but a wheel you can actually finish the route on.
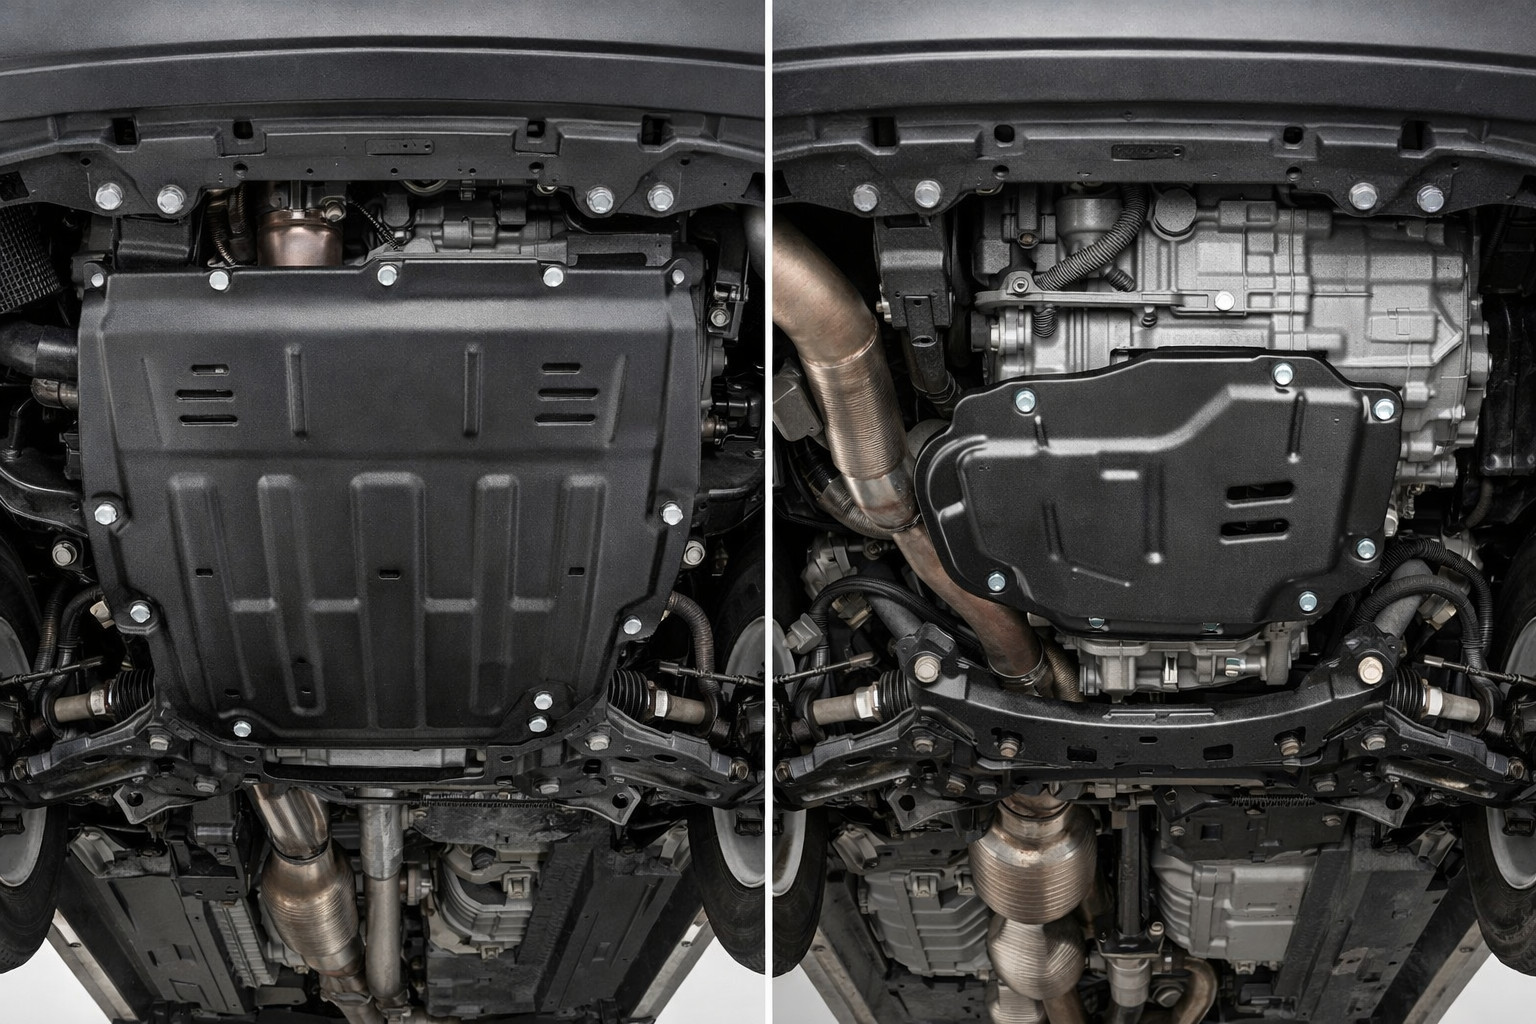
Third come a deflator and compressor. On soft surfaces, it often makes sense to drop tire pressure to roughly 1.0–1.7 bar—but only if you can quickly bring it back to road pressure before the highway. Next is a basic self-recovery kit: strap, shovel, traction boards or another simple tool to get moving again, plus proper recovery points. If your route runs through ruts, stumps, and rocks, underbody protection should be part of that same first stage.
| Upgrade | What it’s for | Who it truly benefits |
|---|---|---|
| All-terrain tires | Provides traction on dirt, snow, wet grass, and light mud without a sharp drop in on-road comfort | Almost everyone who regularly leaves paved roads |
| Full-size spare | Helps you avoid ruining a trip due to a sidewall cut or puncture far from a tire shop | Anyone who drives to remote places |
| Compressor and deflator | Lets you lower pressure for better contact on soft surfaces and restore it for highway driving | Those who drive in seasonal mud, snow, or sand |
| Basic self-recovery kit | Gives you a chance to get out without outside help after rain or in deep ruts | Those who often travel alone or at dawn when no one is around |
| Underbody protection | Takes hits from rocks, stumps, ridges, and deep ruts | Pickups, body-on-frame SUVs, and crossovers that regularly see forest roads |
| Enclosed gear storage | Keeps items dry, quiet, and quick to access | Especially useful for pickups and anyone going out for several days |
If the budget is limited, it’s better to buy tires, a compressor, a spare, and a simple self-recovery kit than one expensive accessory that only works in a rare scenario. This set solves real problems most often, rather than just creating the “prepared vehicle” look in photos.
DD Tuning expert comment: the most common mistake is starting with big wheels, a lift, or heavy-duty armor without covering the basics—tires, a spare, a compressor, and proper tow points. Another typical story: people buy heavy, expensive items for one imagined trip per year, and then live with noise, fuel consumption, and extra weight every day. For most hunting routes, it’s not the image that matters, but traction, tire pressure, and order in the cargo area.
Stage two starts when you’ve already driven with the basic set and understand your weak points. If you lack light on the approach to the location, add auxiliary lighting—but adjustable and without overdoing it. If the vehicle is constantly loaded, sags in the rear, or tows a trailer, then it makes sense to look at load-rated suspension rather than simply raising the body.
For a pickup, stage two is often a tonneau cover, canopy, or a simple enclosed bed solution. For an SUV—cargo-area organization so the strap, shovel, first-aid kit, and tools don’t live under a pile of stuff. In winter or on mountain access roads, chains are useful. A winch only makes sense if you truly travel alone, far away, and into conditions where help may not be available.
This category often includes roof rails, roof baskets, elaborate drawers, trim covers, side steps, decorative bars, and other items that don’t make the vehicle noticeably more capable. Some of them are useful—but only after the basics. For example, a roof basket helps with light bulky cargo, but it adds wind noise and doesn’t like heavy loads up top.
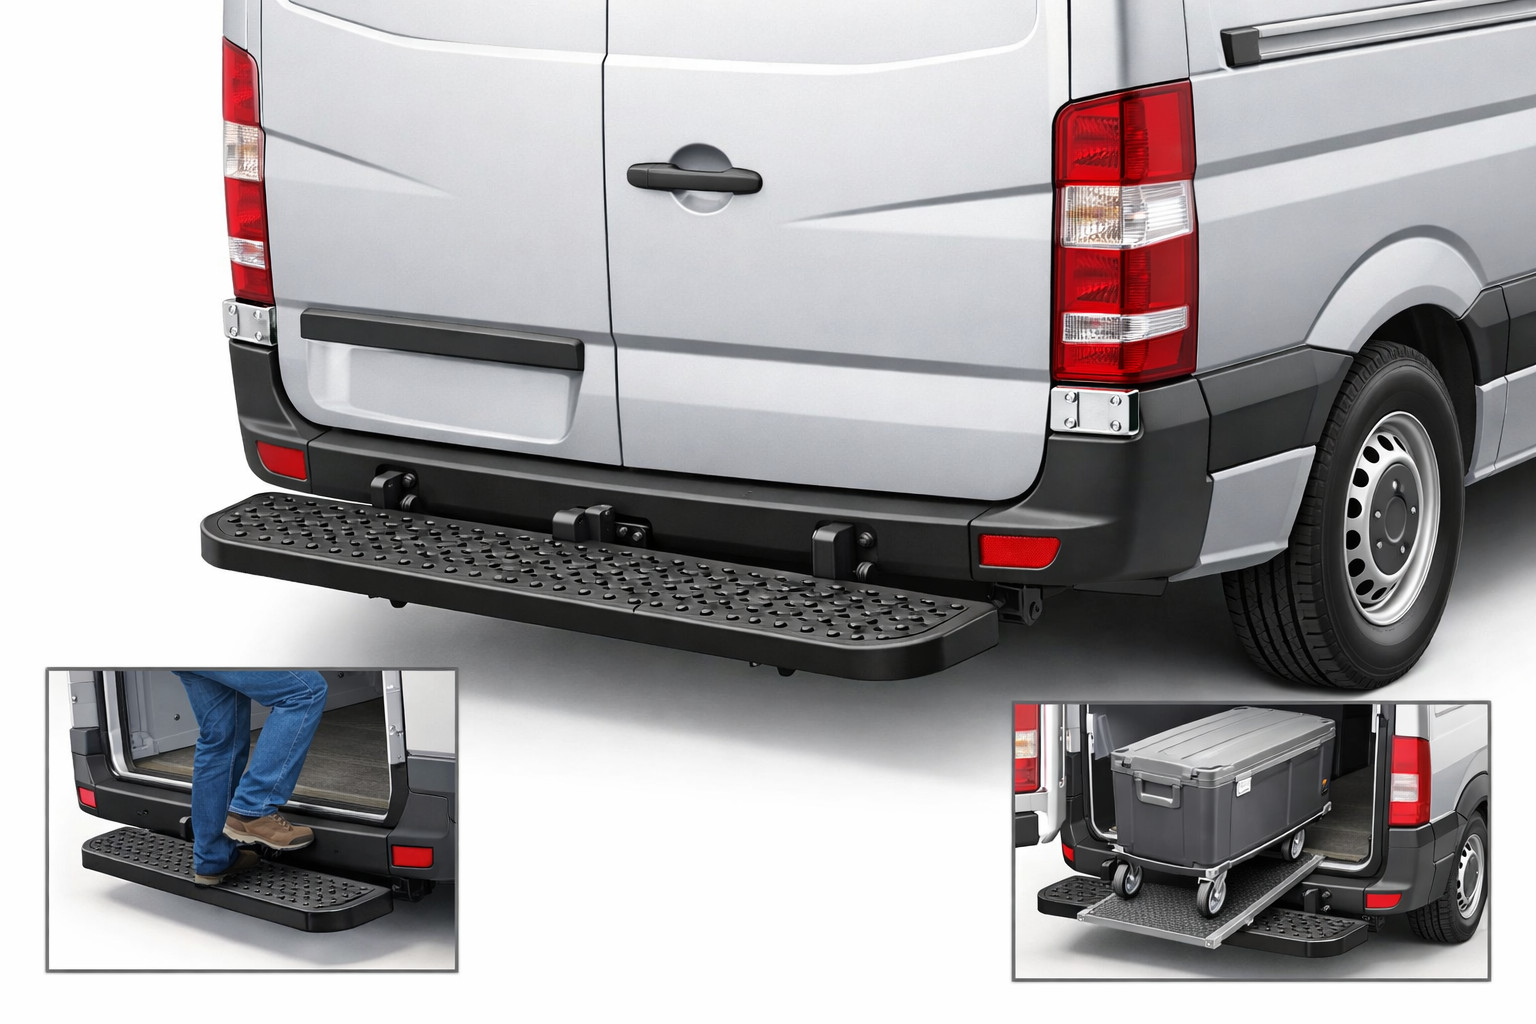
Complex modular storage systems are attractive too, but for most scenarios a simple durable box or organizer delivers almost the same result for less money and without losing flexibility. Side steps and massive exterior armor on a hunting vehicle often also reduce practical off-road geometry in ruts.
Most often, people waste money on overly aggressive tires for a vehicle that spends 80 percent of its time on asphalt. They’re noisy, wear faster, and don’t always provide an advantage where a good all-terrain tire and the right pressure would have been enough. The second popular mistake is big wheels and a cosmetic lift without understanding that fuel consumption, stress on components, and the list of required supporting mods often increase afterward.
The third mistake is a snorkel, breather extensions, and heavy-duty bumpers for a vehicle that never sees deep water and doesn’t run solo on tough routes. The fourth is an expensive winch without the skills to use it, without a well-thought-out mount, and without the rest of the recovery kit. And one more common story: buying things for looks rather than for your route—the photos get more interesting, but the trip doesn’t get easier.
| Install first | Can be postponed | Not required | Why |
|---|---|---|---|
| Tires, full-size spare | Load-rated suspension | Big wheels for looks | You need traction and reliability first, not a changed appearance |
| Compressor, deflator | Auxiliary lighting | A bright light bar for rare trips | Pressure control helps almost always; lighting isn’t needed by everyone |
| Strap, shovel, traction boards, recovery points | Winch | Heavy-duty bumper without real need | Basic self-recovery is cheaper and covers most stuck situations |
| Underbody protection | Canopy, expensive drawers | Decorative exterior armor | Protect the vehicle’s vital parts first, not decorate the body |
| Simple enclosed storage | Roof basket | Snorkel without fording and dusty routes | Dry, organized gear matters more than extra roof noise |
More expensive upgrades are justified when you regularly travel alone, far from people, into deep mud, snow, or rocky ruts. In that scenario, it makes sense to separately go over winch selection: in pulling capacity, it should have a reserve of at least 1.5 times the vehicle’s gross weight, and using it without training is dangerous.
If you regularly hit ruts, roots, or rocks with your protection, a more serious underbody protection setup is justified. And when your route truly includes fords, dusty convoys, or water above the factory air intake level, then it’s time to read about choosing a snorkel. In all other cases, that money is more often better spent on tires, a spare, a compressor, and proper gear organization.
From a customer’s experience: the most telling scenario is when an owner initially wanted a winch, a lift, and big wheels for autumn field trips. After a conversation, he limited it to tires, a full-size spare, a compressor, a strap, a shovel, and a simple enclosed box in the cargo area. As a result, the vehicle became calmer in daily driving, and on hunting trips these items were used constantly, while the expensive heavy-duty upgrades never became necessary.
For hunting, what works best isn’t the longest accessory list, but the right upgrade order. Start with tires, a spare, pressure control, basic self-recovery, and protection; then add lighting, storage, and load-rated suspension; and only after that—a winch, snorkel, expensive drawers, and other narrow solutions. That’s how you cut out marketing clutter and keep what truly helps in the field. This material is based on real selection experience, practice, and real-world usage scenarios.
| ✔ | The article clearly sets priorities: first tires, a spare wheel, tire pressure control, and basic self-recovery, and only then expensive upgrades. This helps avoid spending money on things that have little impact on a real trip. |
| ✔ | The author ties each upgrade to a specific scenario very well — wet black soil, snow, forest roads, carrying gear. This makes it easier to understand what will actually be needed for your own route. |
| ✔ | There is a practical tip not to turn a crossover into a "tractor" with a lift and large wheels unless necessary. This reduces the risk of extra costs, noise, and worse everyday driving. |
| ✔ | It is useful that it is explained separately what to get as a first stage, what can be postponed, and what is not required at all. Such a plan simplifies upgrades without random purchases. |
| ✔ | The article directly warns about typical mistakes: aggressive tires for a road car, a winch without experience, decorative body kits, and a snorkel without water crossings. This helps avoid buying unnecessary or inconvenient solutions. |
| ✘ | The material gives almost no precise recommendations for different types of cars, apart from general notes about a crossover, pickup, and body-on-frame SUV. Because of this, in practice you will still have to choose a solution for a specific model. |
| ✘ | Some recommendations remain at the level of general logic without specific limits, for example regarding suspension for load or choosing a winch. This is useful as a guideline, but it does not fully answer the question. |
| ✘ | The article focuses on basic upgrades, but there is almost no breakdown of the budget by stages. Because of this, it is difficult to quickly understand which of the listed items gives the best effect for the least money. |
Shipping to EU
Wholesale and retail
Own warehouse
Опис продукту
Подарунки не надаються при оформленні покупки у кредит під 0,01% або при покупці частинами.