07.06.2026
303
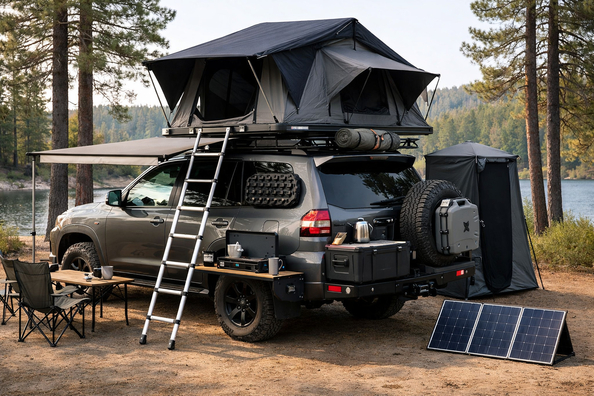
This upgrade plan is for those who go camping for 1–2 nights and want to make the car comfortable without heavy and expensive tuning. The scenario is simple: arrive, set up quickly, get a good night’s sleep, stay dry in the rain, stop hunting for items across the whole trunk, and not kill the battery with small electronics.
For a weekend trip, the biggest impact doesn’t come from a large roof module, but from the basics: a sleeping setup, shade or shelter, ventilation, lighting, order in your gear, and smart power management. If the car is small, priority shifts toward external shelter and trunk organization; if a wagon, crossover, or minivan allows you to sleep inside, the payoff from a solid base is even bigger.
For weekend camping, the car should cover five tasks: provide a proper place to sleep, create a dry and shaded zone next to the vehicle, allow ventilation without insects, keep gear organized, and avoid turning the evening into a fight for charging. If at least two points fail, the trip will be remembered not for rest, but for small everyday discomforts.
It’s important not to confuse a practical universal kit with a show upgrade. For sleeping in the cabin, a level surface, insulation, and privacy are critical, because at night the car cools down almost like a tent. In hot weather, shade, ventilation, and insect protection come first. In rain, you need proper shelter by the doors or tailgate so you can change clothes and eat without doing it inside the cabin.
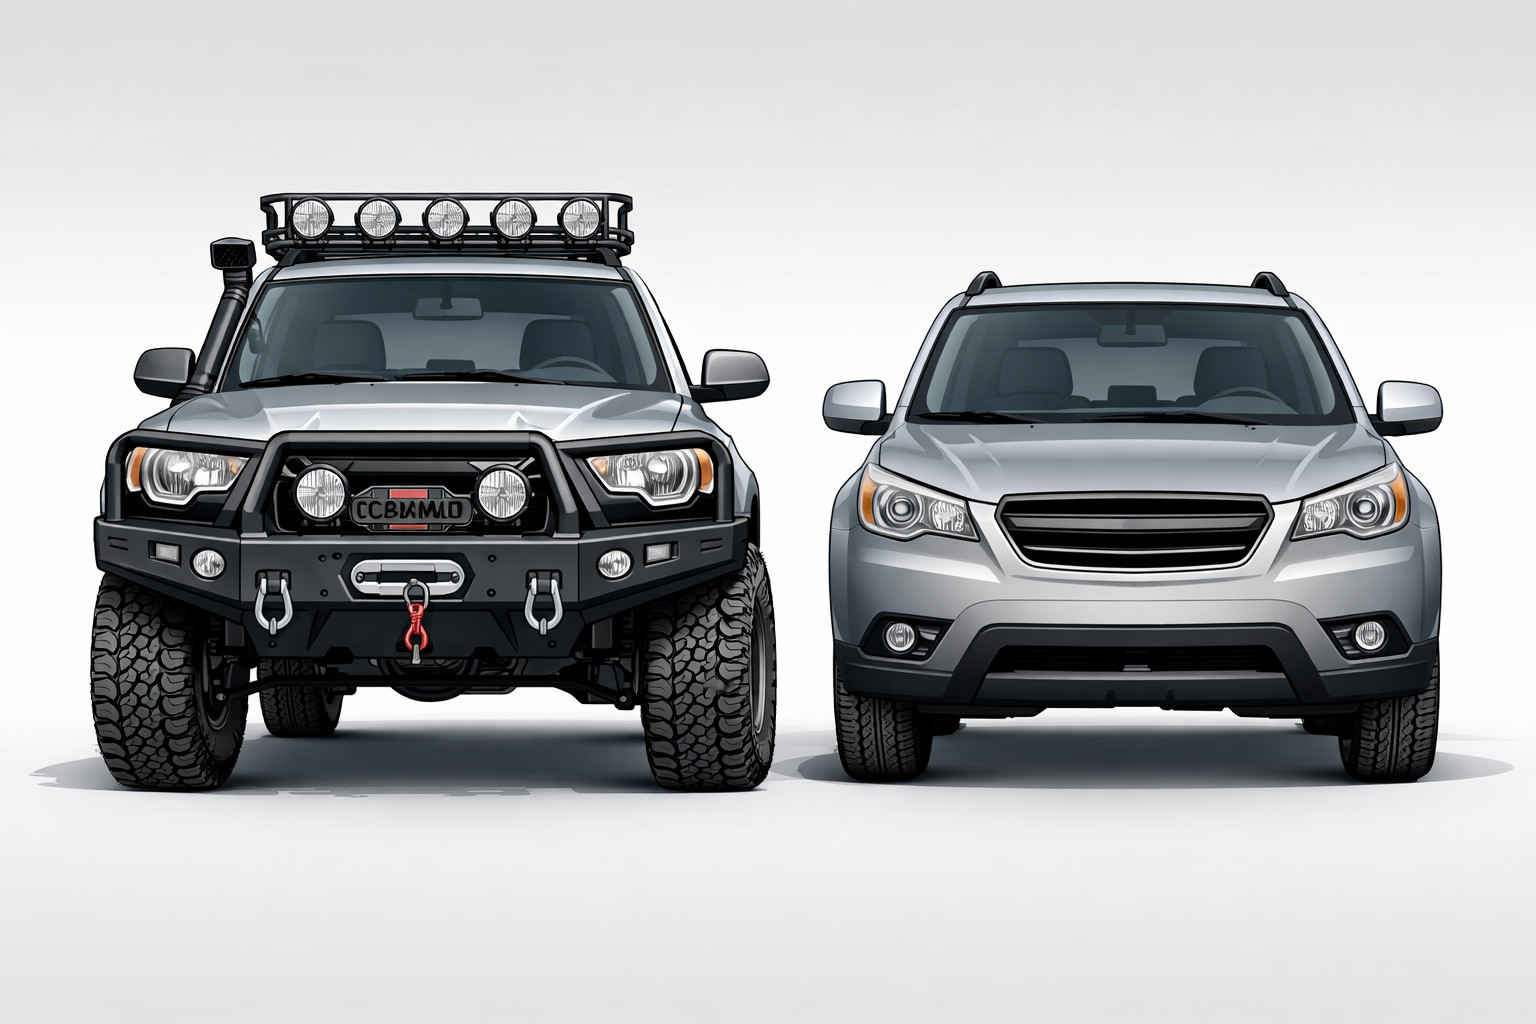
Another task is preserving mobility. If you arrive at camp but want to drive out during the day to a shop, the beach, or a viewpoint, an overly complex camping build starts getting in the way. That’s why for most short trips, a lightweight upgrade logic works better than a permanent rooftop “base camp.”
Start with sleep. If your body style allows the rear row to fold into a more-or-less flat area, the first budget should go to leveling the floor, a mattress or thick sleeping mat, a pillow, and a blanket or sleeping bag. If there’s no flat area, don’t rush into building a heavy platform: for 1–2 nights it’s often more practical to create an outdoor zone next to the car and sleep in a separate tent than to rework the cabin for a rare scenario.
Second is shelter next to the vehicle. An awning or a simple tarp is more useful than it looks in photos: a place for breakfast, changing clothes, small repairs, protection from morning sun and rain. For short trips, this is often more practical than immediately spending on a rooftop tent.
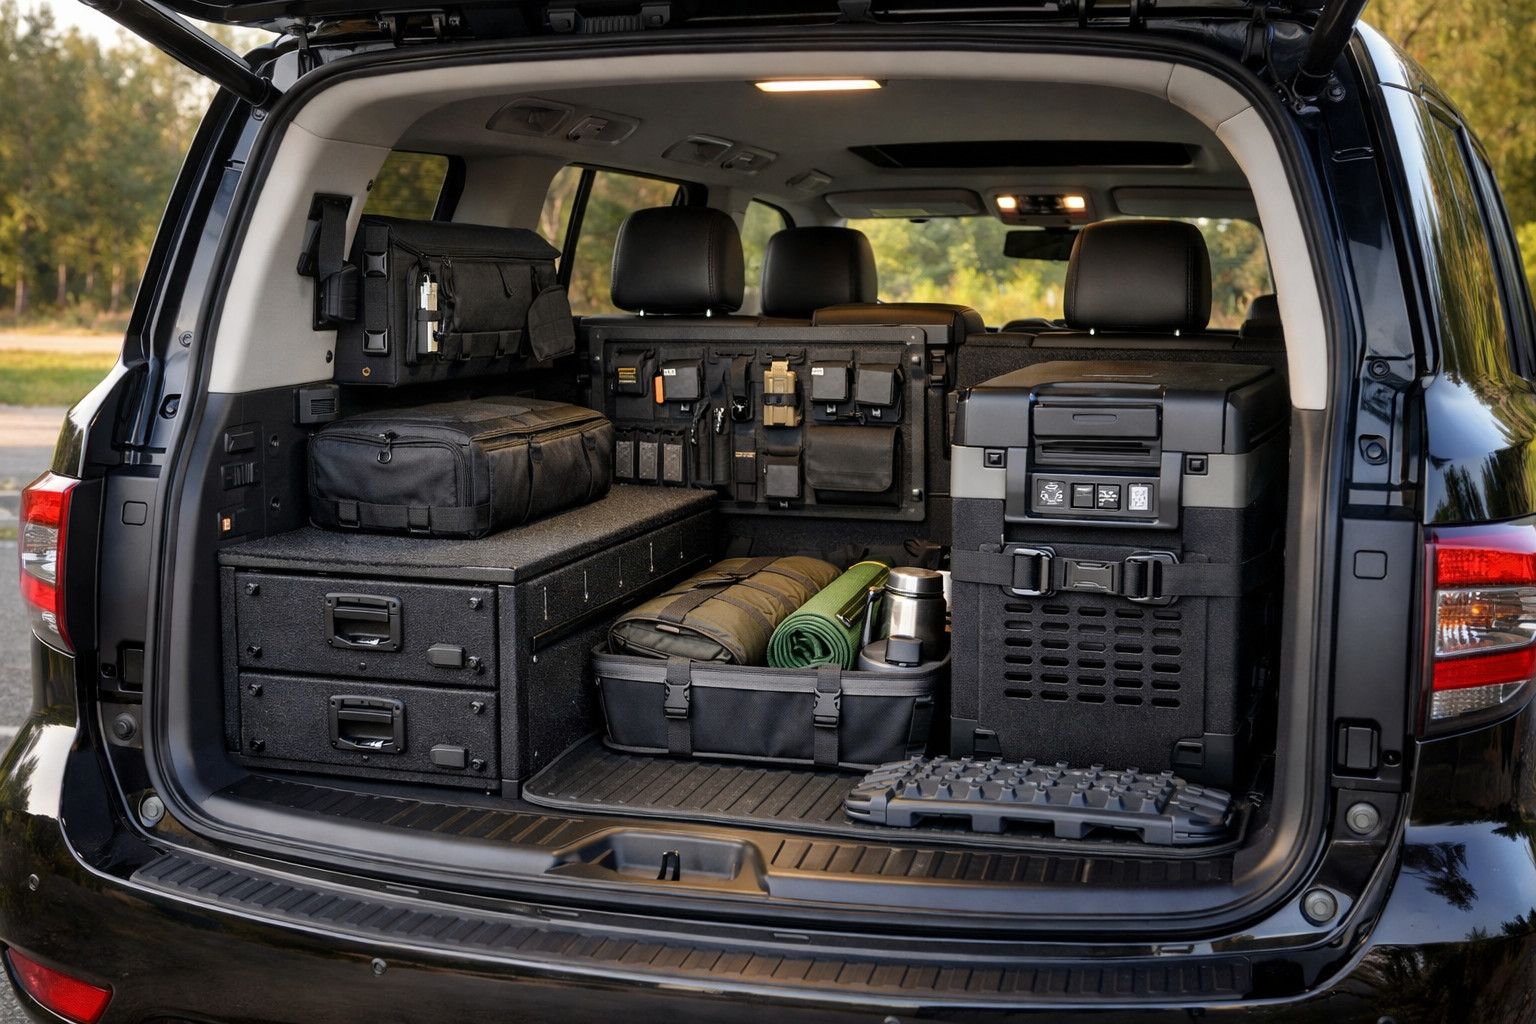
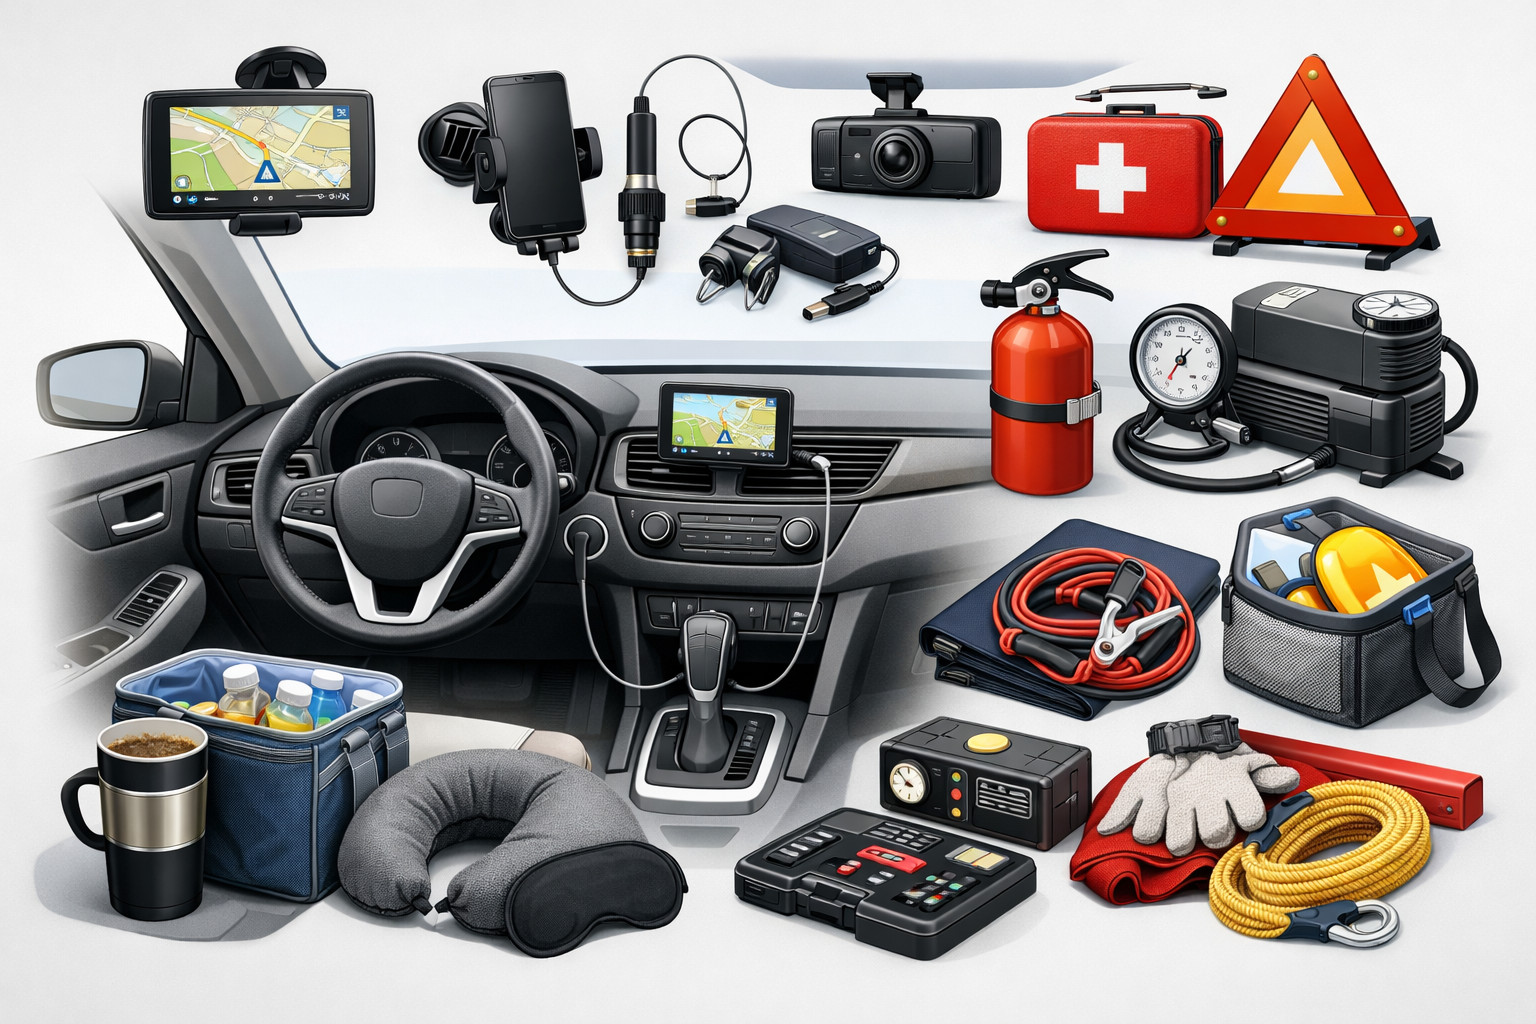
Third is ventilation, privacy, and lighting. A slightly open window with a mesh screen with extra edge coverage, curtains or window shielding, and a proper автономous lantern add a very noticeable comfort boost. After that it makes sense to think about order in the trunk: boxes, organizer bags, a dedicated place for the kitchen, clothing, and small electronics.
| Upgrade | Why it’s needed | Who really benefits |
|---|---|---|
| Level sleeping surface or mattress | Provides proper sleep and removes the main cause of post-trip fatigue | Those who sleep inside a wagon, crossover, minivan, or large hatchback |
| Awning or tarp | Creates shade and a dry zone next to the car, simplifies life in rain and heat | Those who cook next to the vehicle and often deal with heat or unstable weather |
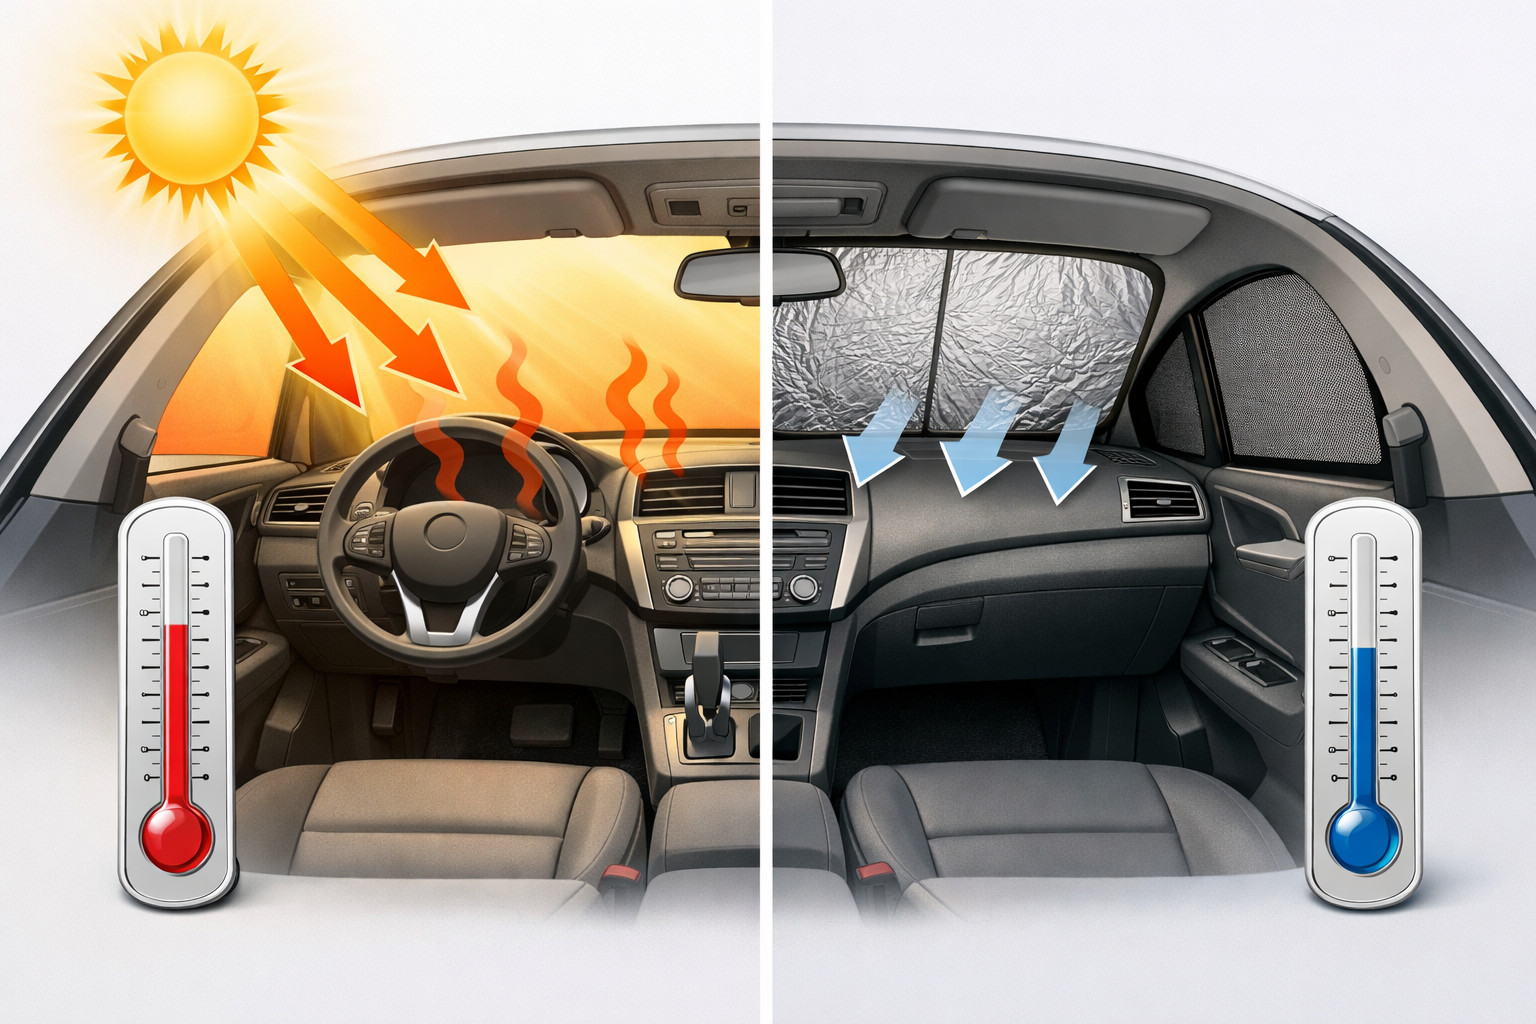
| Window screens, curtains, ventilation | Reduces stuffiness, condensation, and insect issues, adds privacy | Those who sleep in the car or spend the evening and morning in it |
| Off-grid lighting | Makes evening routines comfortable without constantly starting the engine | Anyone who stays after sunset |
| Organizers and dedicated trunk zones | Reduces packing time and prevents gear from mixing and rolling around the cabin | Families, couples, and anyone carrying kitchen gear, clothing, sleeping equipment, and small tools |
| Compressor fridge and separate power | Eliminates dependence on ice, makes food and device charging easier | Those who travel often, in heat, or for 2+ days, and those carrying perishable food |
| Rooftop tent | Lets you quickly set up a sleeping place above the ground | Those who camp regularly, have a compatible roof, and are ready to live with the weight and bulk |
DD Tuning expert comment: the most common mistake is buying a big roof accessory before a person understands their own scenario. In practice, you should first check how you sleep, where you cook, and what actually annoys you in day-to-day camp life: sun, rain, mess, or lack of power. Another typical mistake is installing a heavy roof system without checking the rails, crossbars, and permissible load.
The second stage starts when you’ve already done 1–2 trips and noticed recurring issues. If ice keeps melting, food gets wet, and you’re missing a cold drink in the heat—then a compressor fridge makes sense. If phones, lights, and small devices regularly drain the car while parked—then you need separate power, not random cables in the cigarette lighter.
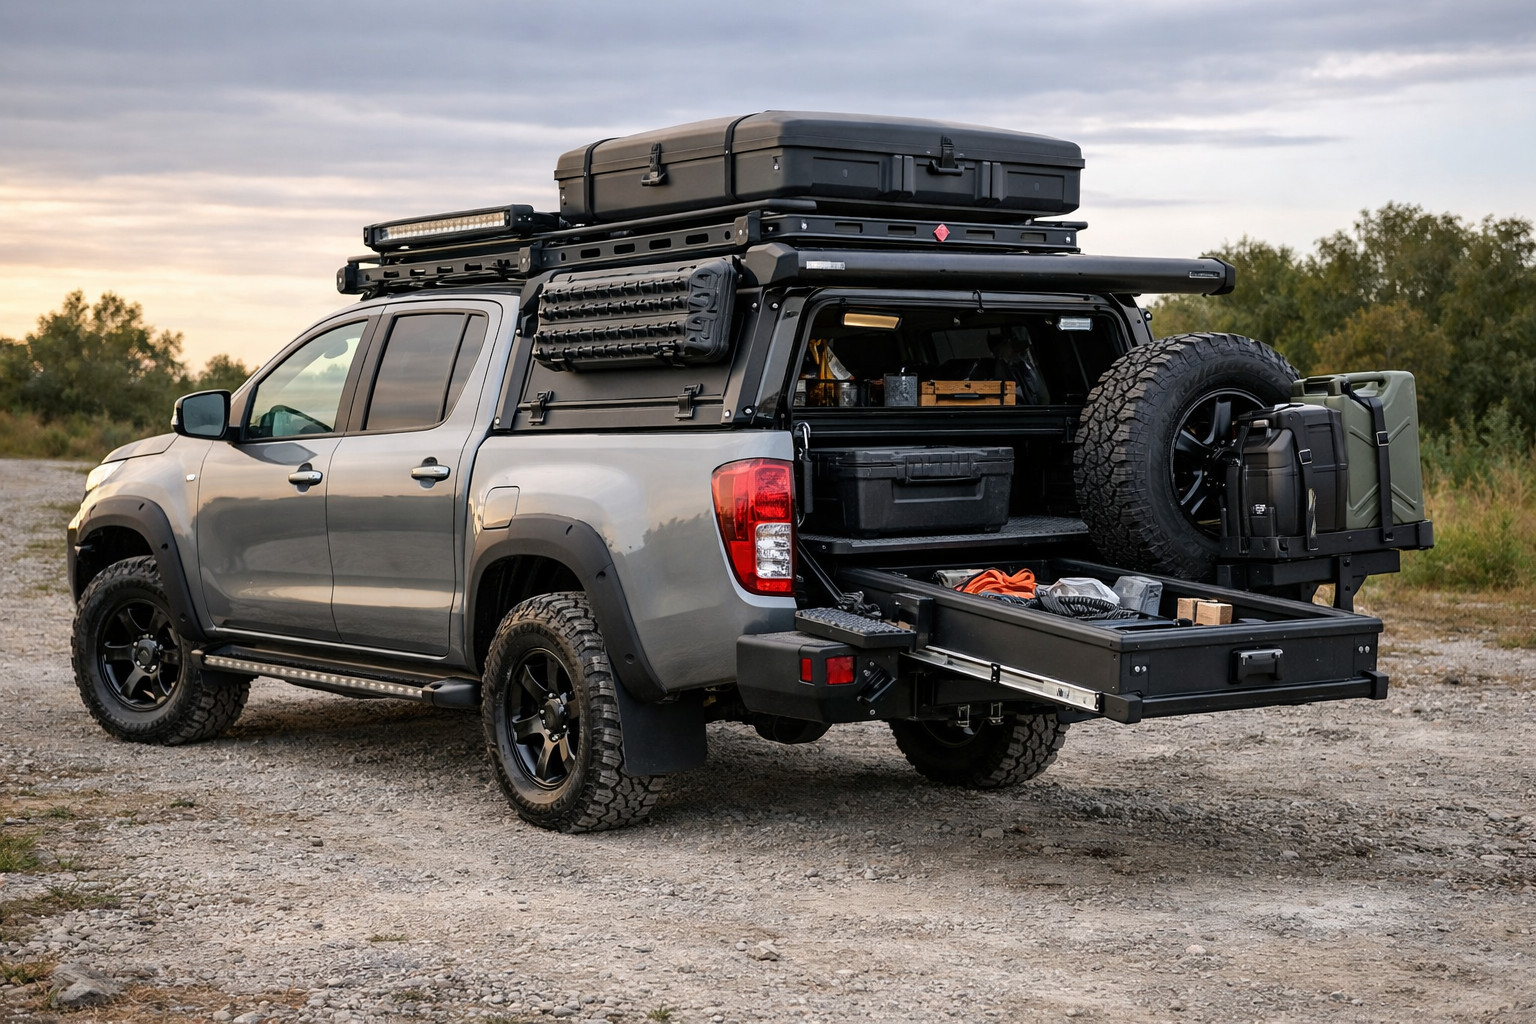
If you want to move part of the gear outside or mount an awning permanently, the second stage becomes the roof base: rails, crossbars, mounts. This is exactly where you need to be pedantic about compatibility. For a large awning or rooftop tent, it’s not just the brackets that matter, but also the distance between crossbars, the vehicle’s overall height after installation, and the roof’s dynamic load rating. As a reference, a rooftop tent itself can weigh around 60 kg, so without sufficient roof and mounting headroom, it’s better not to go there.
For frequent overnight stays, you can consider a rooftop tent—but only if you’ll actually use it almost every weekend or on longer trips. For occasional outings it’s too expensive, heavy, and not always convenient: it takes up the roof, worsens aerodynamics, and ties you to the campsite if the sleeping area is set up on top.
This includes large 270° awnings, advanced drawer systems, separate awning annexes, expensive trunk-organization panels, hard cases, and other items that look great in builds but don’t always add real weekend value. They make sense when the vehicle frequently lives in travel mode, not when you go out 4–5 times a season for one night.
Be especially careful with large side awnings. 270° solutions provide a very large sheltered area, but require space, adequate crossbars, and don’t always play nicely with compact body styles or the tailgate. If you just need a bit of shade for breakfast and brief rain, a compact awning or tarp often covers the task just as well.
Most often, what gets bought in vain isn’t cheap items, but the wrong items. A typical list looks like this:
The logic is simple: if a purchase doesn’t improve sleep, weather protection, organization, or power, it’s not a priority. In short camping, it’s very easy to tell marketing clutter from useful gear: useful items work on every trip; clutter only looks good in the parking lot.
| Scenario | What to install first | What can be postponed | What isn’t necessary |
|---|---|---|---|
| 1–2 nights, a few times per season | Sleeping setup, ventilation, lighting, basic trunk organization | Awning, fridge, separate power | Rooftop tent, heavy drawers, large roof modules |
| Summer trips in the heat | Shade or shelter, window screens, water, lighting | Fridge, permanent roof mounts | Large 270° awning, complicated electrics |
| Frequent trips almost every weekend | Sleep, shelter, trunk organization, smart power | Compressor fridge, roof base | Rooftop tent without checking roof and rail compatibility |
This table matters because it filters out impulse purchases. If your scenario is rare, an expensive system almost always loses to a simpler kit that packs faster and interferes less with daily driving.
The main idea in this plan is simple: the first trip should show where your bottleneck is. If you didn’t sleep well, it’s not time to buy an expensive fridge. If you’re getting soaked in the rain, it’s not time to spend on decorative trunk organization. Sequence saves more money than chasing the “top” accessory.
A more expensive awning or tarp is justified when you regularly have breakfast, cook, or wait out rain next to the car. For weekends, it’s one of the few upgrades that truly gets used every time—if trips repeat.
A roof rack makes sense when you need a permanent base for an awning, light cargo, or you’re already seriously considering a rooftop tent. But you should choose it not for the photos, but after checking the rails, permissible load, crossbar spacing, and the vehicle’s final height.
An car inverter is appropriate if you have real 220 V loads and you understand how you’ll distribute power without risking draining the starting battery. If the task is only phone charging and evening light, this isn’t a first purchase—it’s an option after the basic camping kit.
From a customer’s experience: for short trips, the person first looked for a rooftop tent because they wanted a “ready-made solution.” After the first test camp, it turned out the main issues weren’t the roof, but the sun, the mess in the trunk, and weak lighting. In the end, they went with a sleeping kit, shelter next to the car, and gear organization—and that delivered the biggest benefit on every next trip.
For weekend camping, the right order is: sleep and ventilation first, then shelter and trunk organization, then power and a fridge, and only after that—heavy roof solutions. That’s how you get maximum value with minimal unnecessary spending and avoid turning the car into a project that’s harder to live with than the отдых itself.
In short, install what works on every trip, not what looks most expensive. This material is based on real selection experience, hands-on practice, and real usage scenarios—so the takeaway is simple: a useful camping upgrade starts with everyday practicality, not a flashy roof.
| ✔ | They first recommend covering the basics — a sleeping area, ventilation, lighting, and order in the trunk. This is practical for short trips, because these little things are most often what affect sleeping comfort. |
| ✔ | The author clearly separates scenarios: sleeping in the cabin, heat, rain, or frequent trips call for different solutions. This approach helps avoid buying unnecessary items for a specific body type and usage mode. |
| ✔ | For 1-2 nights, they suggest a lighter alternative to heavy modifications — an awning or canopy, and, if needed, a separate tent. This helps keep the car mobile and avoids overloading the roof for a rare scenario. |
| ✔ | It is well explained when to add a refrigerator, separate power, or a roof base: after several trips and only if the problem keeps repeating. This reduces the risk of spending money on equipment that does not solve a real need. |
| ✘ | The article gives almost no specifics about the compatibility of basic solutions with different car models, apart from general mentions of the body type. Because of this, before buying, you will still have to measure the cabin and trunk separately. |
| ✘ | Many tips depend on whether you sleep in the cabin or in a tent, but there is no step-by-step list for the most common car types. For a beginner, this means extra time for independent selection. |
| ✘ | Some solutions are deliberately postponed to a second stage, including a refrigerator, separate power, or a roof base. For those who want to assemble a full set right away, this approach may seem slow and inconvenient. |
| ✘ | The risks of heavy roof systems are highlighted separately, but without a detailed explanation of how exactly to check the load or mounting. In other words, the important safety topic is mentioned, but the practical algorithm remains general. |
Shipping to EU
Wholesale and retail
Own warehouse
Опис продукту
Подарунки не надаються при оформленні покупки у кредит під 0,01% або при покупці частинами.