21.05.2026
889
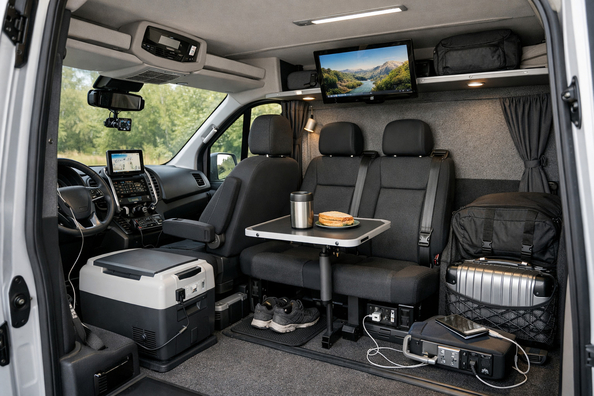

This starter upgrade is for anyone who regularly runs a van on intercity routes: highway runs, 200–600 km a day, passengers or cargo, lots of boarding/unloading, early departures and evening returns. The goal here isn’t to “tune” the vehicle, but to make it less tiring for the driver, quieter at speed, less annoying in the little things, and to stop it from eating the budget with pointless add-ons.
The most common mistake in this scenario is starting with what’s visible from the outside, or with expensive kits that don’t deliver a proportional effect. For an intercity van, the first money should almost always go into tires, alignment, driver seating/ergonomics, localized sound/thermal insulation of the front area, and basic readiness for a breakdown on the road.
The right starter set of modifications should cover four things: predictable high-speed behavior, less driver fatigue, lower noise in the front of the cabin, and easier day-to-day operation. If the van runs between cities, then from about 60 km/h and up, what matters most isn’t “decorative” body noise, but tire rolling noise, micro-vibrations, aerodynamics, and overall fatigue from the seating position.
It’s important not to generalize. An empty cargo van, a passenger van with windows, and a 15-seat vehicle behave differently. Long wheelbase, constant load, a bulkhead or no bulkhead, the actual weight of the equipment, and road conditions all strongly shift priorities. So the upgrade has to fit your use case, not a pretty catalog picture.
Step one is to get the tires and everything related to them in order. For highway use, the right size, load rating, cold pressure, balancing, and wheel alignment are critical. If the van tracks straight, doesn’t chew the tire edges, isn’t unnecessarily loud, and doesn’t shake the steering wheel, you already get more benefit than from half of the “tuning” out there. For intercity driving, don’t wait until the tread is at the legal minimum: formally 1.6 mm is still allowed, but for long trips it’s no longer the safety margin you want to rely on.
Step two is the driver’s seating position. When the backrest is within a sensible range, the steering wheel isn’t pulled right up to your chest, and your lower back has support, fatigue builds much more slowly. This is especially noticeable in vans where you sit high, for long periods, often without breaks.
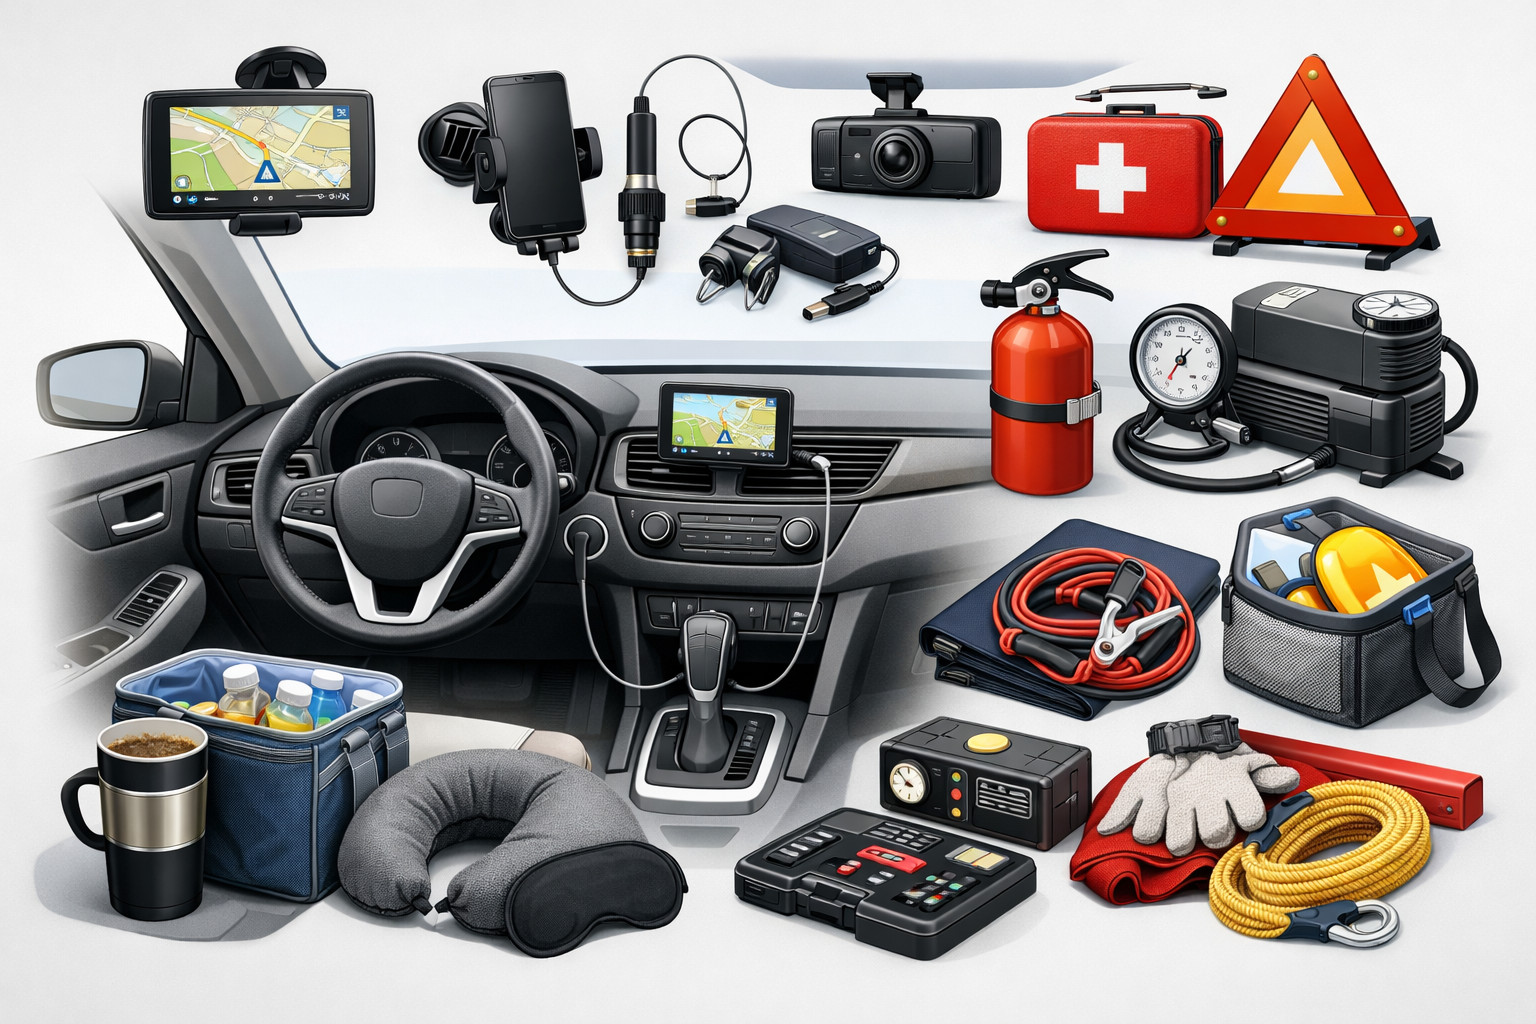
Step three is localized sound and thermal insulation for the front: doors, arches, front floor, footwell area, the bulkhead or its equivalent. Not the whole body at once—specifically the zones where the main noise and cold get in. Step four is a proper emergency kit: a pressure gauge, jack, spare wheel or a working repair kit, flashlight, basic tools, water, charger, and a first-aid kit. If it’s a high-capacity passenger van, tire checks need to be even more disciplined.
| Modification | Why it’s needed | Who it really benefits |
|---|---|---|
| Tires with the correct size and load rating | Stability at speed, less overheating, and predictable response under load | Anyone who drives on the highway with passengers or cargo |
| Cold pressure, balancing, wheel alignment | Less vibration, even wear, calmer steering | Especially those who drive a lot after potholes, joints, and with a full cabin |
| Driver seating/ergonomics setup | Less back, neck, and shoulder fatigue over a long day | Drivers with daily mileage and early departures |
| Localized sound and thermal insulation of the front area | Less tire noise and drafts, more stable cabin temperature | Cargo vans with “bare” metal, vans without sufficient factory insulation |
| Emergency kit and basic check tools | Less downtime on the road due to minor issues | All intercity runs without exception |
DD Tuning expert comment: most often, van owners want to “get rid of the noise” right away and order a full-body sound-deadening wrap without checking pressure, balancing, and tire condition first. The second common misstep is buying stiffer or heavier suspension solutions for an empty vehicle, then being surprised that it becomes harsher for daily use. If your scenario is highway driving, first put the wheels, seating, and the front part of the cabin in order—then fine-tune the second tier of upgrades.
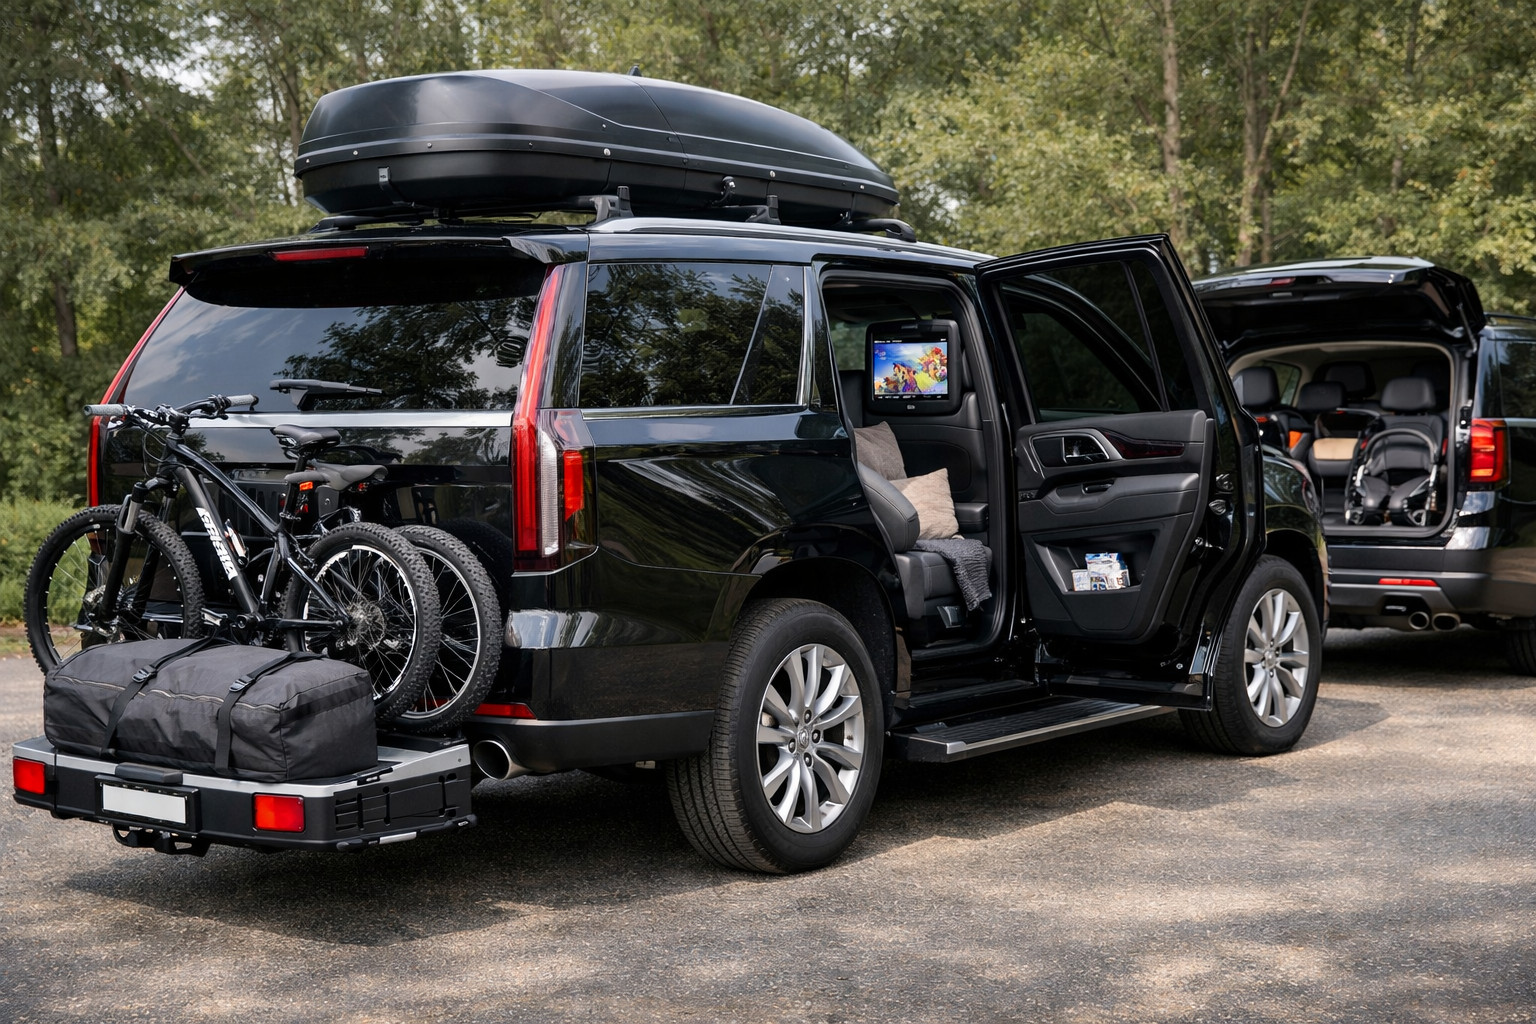
Once the basics are done, you can look at items that don’t “save” the situation on their own, but noticeably improve everyday operation. This includes a rear step for frequent loading, passenger boarding, or access to the cargo area if the threshold is high. It won’t reduce noise or fix handling, but it genuinely makes work easier when the doors open dozens of times a day.
Also worth considering in the second stage are practical items for wet and dirty use: rubber floor mats, mud flaps, basic additional electronics—if they’re actually needed for how the van is used. But electrical work is best done only where there are clear OEM connection points or factory upfit channels, not by randomly cutting into wiring.
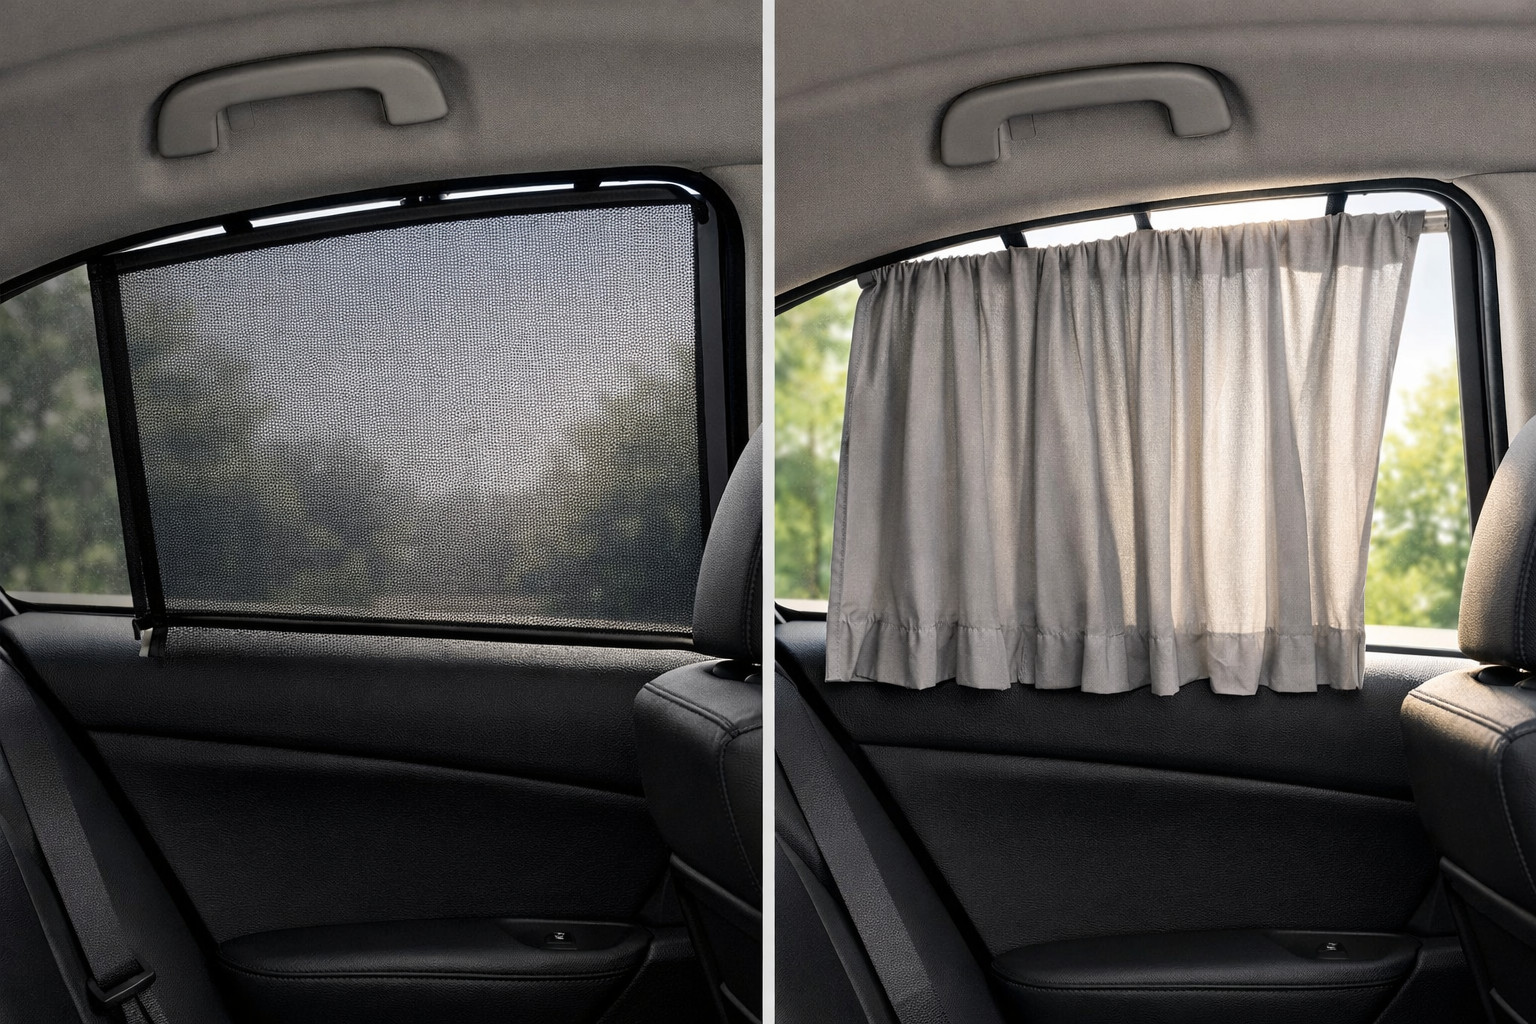
Window deflectors, seat covers, visors, decorative trims, spoilers, exterior plastic, and small interior accessories can be appropriate, but they’re not a first-stage priority. They make sense when the van already drives properly, doesn’t exhaust the driver, and doesn’t annoy with noise. Otherwise you get the typical story: the vehicle looks “neater,” but a highway day is just as hard as before.
Even things that seem useful should be evaluated realistically. For example, extra interior lining or soft coverings may improve the feel, but in a van it’s important that materials don’t trap moisture and don’t complicate access to service areas. For a work vehicle, practicality matters more than looks.
Most often, people waste money on heavy or aggressive tires that don’t match a highway scenario. If the van runs mostly on asphalt, an off-road tread pattern often adds noise and brings no tangible benefit. The second typical mistake is full-body sound insulation without understanding exactly where the noise is coming from. It adds weight, takes time and money, and the gain can be smaller than what you’d get from the right tires and localized front-area treatment.
Another costly misstep is “just in case” suspension kits. If the van doesn’t constantly carry a large load and doesn’t suffer from a specific problem, stiffer solutions can mean less comfort when empty. Separately, be cautious with seat replacements, brake modifications, steering changes, and safety-related areas: without a solid understanding of the platform, these changes bring more risk than benefit.
| What to install first | What you can postpone | What’s optional |
|---|---|---|
| Select tires based on weight and route | Mud flaps, if the body doesn’t really suffer from dirt | Heavy off-road tires for a purely highway van |
| Cold pressure, balancing, wheel alignment | Rear step, if loading is rare | Decorative body kits and chrome |
| Driver seating/ergonomics and checking seat condition | Window deflectors and small interior accessories | Replacing parts just for looks |
| Localized sound and thermal insulation of the front area | Auxiliary heater for a mild climate | Full-body sound-deadening throughout the entire vehicle |
| Emergency kit, pressure gauge, jack, spare | Additional electronics without a clear task | Expensive suspension tuning without tying it to actual weight |
More expensive upgrades make sense not when you want to “finish the checklist,” but when the basics are already covered and there’s a clear pain point in daily work. If the van constantly operates in the cold, waits with passengers, or starts very early, it’s logical to look toward an auxiliary heater. This is about operating mode and cabin temperature, not looks.
If you need a camera, charging points, auxiliary equipment control, or other electrical upgrades, it’s worth starting with the electronics section and doing everything through a clear wiring diagram. For some platforms, the factory already provides upfit channels—better to use those than to complicate the wiring with homemade splices.
When the van is loaded daily with boxes, tools, or people frequently step into the rear area, a rear step becomes justified. But if boarding is rare and the main problem is highway noise and fatigue, it definitely shouldn’t be installed before tires, alignment, and proper front-area insulation.
From a customer’s experience: an intercity van owner initially wanted a full sound-deadening package and a suspension kit because the vehicle “hums on the highway.” After inspection it turned out the main discomfort came from an unsuitable tire set, incorrect balancing, and an uncomfortable seating position. After switching tires to match his use case, correcting alignment, doing localized insulation of the front area, and only then installing a step for frequent loading, he got exactly the result he expected from expensive tuning—without unnecessary spending.
For an intercity van, a starter upgrade follows a simple logic: wheels and alignment first, then driver seating/ergonomics, then localized sound/thermal insulation and basic road readiness. After that, you can add second-stage items if they truly simplify operation for your specific van.
The main thing is not to buy upgrades “just in case” and not to overpay for looks before the basics are solved. This material is based on real selection experience, hands-on practice, and real-world use cases—where what wins isn’t the longest list of accessories, but the right order of decisions.
| ✔ | The right choice of tires, pressure, balancing, and wheel alignment gives the biggest effect on the highway: less vibration, more even wear, and steadier steering. For an intercity van, this is more practical than exterior tuning. |
| ✔ | Adjusting the driver’s seating position really reduces back, neck, and shoulder fatigue during long trips. This is especially useful when there are early departures, long shifts, and few breaks. |
| ✔ | Local sound and thermal insulation of the front part of the cabin helps eliminate exactly the noise and cold that are most irritating while driving. You don’t need to cover the whole body to get a noticeable effect. |
| ✔ | An emergency kit with a pressure gauge, jack, spare tire, flashlight, and tools reduces the risk of downtime on the highway due to a minor breakdown. For regular intercity runs, this is a direct practical plus. |
| ✔ | The second stage of modifications can be tailored to a specific work mode: frequent loading, rain, mud, or cold. This makes it possible not to spend money on things that do not provide benefits in your specific scenario. |
| ✘ | Full body soundproofing without first checking the tires and geometry often gives weaker results than expected. At the same time, it adds weight, time, and cost. |
| ✘ | Heavy or aggressive tires for a highway van may only increase noise and provide no noticeable benefit on asphalt. If the route is mostly intercity, such a choice is often unjustified. |
| ✘ | Stiffer or more expensive suspension solutions without regard to the van’s actual weight can make an empty vehicle less comfortable. The article explicitly points out that this is a typical mistake. |
| ✘ | Replacing seats, interfering with the brakes, steering, or safety zones without understanding the platform carries more risk than benefit. Such upgrades cannot be placed on the same level as basic practical upgrades. |
Shipping to EU
Wholesale and retail
Own warehouse
Опис продукту
Подарунки не надаються при оформленні покупки у кредит під 0,01% або при покупці частинами.