13.06.2026
302
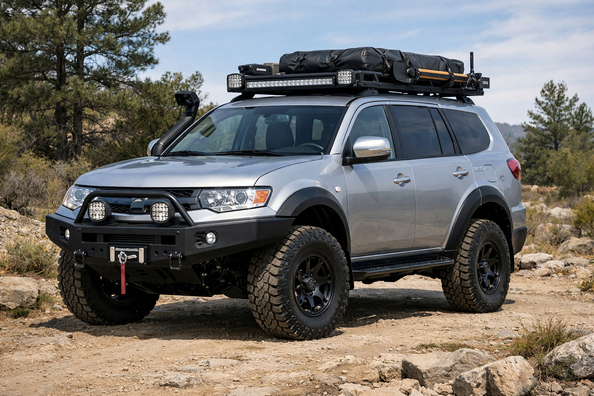
This upgrade plan is for those who head out onto forest roads, ruts, wet ground, sand, rocky climbs, and light fords, but don’t want to turn their daily driver into a heavy expedition rig. The scenario is simple: add real capability, reduce the risk of getting stuck or damaging the car, and not kill highway comfort.
The core principle here isn’t to buy everything “off-road” at once, but to address weak points step by step. For most beginner routes, the biggest gains come from tires, correct pressure, basic self-recovery, and sensible underbody protection—not a tall lift, a winch, or a snorkel on day one.
A starter setup should solve three tasks: provide traction on mixed surfaces, allow you to get out safely after a puncture or a mild bog-down, and protect vulnerable components if the route has rocks, ruts, or hidden edges. If after the upgrades the vehicle became heavier, louder, and more expensive to maintain but doesn’t go any farther than before, the order was wrong.
It’s important to factor in the vehicle type. A crossover without low range and with low-mounted plastic usually needs pressure discipline, good tires, and careful line choice. A body-on-frame SUV or a pickup with factory 4WD is often already suited to moderate off-road use from the factory, so the first money is better spent not on height but on tire contact with the surface and safe recovery.
First priority — tires for mixed use and pressure control. For most beginner routes, all-terrain tires are more universal than mud-terrain: they’re calmer on asphalt, quieter, and don’t punish fuel economy as much. On dirt, factory road pressure is often too high; a starter working range of 1.03-1.72 bar can be a reference, but the exact value depends on vehicle weight, tire size, and surface. For soft sand, people often start around 1.38 bar, and after getting back out you need to return the tires to the road spec.
Second priority — a basic safety and self-recovery kit: a full-size spare, repair kit, compressor, pressure gauge, jack, water, first-aid kit, a towing/recovery device, and clear recovery points. If you buy a strap or kinetic rope, what matters isn’t nice packaging but an adequate rating and correct attachment points on the vehicle. You can’t attach to a tow ball or a regular hitch, and for controlled recovery a cheap strap with unknown specs is worse than taking your time.
| Upgrade | Why it’s needed | Who it truly benefits |
|---|---|---|
| All-terrain tires | Better traction on dirt, grass, gravel, wet climbs | Those who drive both in the city and on getaways, without constant heavy mud |
| Compressor and pressure gauge | Lets you air down for the surface and inflate back up | Almost anyone who leaves asphalt regularly |
| Full-size spare and repair kit | Saves you after a sidewall cut or puncture far from service | Those who travel to remote areas or on rocky roads |
| Recovery points and a quality rope | Allows you to recover the vehicle without improvisation and risk | Those who drive in ruts, mud, snow, and on routes without support |
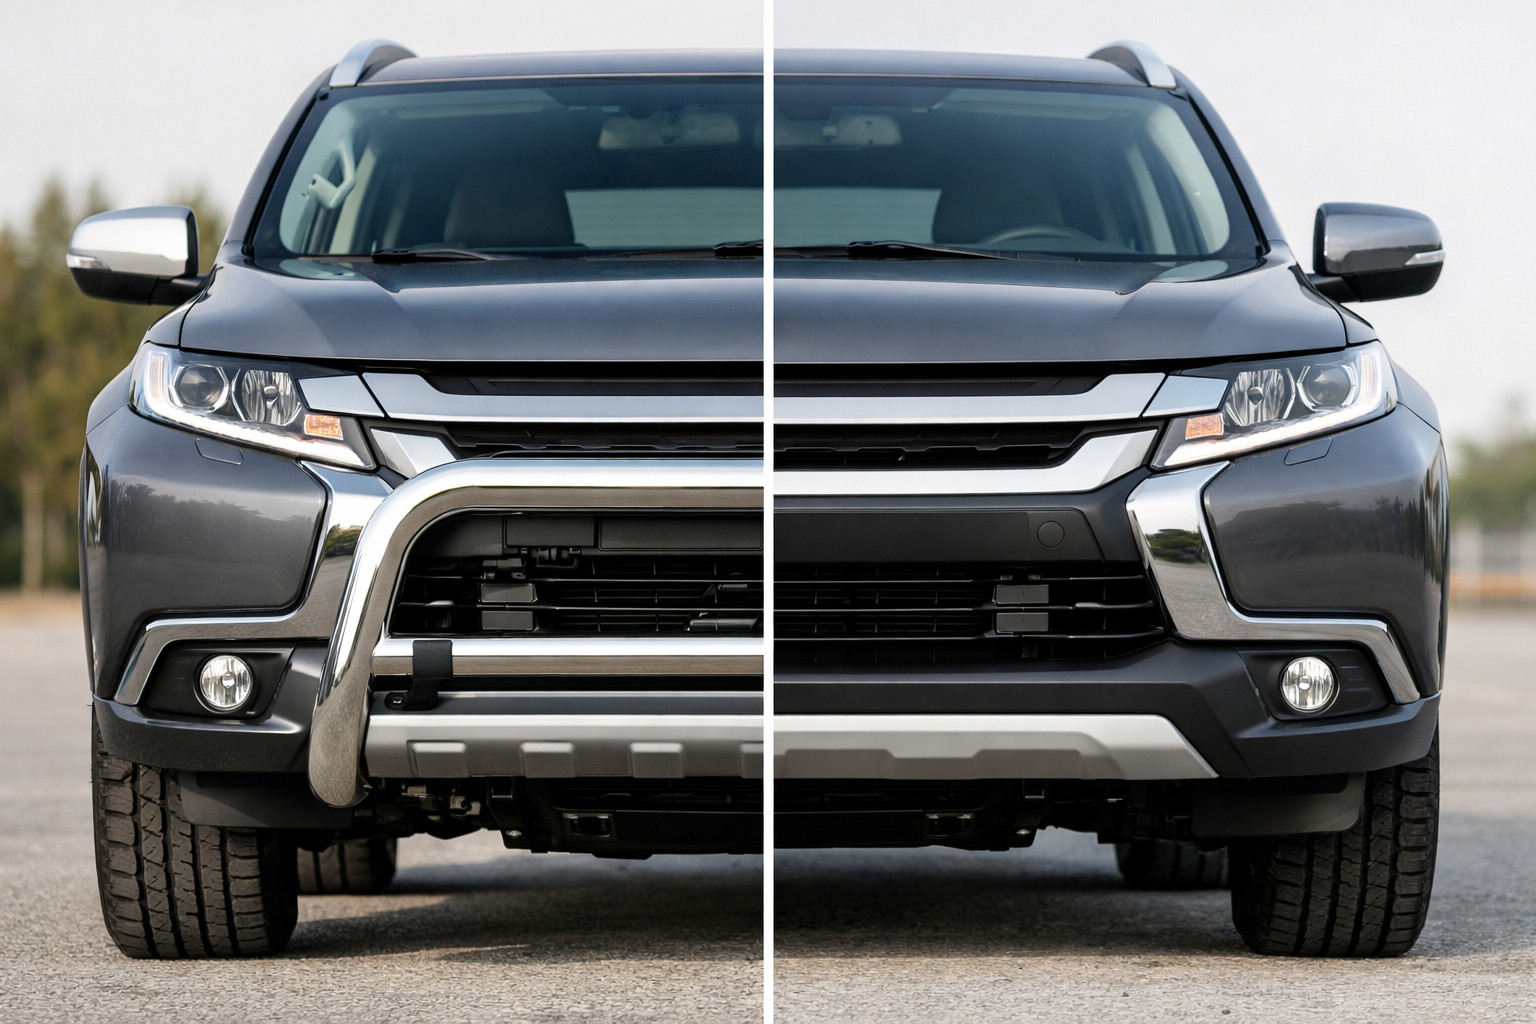
| Engine, transmission, and fuel tank protection | Reduces the risk of an expensive underbody hit | Those who drive on rocks, deep ruts, forest roads with stumps |
| Rock sliders | Protect sills and the body side when contacting terrain | Those with a long wheelbase, low sills, or routes with crests and rocks |
| Moderate suspension lift | Creates clearance for tires or improves geometry when it truly limits you | Only those who are actually limited by clearance on their routes |
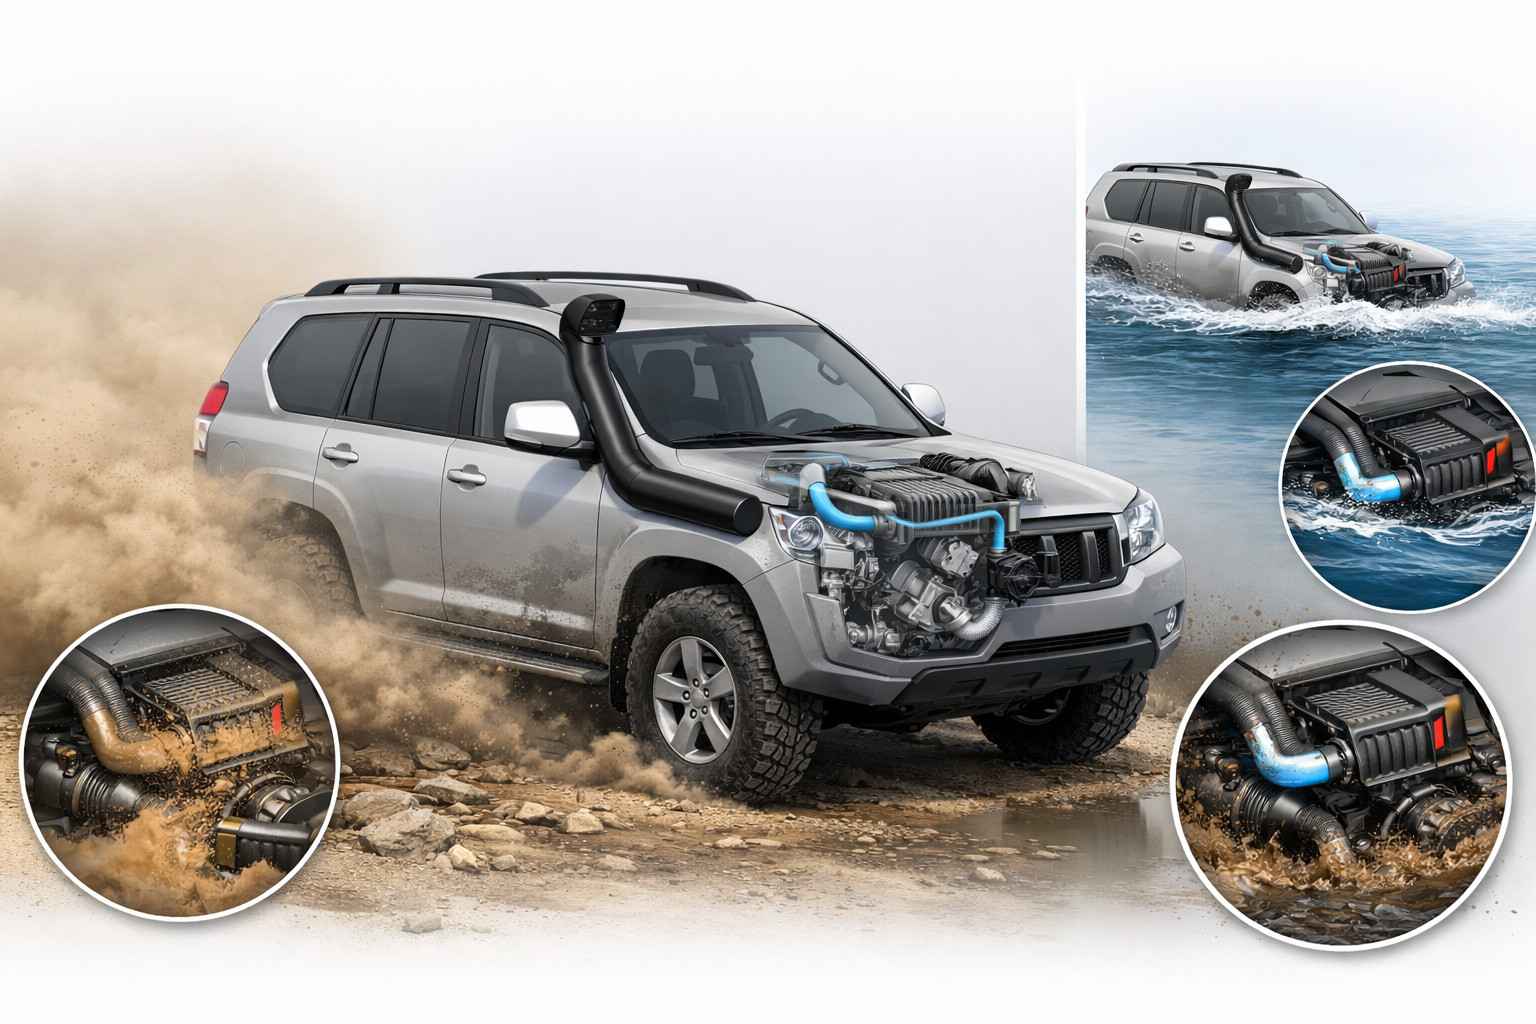
| Snorkel | Useful in frequent dust and with regular water crossings | Those who really drive in dust convoys or in regions with fords |
DD Tuning expert comment: The most common mistake is buying a snorkel, a lift, and heavy wheels before the first trips, then driving forest roads on overinflated tires without a compressor. The second typical mistake is buying the cheapest strap and not checking what exactly the vehicle will be pulled from. It’s better to first understand where the vehicle touches the terrain, what’s missing in traction, and whether the vehicle has proper recovery points.
After a few trips, it becomes clear where the vehicle is losing: spinning on a climb, hitting the belly, or sitting on the sills. That’s when stage two begins. If the main risk is impacts from below, you add protection for the engine, transmission, or fuel tank. If you often rub the terrain on the side, rock sliders make sense. This isn’t abstract tuning anymore—it’s a response to a specific mark on the vehicle.
A moderate suspension lift only makes sense when the factory geometry is genuinely not enough. If the vehicle starts constantly catching the front overhang or there isn’t enough room in the arch for the tire you need, then a lift is justified. But a lift without a clear reason raises the center of gravity, requires alignment/geometry correction, and often triggers a chain of new expenses.
Auxiliary lighting, a roof rack, trim pieces, decorative elements, wide steps, and large tires with an aggressive tread pattern more often change how the vehicle feels than its real off-road ability. That doesn’t mean they’re useless. For example, a roof rack is helpful for longer trips, and comfortable steps are appropriate on a tall family vehicle. But for a beginner off-road scenario, this is a second or third priority.
It’s also worth separating rock sliders from regular side steps. The former work as protection; the latter mostly add convenience when getting in and can even reduce the breakover angle if the design hangs low.
Most often, what turns out to be unnecessary is mud-terrain tires on a daily driver, a big lift without routes that require it, heavy bumpers for easy trips, and a winch without thought-through wiring, mounting, and recovery points. On paper it looks like more capability, but in real life it adds noise, weight, inertia, and extra costs.
Another common misstep is buying a snorkel “just in case” when the vehicle hardly sees water or constant dust. It’s useful in its scenario, but it doesn’t replace water-crossing preparation and won’t protect all the electrics. People also waste money when they ignore tire pressure but chase expensive accessories for the photo.
| What to install first | What you can postpone | What isn’t required |
|---|---|---|
| All-terrain tires in your size | Upsizing wheel/tire size if stock still works for now | Mud-terrain tires for a daily city vehicle |
| Compressor, pressure gauge, repair kit, full-size spare | A second set of wheels | Decorative accessories without a practical function |
| Proper recovery points and a quality rope | A winch, if you don’t go alone into tough places | Shackles and straps with no clear rating |
| Local underbody protection where you’ve already had hits | An expensive full-coverage protection package for the whole underside | Heavy bumpers for easy forest routes |
| Assess clearance and real contact points after trips | Moderate suspension lift | A tall lift without a problem it solves |
| Route planning, water, communications, basic driver preparation | Auxiliary lighting and roof gear | A snorkel if there’s no frequent dust or fords |
Expensive upgrades start where you’ve already hit the limit of the basic setup. If you travel alone, regularly end up in clay, forest pull-ups, or places where there’s nobody to recover you, then it’s worth looking into when you need a winch. If the route hits the underbody on almost every trip, it’s logical to separately evaluate whether you need engine protection and which areas should be covered first.
A snorkel makes sense not as an off-road symbol but as a tool for frequent dust or regular water obstacles. If that’s your scenario, it’s better to first understand how to choose a snorkel rather than installing one “just in case.” Differential lockers and a serious suspension lift are justified when it’s already clear the problem isn’t the tire, pressure, or line choice, but a lack of traction or geometry.
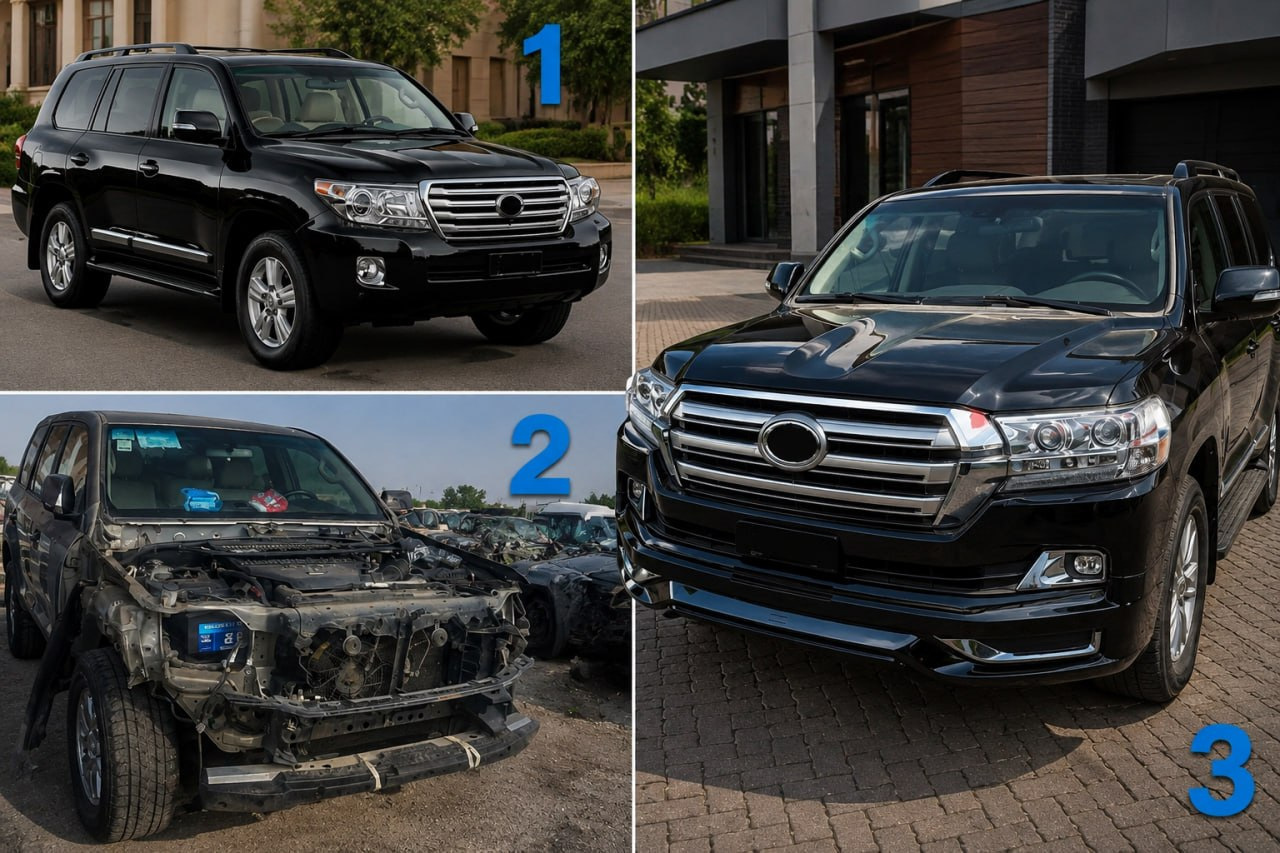
From a customer’s experience: for trips to the Carpathians, a pickup owner initially planned a lift, a heavy-duty bumper, and a winch. After a few trips in an almost stock vehicle, all that was needed was all-terrain tires, a compressor, a full-size spare, proper recovery points, and underbody protection in the weak spots. In the end, the vehicle stayed comfortable on the highway, and the money went not into looks but into what actually worked on the route.
A beginner off-road upgrade without going overboard is built around the real route, not a list of trendy mods. First you cover tire contact with the surface, pressure, basic self-recovery, and vulnerable spots underneath. Then—only what the trips truly revealed: protection, rock sliders, a moderate lift, and only after that complex and expensive items.
There’s no universal scheme for everyone, because priorities depend on the body type, weight, suspension, tire size, and driving style. But the basic logic is the same: install what’s useful first, what’s desirable after practice, and don’t confuse decorative with necessary. This material is based on real selection experience, practice, and real usage scenarios—not on a list of accessories for appearance’s sake.
| ✔ | They recommend starting with all-terrain tires and learning how to manage tire pressure. This gives a noticeable gain in traction on dirt, sand, and wet climbs without unnecessary noise or fuel consumption on asphalt. |
| ✔ | The plan includes a basic self-recovery kit: a compressor, pressure gauge, repair kit, full-size spare, and proper mounting points. This practically solves common issues on trips — a puncture, pressure loss, or a minor stuck situation far from service. |
| ✔ | The step-by-step upgrade approach reduces the risk of spending money on things that do not solve the real problem. First they suggest making a few trips and only then adding underbody protection, rock sliders, or a suspension lift where it is really needed. |
| ✔ | The plan takes into account the difference between a crossover and a body-on-frame SUV. For a vehicle that already has factory all-wheel drive and enough geometry, this makes it possible not to overload it with unnecessary modifications. |
| ✔ | There is a clear distinction between practical upgrades and accessories “for show.” This helps avoid prioritizing extra lighting, large wheels, or decorative elements if they do not improve off-road capability. |
| ✘ | The plan is almost not suitable for those who immediately drive into heavy off-road terrain, clay, or remote places without help. For such scenarios, the basic kit may not be enough, and a winch or more serious protection may be needed sooner. |
| ✘ | The tire pressure recommendations are given as a guideline, but without being tied precisely to a specific car and tire model. Because of this, the owner will still have to choose the values in practice, rather than just follow the numbers in the text. |
| ✘ | Some useful things are deliberately pushed to the second stage, so the first trips may be cautious or limited. If the route already has rocks, ruts, or regular underbody impacts, you will have to return to the issue of protection quickly. |
| ✘ | The material states directly that a moderate suspension lift, winch, snorkel, and lockers are not a first necessity. This means that in some real-world scenarios you will have to put up with the limitations of the stock vehicle for longer before you get to these upgrades. |
Shipping to EU
Wholesale and retail
Own warehouse
Опис продукту
Подарунки не надаються при оформленні покупки у кредит під 0,01% або при покупці частинами.