27.04.2026
369
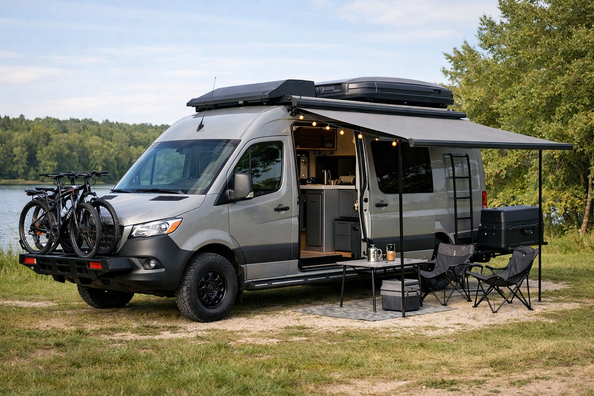
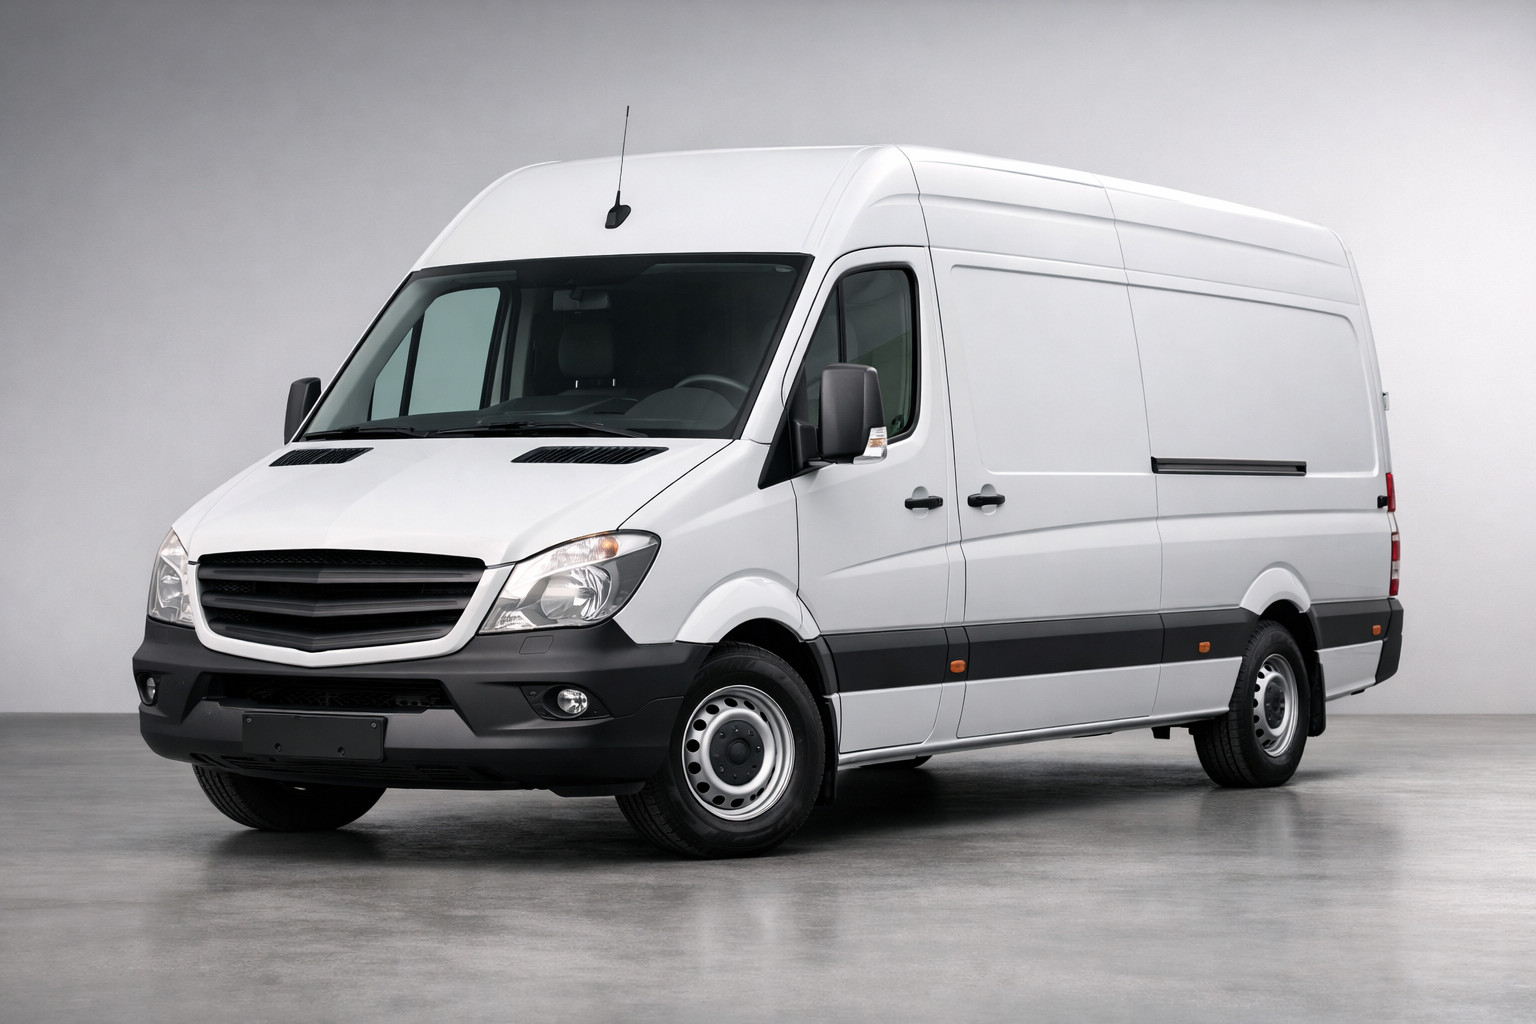
This upgrade plan is for those who want to turn a Mercedes Sprinter W907/W910 into a family camping van without the expensive and heavy “expedition” scenario. The goal is simple: sleep properly, ventilate the cabin, charge the devices you need, keep things organized, and not blow the budget on items that only look good in photos.
If you haven’t chosen a base yet, for family use the most balanced option usually looks like the Crew 170: you get 5 seats and still have a decent amount of space for a sleeping area and storage. The Cargo 170 or 170 EXT makes sense if you’re building the interior from scratch, while the Passenger is worth it when the factory seats matter more than open space. The short 144 is more convenient in the city, but the 170 is noticeably more relaxed for family trips lasting a few days.
In a “no overkill” scenario, the Sprinter doesn’t need to become a full-season house on wheels. It should cover 1–3 nights on the road, sleeping for 2 adults and 1–2 kids, basic lighting, phone charging, running a fridge or other simple equipment, and quick loading without cabin chaos.
The key condition here isn’t the maximum number of accessories—it’s the right order. With the W907/W910 it’s very easy to add weight with a roof setup, furniture, batteries, and racks, and only then remember ventilation, wiring, and real payload. So the plan should be built around a family’s day-to-day needs, the body, wheelbase, and allowable loads—not a picture of a finished camper.
First priority is ventilation. A roof vent fan brings more real benefit than most exterior upgrades: less condensation, easier sleep in summer, less stuffiness after rain. Second is a separate house electrical system: an auxiliary battery, charging from the alternator, basic lighting, USB, and power for small devices. If you rely only on the factory electrical system, you hit the limits very quickly.
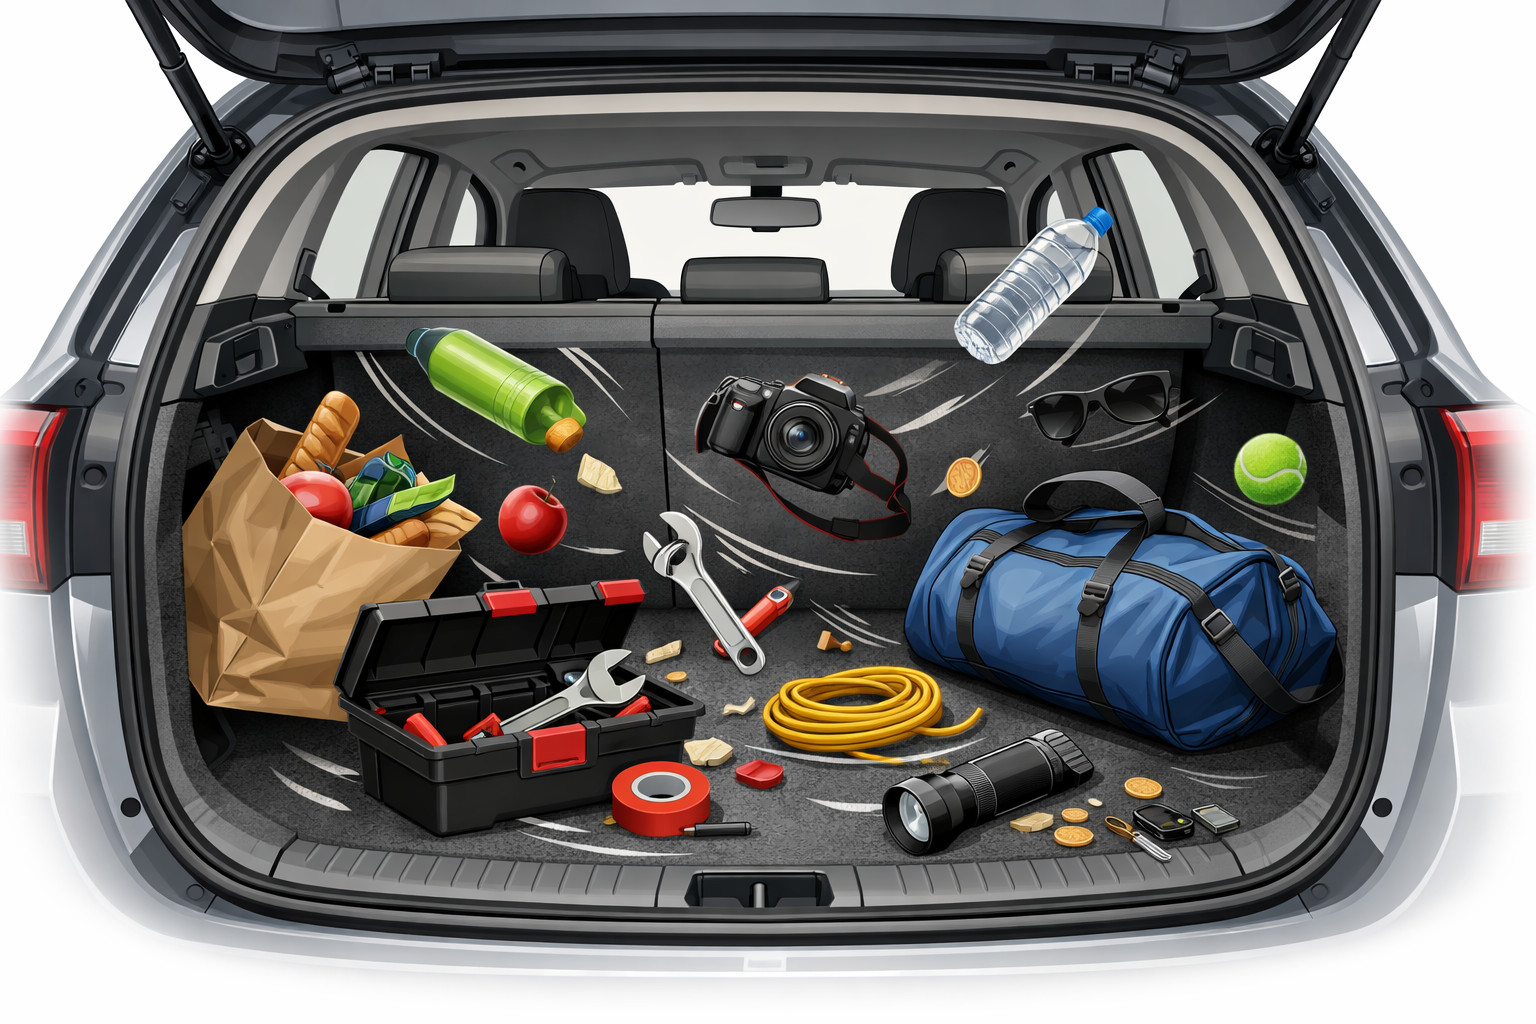
Third step is the sleeping setup and organized storage. Even a simple bed module and proper boxes give more real comfort than expensive bumpers or body kits. After that, it makes sense to add basic insulation to the areas that actually affect overnight comfort: the roof, side panels, doors—rather than stuffing the whole van with materials without a thought-out ventilation plan.
| Upgrade | Why it’s needed | Who it truly benefits |
|---|---|---|
| Roof vent fan | Reduces heat, humidity, and fogging during overnight stays | Anyone who actually sleeps in the van, especially families with kids |
| Auxiliary battery with charging | Powers lights, chargers, and small devices without the risk of draining the main battery | Those who travel for more than one night or use a fridge |
| Basic insulation | Reduces noise, overheating, and heat loss in the shoulder seasons | Those who sleep overnight in spring, fall, or rainy weather |
| Bed or convertible sleeper | Enables proper sleep and prevents having to rebuild the cabin every evening | Any family going beyond a one-day picnic |
| Modular storage | Keeps gear, kitchen small items, and kids’ equipment in one place | Families who don’t want to search for things all over the van every morning |
| Tires matched to the route | Add traction on dirt, snow, and wet grass | Those who often leave asphalt, not just park at campgrounds |
DD Tuning expert comment: the most common Sprinter camping mistake is buying the roof setup, side steps, and exterior body kit first, and only then thinking about where the vent fan will go, how the wiring will be routed, and what the van actually weighs when loaded. The second mistake is installing a big inverter “just in case,” even though the use case is limited to lights, charging, and a fridge. As a result, the budget and weight grow faster than real benefit.
The second stage starts after the first trip reveals weak points. If you need more autonomy, then a solar panel makes sense. If the routes include dirt roads, forest camps, or snow, then you look at tires. If the van sags when fully loaded or feels nervous over waves/undulations, then there’s reason to think about suspension.
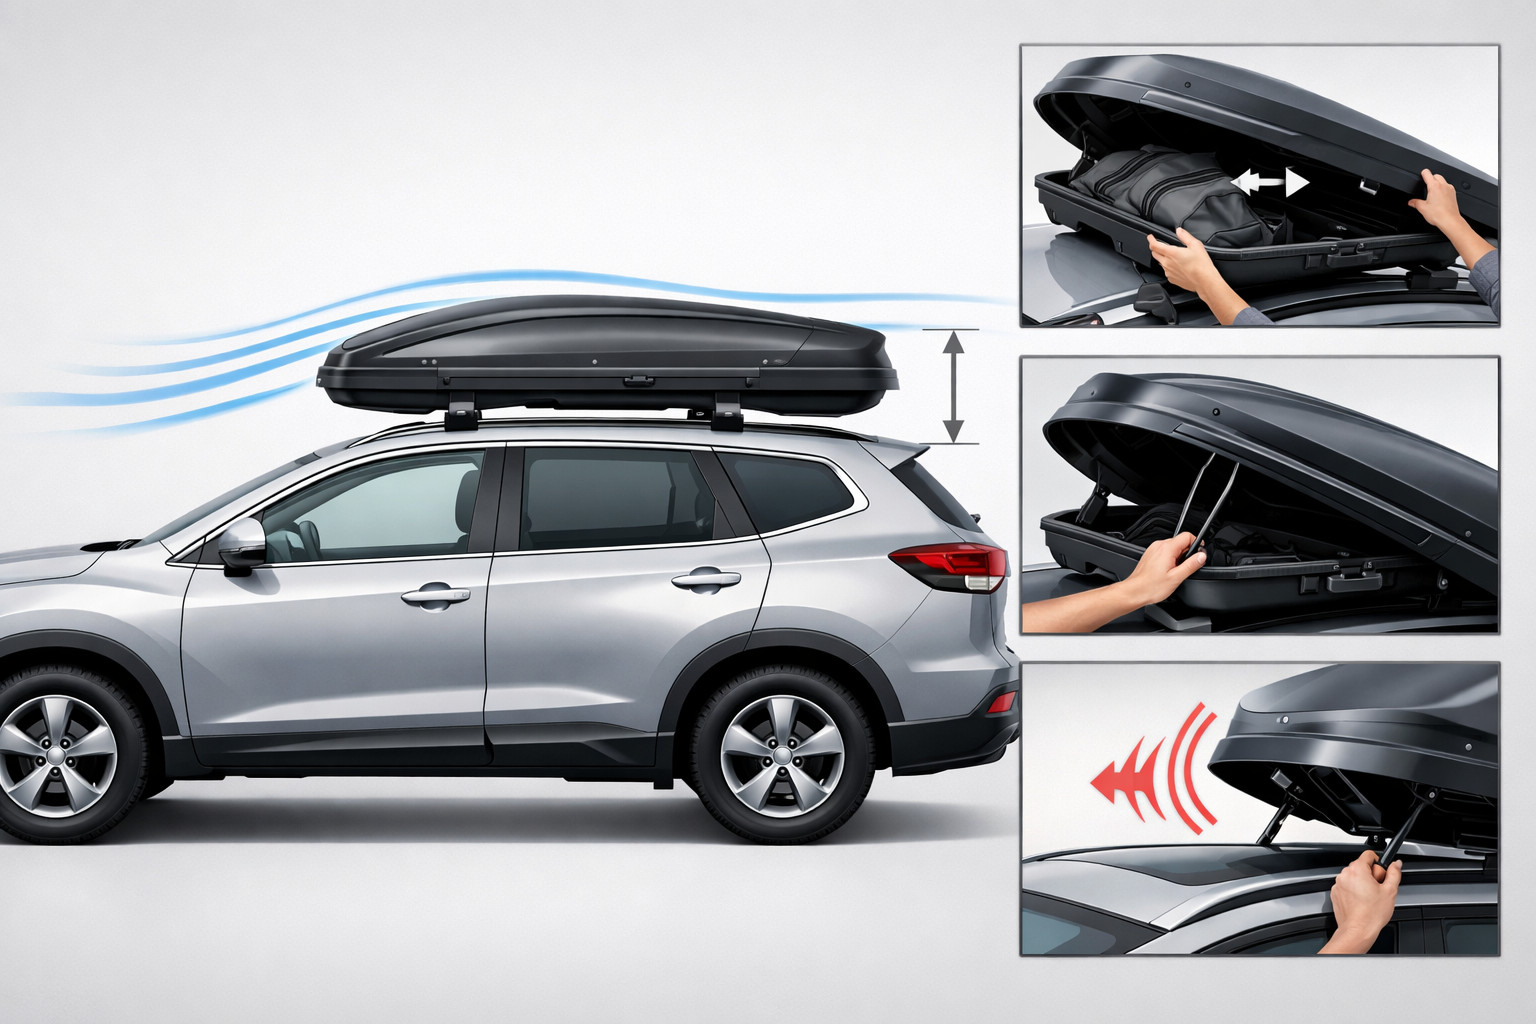
This is exactly where it’s important not to rush into a roof setup. On a high roof, the load margin is noticeably smaller, so the fan, panels, rack, and any extra cargo must be calculated together—not as separate purchases. The same goes for suspension: it’s better chosen after you understand the actual weight of family gear, water, batteries, and furniture.
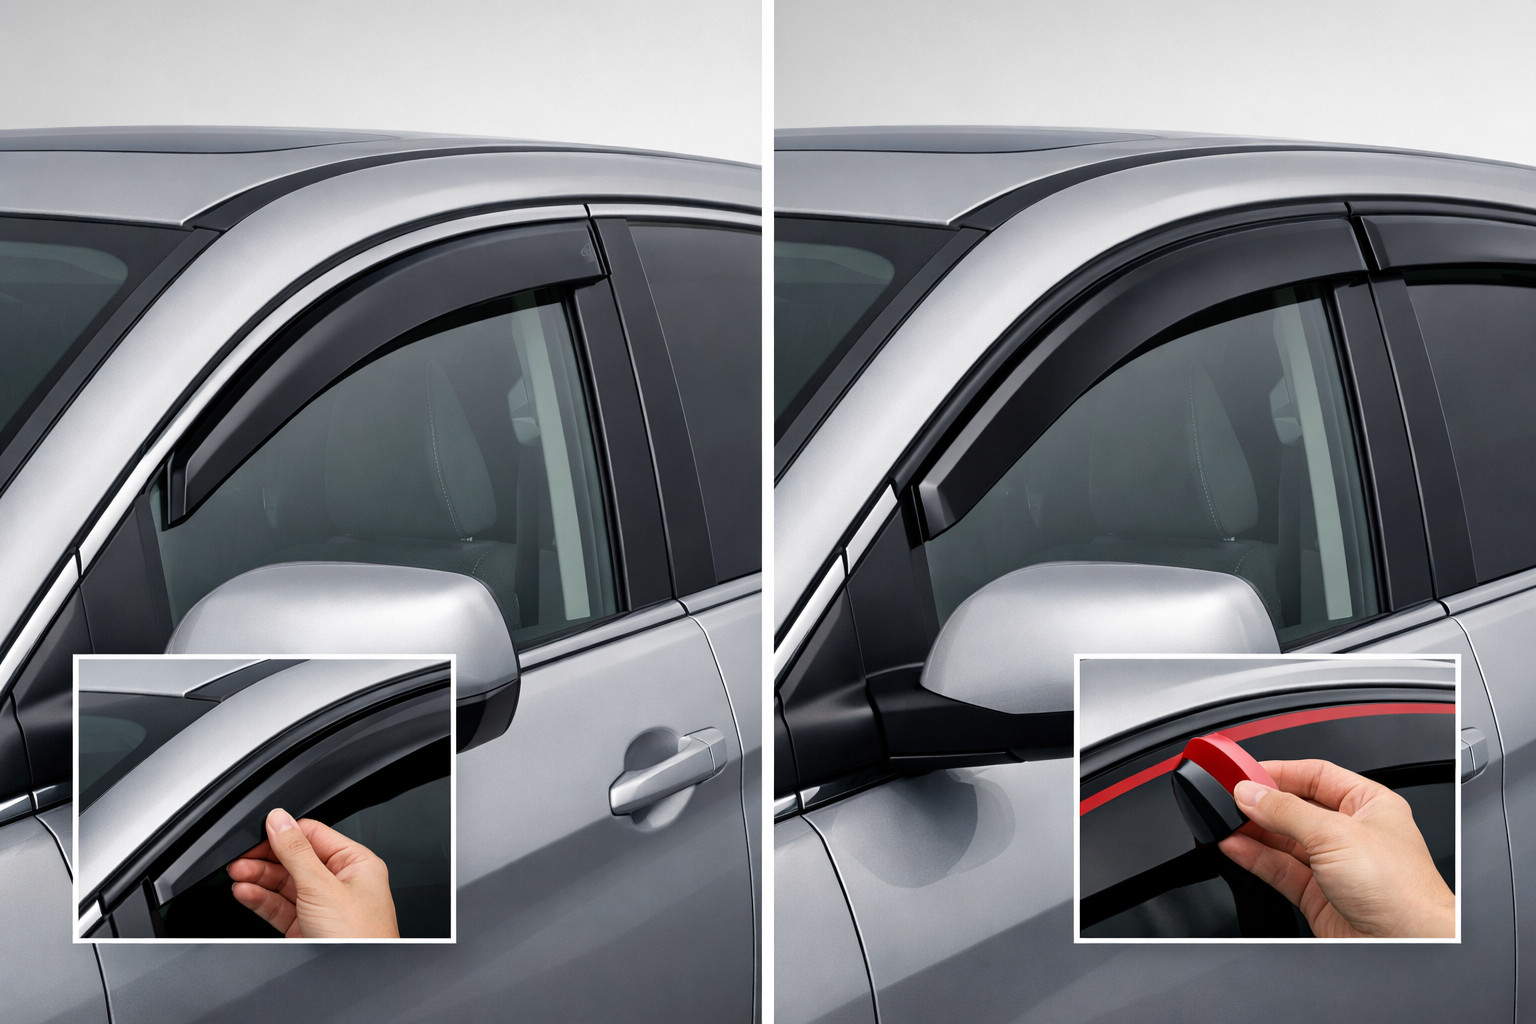
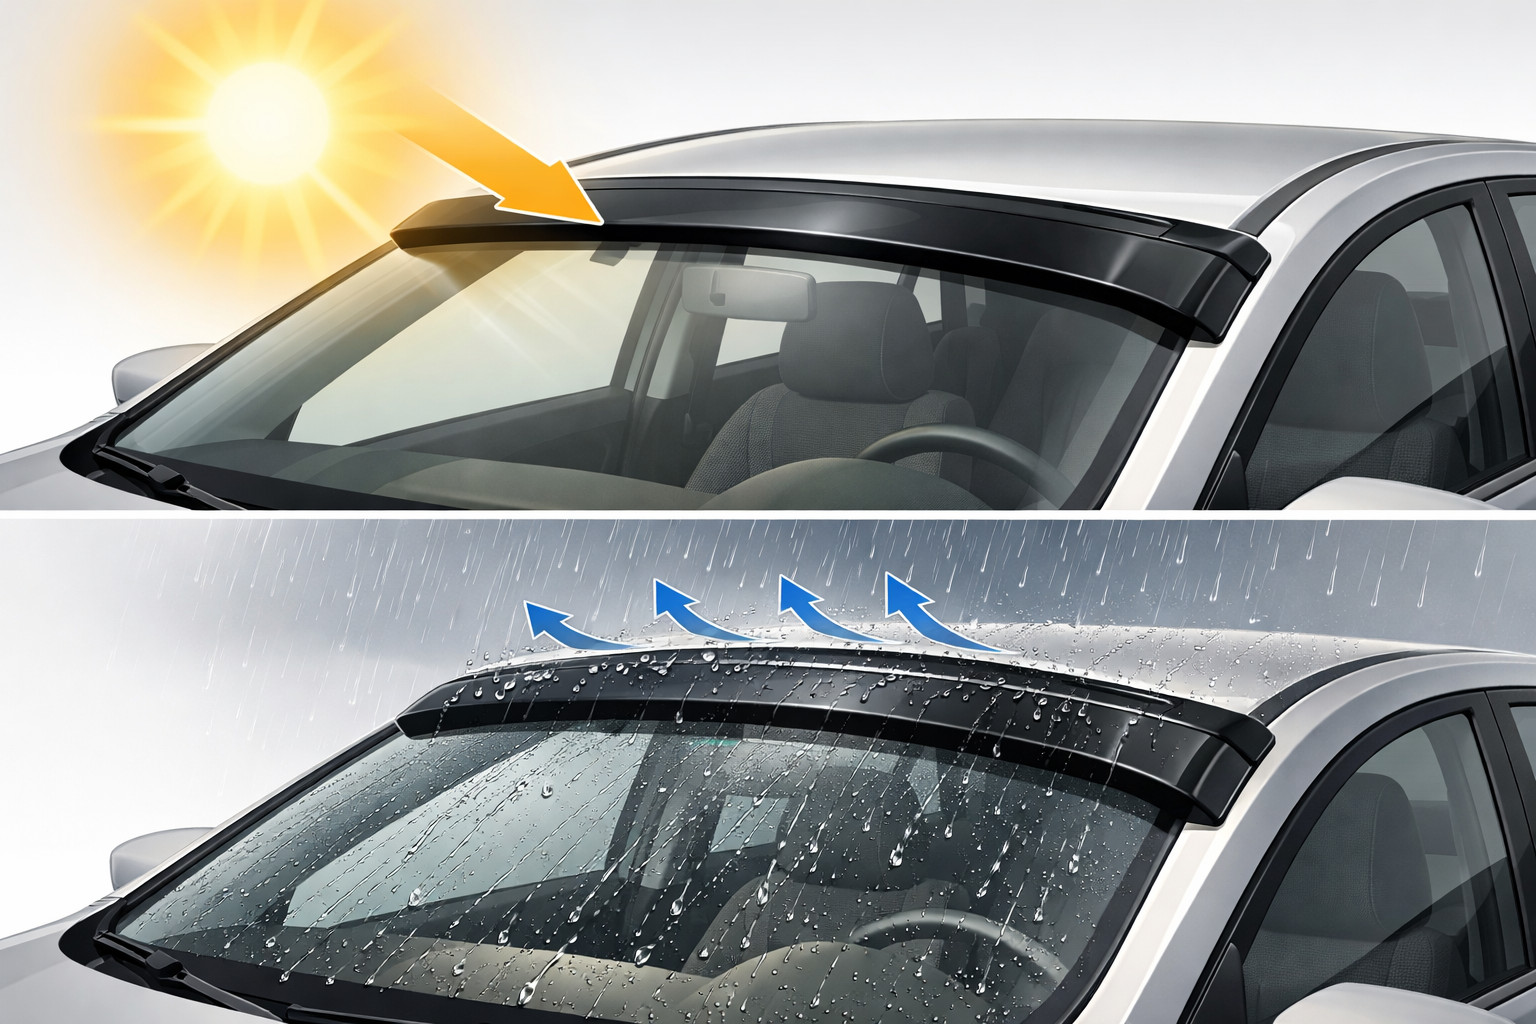
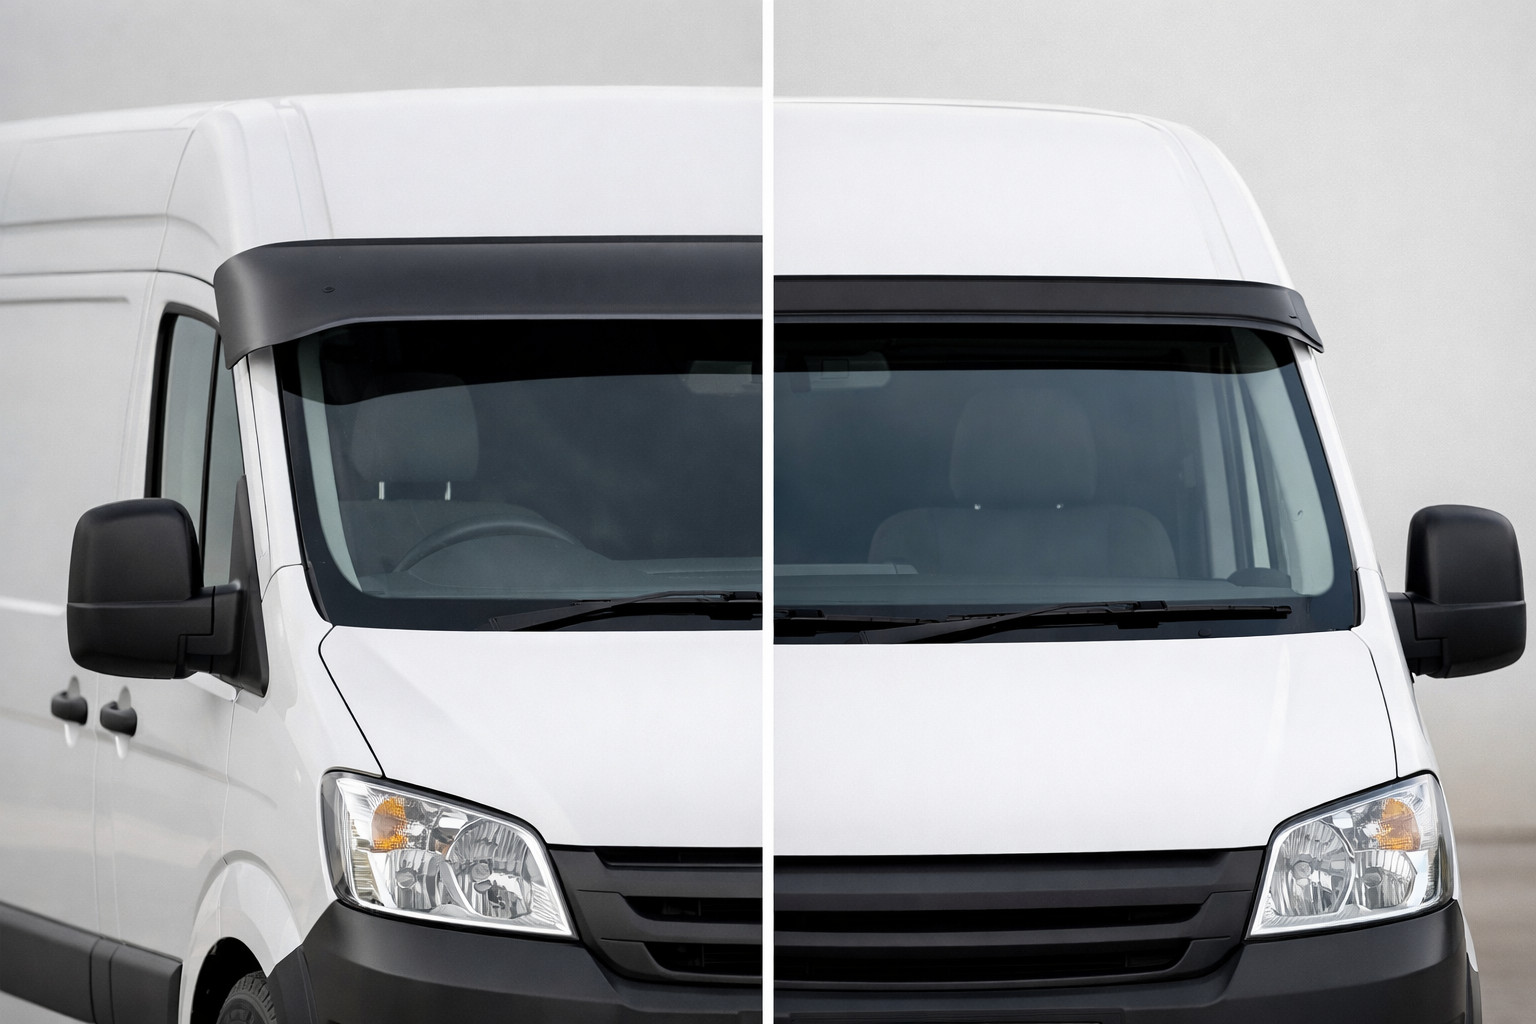
This group includes side steps, floor mats, seat covers, deflectors, some exterior trims, and decorative body elements. They can be useful, but they don’t solve the basic overnight task. For example, side steps are more convenient for kids and for accessing the roof, mats make cleaning easier, covers protect the interior—but all of this is logical only after ventilation, electrical power, and a sleeping setup.
If the budget is limited, it’s better to judge comfort add-ons by how often you’ll use them. What you use every day on a trip should take priority over what simply makes the van “look more expensive.” For family camping, the difference made by good organization inside is almost always bigger than another exterior detail.
Most often, people waste money on a large inverter if they don’t have a habit of powering energy-hungry appliances from it. In most light family scenarios, 12 V, USB, lighting, and a fridge are enough. The second candidate for unnecessary spending is a heavy roof rack bought before the fan, wiring, and understanding the real roof load.
People also often overpay for an “expedition” style: heavy-duty elements, decorative body kits, aggressive tires without actually driving difficult routes. And one more common mistake is trying to do a full build right away without a single trip using a temporary sleeping setup and a basic kit. One test trip quickly filters out marketing junk.
| Install first | Can be postponed | Not mandatory |
|---|---|---|
| Cabin ventilation | Solar panels | Large inverter |
| Auxiliary battery, lighting, chargers | Off-road tires | Decorative body kit |
| Sleeping setup | Suspension after weighing the loaded vehicle | Heavy-duty parts for asphalt routes |
| Modular storage and securing cargo | Side steps and exterior accessories | Roof rack without a real need |
| Basic insulation of the needed areas | Interior cosmetics | Full “camper” build at the first stage |
More expensive upgrades are justified when the van often travels far from infrastructure, carries heavy family gear, or regularly uses the roof. In that case, you should look not at a single purchase but at the full package for Sprinter W907/W910 so you don’t end up assembling an incompatible set piece by piece.
If you’ve already calculated the weight, the fan, the panels, and the real roof load, then you can move on to roof racks. If the family often gets in with kids, and an adult regularly climbs up or into the cabin with big bags, then quality side steps make sense. But this is definitely not the first expense in a “camping without overkill” scenario.
From a customer’s experience: a Sprinter owner initially wanted to start with the roof setup, heavy-duty parts, and big tires because the van looked “ready” that way. After reviewing the scenario, he limited it to a vent fan, an auxiliary battery, a bed module, and simple storage, and only after two family trips bought just side steps and rubber floor mats. In the end, he spent less money and got more benefit in everyday trips.
For a Mercedes Sprinter W907/W910 for family camping without overkill, the smartest sequence is: first ventilation, house electrical power, a sleeping setup, and organized storage; then insulation, tires, and suspension as truly needed; and at the end—roof solutions, side steps, and cosmetics. This approach cuts unnecessary spending better than any “ready-made package” of accessories.
This material is based on real selection experience, practical work, and real use cases—not chasing a list of trendy upgrades. Before buying, you should verify the body, wheelbase, seat count, permissible weight, and the limitations of your specific vehicle, because for the Sprinter these nuances strongly affect the usefulness of each upgrade.
| ✔ | It first covers the basic needs for family overnight trips: ventilation, sleeping, lighting, and charging, instead of spending the budget on secondary décor. This makes the van road-ready at an early stage. |
| ✔ | An auxiliary battery with basic electrical setup lets you power the lights, USB, and refrigerator without risking the main battery. For 1-3 night trips, this is more practical than installing a large inverter ‘just in case’. |
| ✔ | A bed module and simple modular storage really make life on the road easier. There is no need to rebuild the cabin every evening or search for things throughout the van. |
| ✔ | The plan is tied to the actual mass, wheelbase, and permissible loads of the Sprinter W907/W910. This reduces the risk of overloading the vehicle with the roof, furniture, or batteries. |
| ✔ | The second stage leaves room for further improvements after the first trips. This makes it easier to understand whether solar panels, other tires, or suspension are really needed. |
| ✘ | The initial set of upgrades is deliberately minimal, so some comfort will have to wait. For example, solar panels, suspension, or roof solutions are not installed right away. |
| ✘ | This scenario is not suitable for those who want to immediately build a full-fledged camper for all occasions. That would require subsequent stages and separate equipment selection. |
| ✘ | You need to carefully calculate the weight and compatibility of each element, otherwise it is easy to make a mistake with roof load or total weight. This requires more preparation than simply buying a ready-made set of accessories. |
| ✘ | Some conveniences, such as side steps or floor mats, are not a priority in this logic and may feel like a “buy later” item. If you want a quick visual result, this approach may be disappointing. |
Shipping to EU
Wholesale and retail
Own warehouse
Опис продукту
Подарунки не надаються при оформленні покупки у кредит під 0,01% або при покупці частинами.