02.10.2026
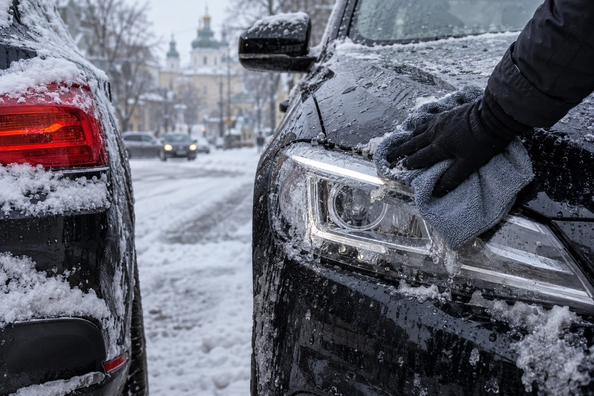
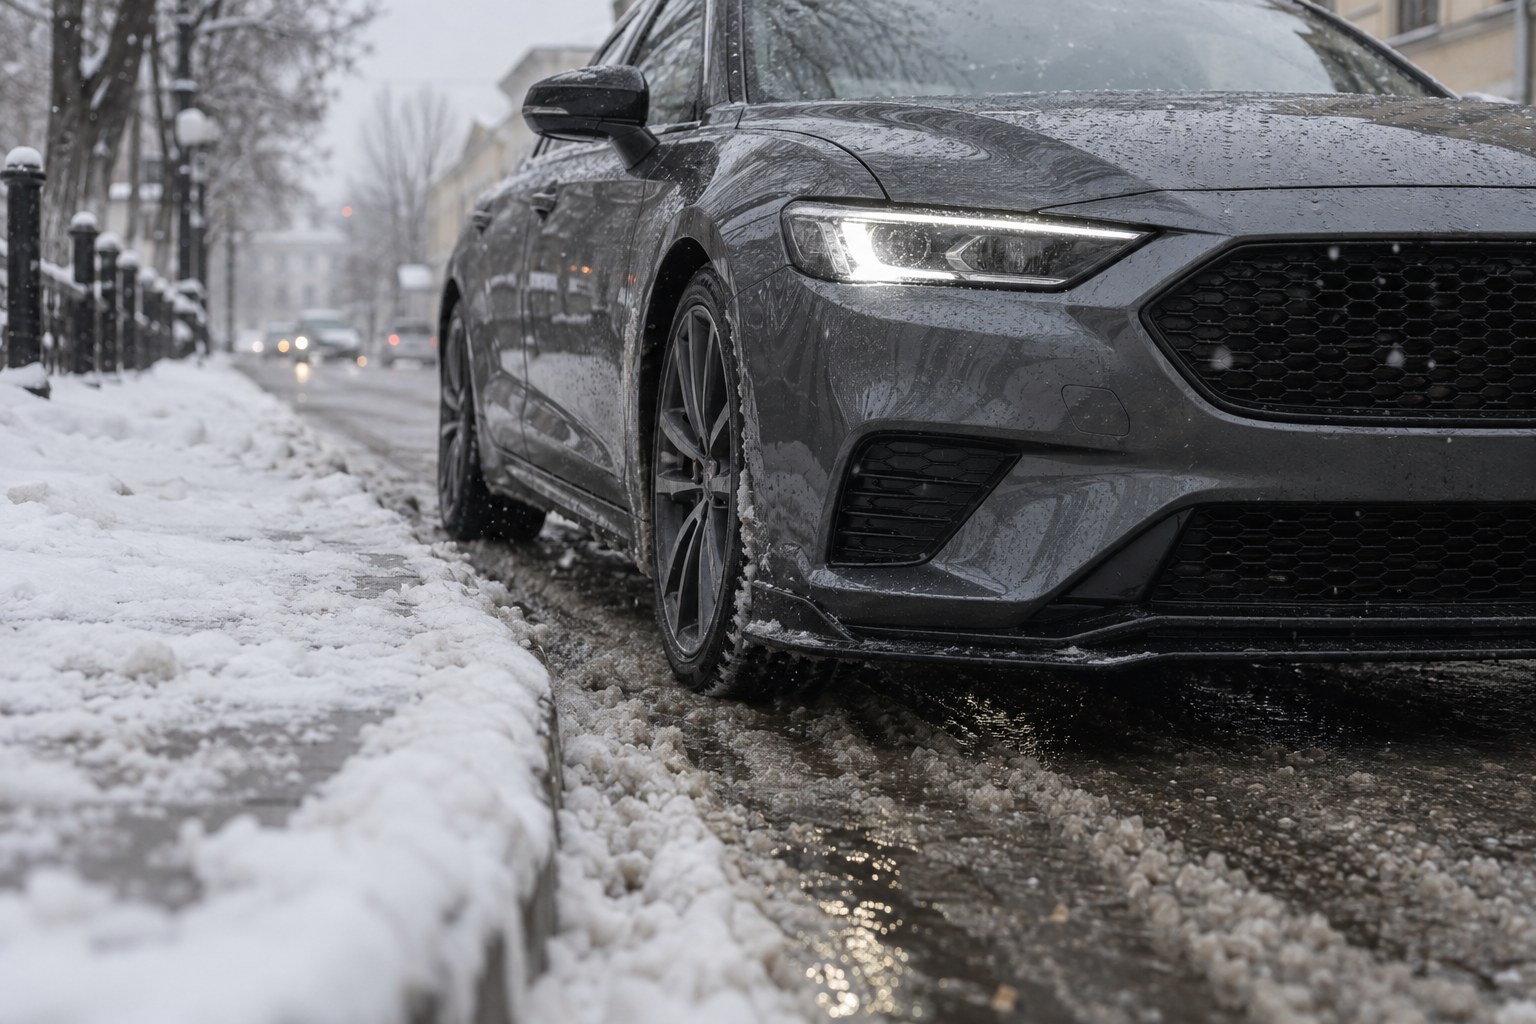
In winter, it’s not so much the salt itself that damages headlights, but dry sand and a salt crust that scuff the lens when it’s wiped dry. The simplest protection: rinse off dirt with water without rubbing, keep the washer nozzle no closer than 30 cm, do not clean the lens with acetone or household cleaners, and after each winter check whether scratches or haze have appeared. Separately about LED: they barely warm the lens, so snow and ice on the headlight do not melt by themselves and have to be removed by hand.
Contents
The lens of a modern headlight is polycarbonate with a thin factory protective layer against ultraviolet light, exhaust gases, and other contaminants. According to AAA, the first signs of lens aging usually appear after about five years, but the timeframe depends on sun exposure. Winter adds its own pressure: small stones and sand thrown up from under the wheels cause micro-scratches, and when the protective layer wears off, dirt gets trapped in micro-cracks and the lens turns cloudy.
Salt itself does not “eat away” polycarbonate the way it does metal. The danger is different: a dried salt crust with sand works like sandpaper, and if you wipe it with a dry cloth, scratches remain on the lens. The practical takeaway: the longer a dirty film sits on the headlight and the more often it’s rubbed dry, the faster the lens loses transparency and the worse it shines. What matters most is how and with what the headlights are cleaned. We described general rules for winter washing with tuning parts in the article about car washes in winter.
A halogen bulb gives off a lot of heat and at least slightly melts wet snow on the glass. LED uses much less energy, which means it warms the lens far less: according to The Drive, LED headlights consume about 75% less electricity than halogen ones and do not produce enough heat to melt ice. In wet snow, a headlight can get coated with a layer that does not go away on its own, and the light is scattered. Still, owners note that on deeply recessed headlights, snow accumulates even without LED, so the difference also depends on the design.
What to do about it: before driving off, brush snow off the headlight with a soft brush or a gloved hand, rather than knocking ice off with a shovel or a windshield scraper. It’s better to melt an ice crust on the lens with warm air from the cabin than to tear it off. Do not pour hot water on an icy headlight: a sharp temperature difference stresses both the plastic and the seals.
AAA directly advises not to use acetone, bug remover spray, and household products such as glass cleaners or oven cleaners: they can damage plastic or paint. The same applies to “folk” methods with toothpaste and baking soda as regular care—these are abrasives, so they’re suitable at best as a one-time measure for an already cloudy headlight, but not for regular washing. Hot water on a frozen lens, a stiff brush, and dry wiping of dust are also on the “no” list.
If in spring fine scratches or slight haze appear on the lens, they can be polished out. In the polishes for glass and headlights section there is the fine-abrasive SONAX Scratch Remover for headlights, acrylic, and plastic. According to the manufacturer’s description, first wash the surface, mask the surrounding paint with painter’s tape around the perimeter, apply a moderate amount to a clean dry surface and polish for a few minutes, then remove residue with microfiber. Very deep scratches cannot be removed with such a product.
Polishing removes a thin surface layer, so afterward it’s worth protecting the lens: with wax, a special UV-protective product, or protective film. Film (PPF) is applied to a clean lens without cracks or chips, and we discussed what types it comes in in the article about protecting paintwork in winter—for headlights the principle is the same.
Light fogging after washing or rain is a separate issue. According to manufacturers’ service bulletins, if the mist disappears after 30–60 minutes of the lights being on and appears on both headlights, it is usually condensation, not a leak. Signs of a leak: water collects at the bottom of the headlight, streaks or spots remain, moisture appears only in one headlight, or returns after every wash. In that case, a new lens or glass won’t help—you need to check the housing’s sealing. Warranties against fogging depend on the product, so уточнюйте умови before ordering.
If the lens already has micro-cracks, polish and film won’t help, and a new headlight changes both the look and the light. The catalog includes front headlights and rear lights: for example, front LED headlights for Mercedes E-class W213, as well as LED headlights and rear lights for Vito/V-class W447 and facelift rear lights for C-class W205. All headlights and lights are in the automotive lighting and optics section.
What to verify before ordering: model, body, and year, side (one or a pair), OEM fitment, connector type, and комплект. Physical fit does not guarantee electrical compatibility: when switching between halogen, xenon, and LED, check connectors and control units, and adaptive functions (AFS, leveling) separately—they do not appear on their own. Photos of the installed part and the old headlight will help the manager select the exact match.
We deliver via Nova Poshta across Ukraine.
Shipping to EU
Wholesale and retail
Own warehouse
Опис продукту
Подарунки не надаються при оформленні покупки у кредит під 0,01% або при покупці частинами.