27.09.2026
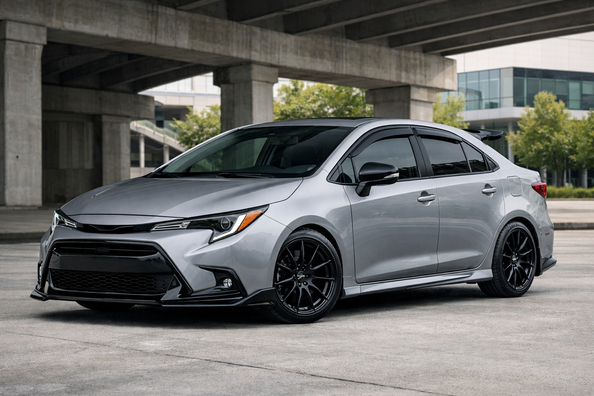

This plan is for a Toyota Corolla 2019+ owner who wants to quickly build a clean city look without lowering, a loud exhaust, or random purchases. The scenario is simple: the car drives around the city every day, often parks near curbs, picks up dirt and small scuffs, but should look more put-together after the first investments.
For this Corolla generation, it’s not big tuning that works best, but the right order of small upgrades. The sedan and hatchback have different body lines, trunk lid design, and wheel options, so spoilers, add-ons, and wheels must be selected strictly for the body style, year, and trim level.
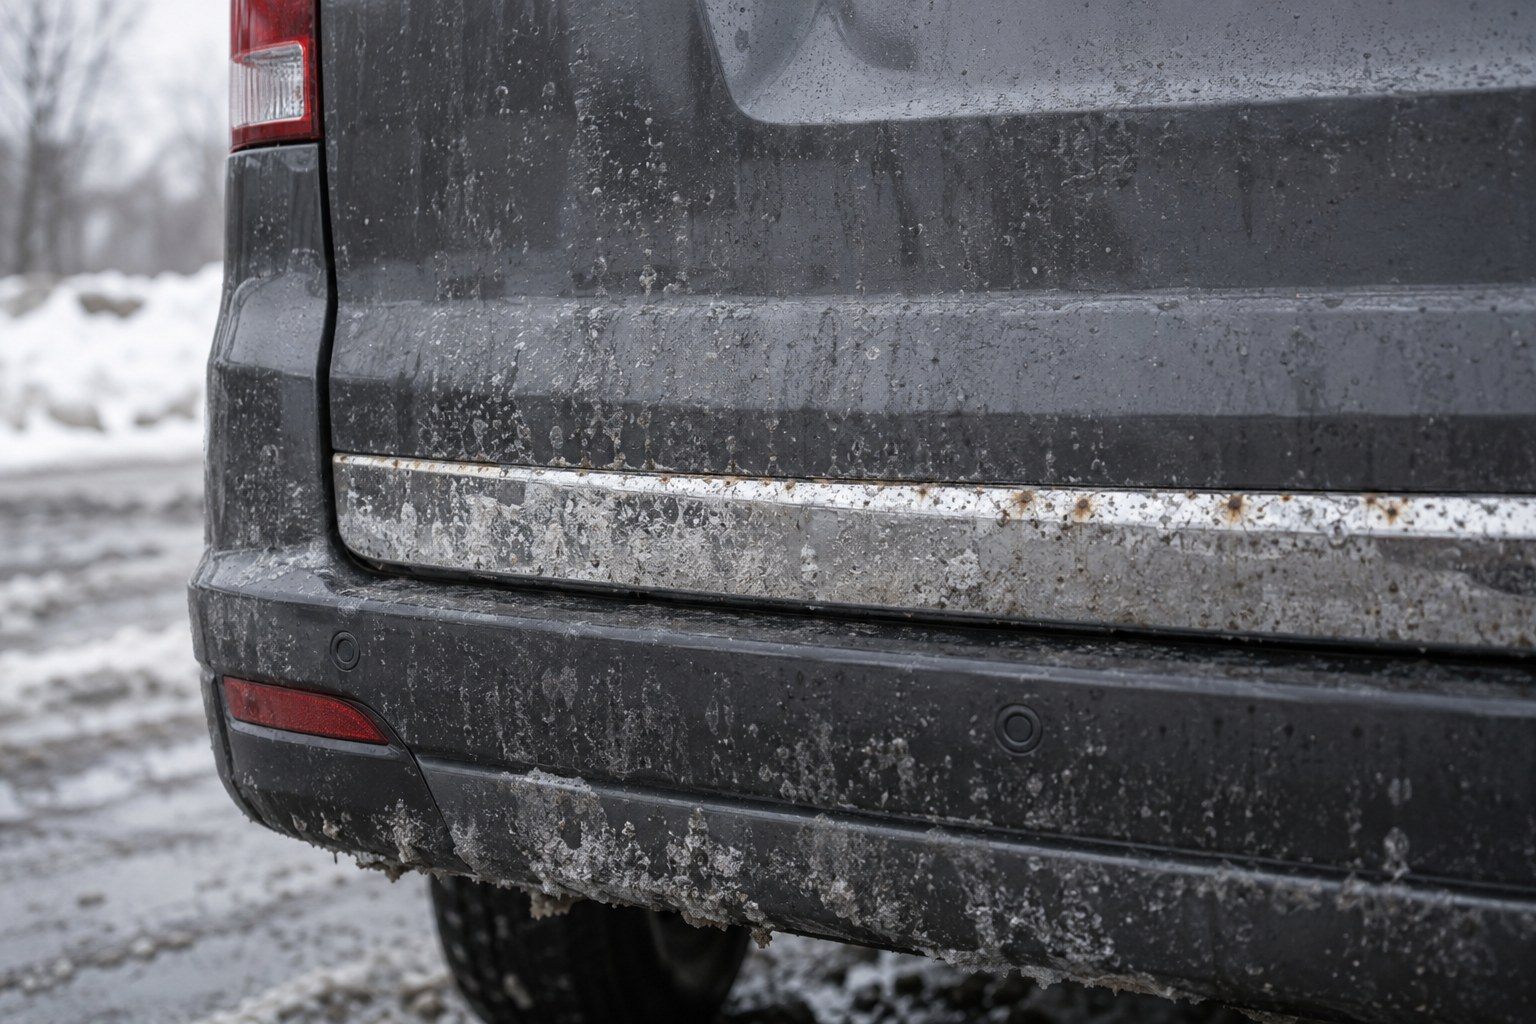
This upgrade has two tasks. The first is to make the Corolla tidier in daily city use: less dirt on the sides, fewer scratches on the sills, door edges, and rear bumper. The second is to add character without losing convenience over potholes, parking ramps, and curbs.
That’s why the first stage isn’t about deep interventions. With ground clearance around 130 mm, lowering quickly becomes a compromise in the city, and performance mods don’t address the basic need here: a practical, neat, low-fuss daily car.
Start with things you see every day and that actually protect the body and interior. For Corolla 2019+ the order is:
If your budget is limited, cover the interior and the city-wear zones first, and only then move on to visual accents. This way you won’t overpay for looks while the car is still collecting chips and grime daily in the most vulnerable spots.
| Upgrade | Why it’s needed | Who really benefits |
|---|---|---|
| Window tint | Less cabin heat, a bit more privacy, a more cohesive silhouette | Those who drive in the city every day and leave the car outdoors |
| Mats with raised edges | Hold water, sand, and dirt; make cleaning easier | City use, fall-winter, family use, daily driving |
| Mud flaps | Less sand and dirt on the sills and lower door sections | Those who often drive on wet roads or park near curbs |
| Door-edge and rear-bumper edge protection | Reduces the risk of chips and scratches during parking and loading | Owners who carry bags, suitcases, kids’ items and often park in tight spaces |
| Protective film on high-risk areas | Helps preserve the paint where impacts and rubbing are most common | Those who want to keep the body looking fresh longer or have already refreshed the paint |
| Spoiler or wheels | Create a stronger visual accent, but add little day-to-day practical benefit | Those who have already covered protection and clearly understand the look they want |
DD Tuning expert comment: the most common mistake is starting with a spoiler and wheels while the body isn’t protected in the zones that suffer every day. The second typical mistake is buying universal parts without checking the body style, even though on Corolla 2019+ the sedan and hatchback have different rear-end geometry. If this is a daily car, cover protection and basic practicality first, and only then decorative upgrades.
The second stage starts once the interior is protected and you’re not afraid to leave the body on regular city parking. This is where a rear spoiler, blacking out the emblems, side moldings, or neat add-ons that highlight the body lines (without making the car look busy) make sense.
Wheels also belong to the second stage. The sedan comes with 15, 16, and 18 inches, the hatchback with 16 or 18, so moving to a larger diameter only makes sense after checking your tire budget, road conditions, and the exact wheel specs—not just based on photos.
| Stage | What to install | Why this order |
|---|---|---|
| First priority | Window tint, mats, mud flaps, edge protection, and film | Delivers daily benefits and protects areas that wear quickly in the city |
| Second stage | Emblem blackouts, moldings, spoiler, neat add-ons | Improves the look without noticeably hurting practicality |
| Later or after budget check | Larger-diameter wheels | Require careful selection of tires, offset, and consideration of road conditions |
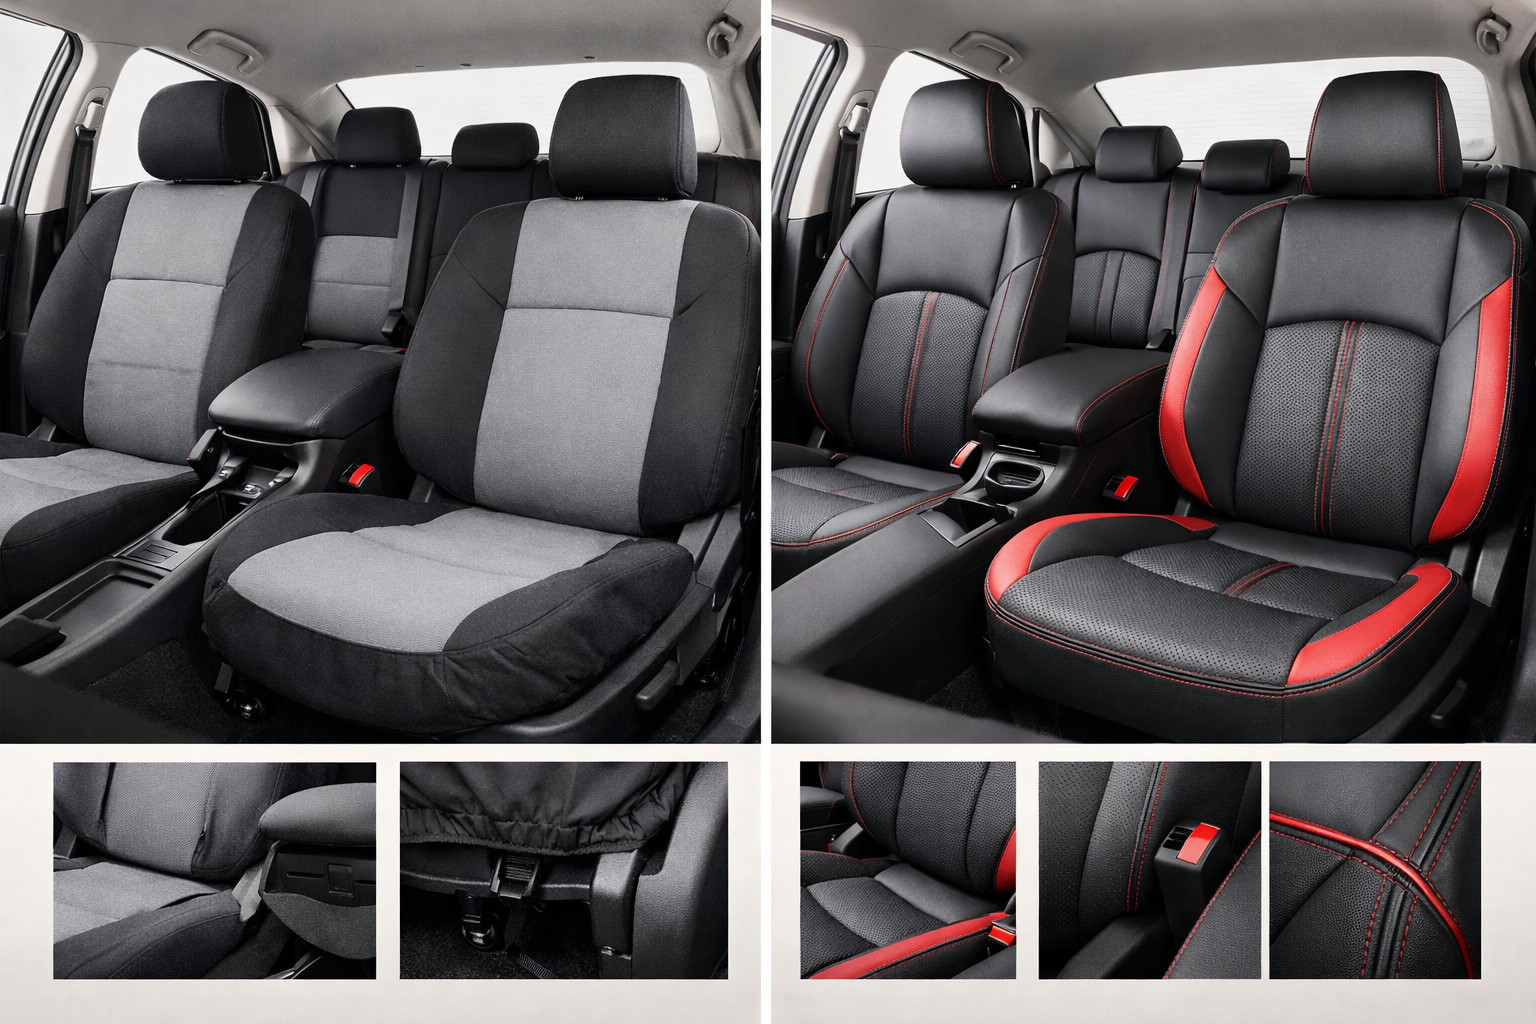
This group includes window visors, door-sill covers, trunk accessories, seat covers, and small interior pieces. They don’t make the car fundamentally different, but they either simplify daily use or add neatness where you see it every day.
If the car often carries kids, tools, or bags, a trunk mat and protection for the trunk loading edge are more useful than any exterior decor. If the cabin and trunk are already covered, then it makes sense to choose small visual details to match the body color and trim.
Most often, people waste money on cheap lowering, wheel spacers, overly aggressive wheel offset, and a loud exhaust. For a city scenario, this adds almost no practical benefit, but it reduces ride comfort, increases the risk of hitting a curb, and complicates daily use.
The second mistake is buying universal trim pieces, spoilers, and lips without checking the body. On Corolla 2019+ the sedan and hatchback have different rear-end geometry, and the mounting method for aero parts can differ even between close model years.
| What to install first | What can be postponed | What isn’t required |
|---|---|---|
| Window tint per local regulations | Emblem blackouts | Loud exhaust |
| Mats for the cabin and trunk | Side moldings and decorative add-ons | Cheap lowering |
| Mud flaps | Rear spoiler | Wheel spacers |
| Protection for door edges and the rear bumper | Switching to 18 inches | An excessively wide or heavy wheel setup |
| Protective film on high-risk areas | Window visors and small exterior decor | All-over chrome decor that solves no real task |
More expensive solutions make sense when you’re keeping the car for a long time, the body is already in good condition, and you want not just a nice picture but precise fitment and a predictable result. In that case it’s logical to pay for model-specific parts, quality finish, proper mounting, and materials that won’t start annoying you after one season.
On the site the logic is the same: people first look at mats and mud flaps, and move to aero parts only after that. If you want to finish the trunk silhouette, you can consider a rear spoiler separately, but compatibility must be checked by body style, year, and mounting method.
Wheels are a special case. With good city roads and a clear tire budget, 18 inches really add a more planted, cohesive look, but on broken pavement 16 inches often remain the smarter choice.
From a customer’s experience: a Corolla sedan owner initially wanted to start with big wheels and lowering for a quick visual effect. In the end, his first stage was window tint, mats, mud flaps, and protection for the trunk edge, and he postponed the spoiler. The result turned out more practical: the car looked tidier every day, and there was no added anxiety about curbs and rough roads.
For entry-level city styling on Corolla 2019+ the right order is simple: start with window tint, mats, mud flaps, and protection for high-risk areas; second stage—restrained visual accents; and at the end—a spoiler or wheels, if you already clearly understand what you want from the car. This approach delivers a noticeable result without unnecessary spending on upgrades that look good only in photos.
This material is based on real selection experience, practice, and real usage scenarios: for a city Corolla, the best results come not from the loudest changes, but from the ones that protect the body, interior, and the driver’s nerves every day.
| ✔ | The initial stage adds almost no distinct visual effect on its own, so for those expecting a quick “wow result,” this order may seem too restrained. |
| ✔ | Some useful items need to be selected very carefully for a specific body and year; otherwise, there is a risk of missing compatibility with spoilers, trims, or mounting hardware. |
| ✔ | The author advises putting off larger-diameter wheels, because they require a separate budget for tires and a check of the wheel parameters, so this stage cannot be done quickly or cheaply. |
| ✔ | Some popular modifications are directly called inappropriate for city driving — cheap lowering, spacers, excessively wide wheels, and a loud exhaust make daily driving more difficult rather than helpful. |
| ✔ | The first upgrades are truly useful in the city: high-edge floor mats, mud flaps, edge protection, and film reduce dirt, scratches, and chips in the most vulnerable areas. |
| ✘ | The initial stage adds almost no distinct visual effect on its own, so for those expecting a quick “wow result,” this order may seem too restrained. |
| ✘ | Some useful items need to be selected very carefully for a specific body and year; otherwise, there is a risk of missing compatibility with spoilers, trims, or mounting hardware. |
| ✘ | The author advises putting off larger-diameter wheels, because they require a separate budget for tires and a check of the wheel parameters, so this stage cannot be done quickly or cheaply. |
| ✘ | Some popular modifications are directly called inappropriate for city driving — cheap lowering, spacers, excessively wide wheels, and a loud exhaust make daily driving more difficult rather than helpful. |
Shipping to EU
Wholesale and retail
Own warehouse
Опис продукту
Подарунки не надаються при оформленні покупки у кредит під 0,01% або при покупці частинами.