14.09.2026
156
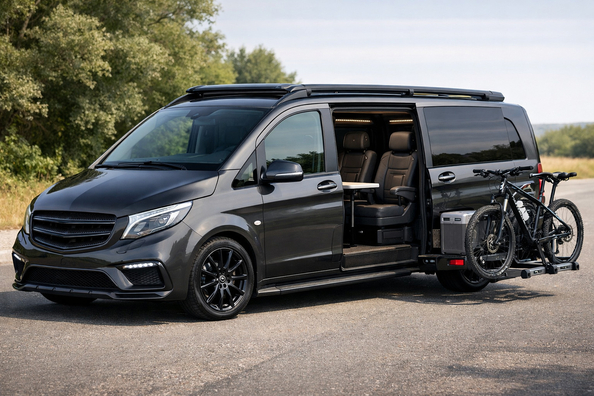
This plan is for a Mercedes Vito or V-Class W447 owner who carries family, guests, or passengers over long distances and wants a quieter cabin, a calmer ride, and more day-to-day convenience on the road—without wasting money on decorative extras.
On the W447, priorities are most often set wrong: people buy a body kit, big wheels, or chrome first, and then at 110–130 km/h they’re left with the same drone from the tires, wheel arches, and roof. The logic here is different: first silence and ride quality, then cabin functionality, and only after that—things for boarding, luggage, and exterior looks.
For passenger trips and highway driving, this upgrade should solve three real tasks: reduce driver fatigue, make conversation in the cabin easier at speed, and simplify passengers’ day-to-day comfort on the road. If after two hours on the motorway it’s not the suspension that tires you out but the noise, you shouldn’t start with a body kit.
The scope depends on the configuration. Short, long, and extra long bodies have different acoustic backgrounds; different versions vary in seat rail types and compatibility with interior accessories; and having AIRMATIC is already a plus for a loaded vehicle on the highway. In other words, the plan is one, but the details must be checked for your specific body and interior.
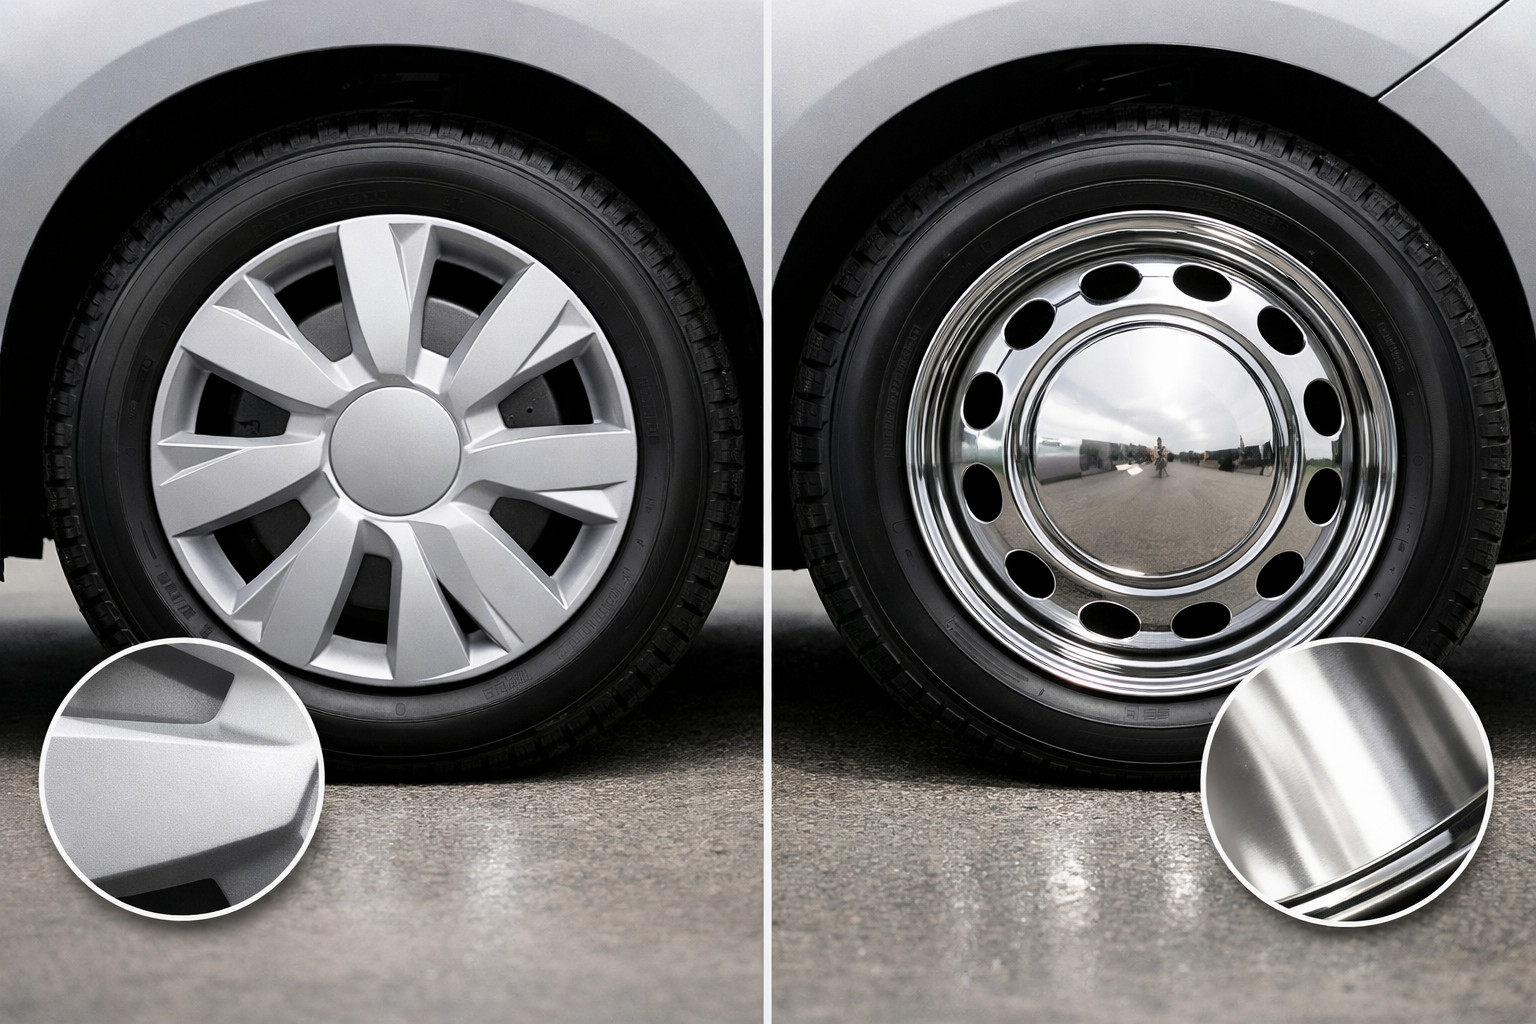
First—tires, pressure, and alignment. For the W447 in a passenger-use scenario, it’s usually more beneficial to stay in the more comfort-focused wheel range of 406–432 mm rather than chasing 483 mm for the look. Not only size matters, but the tire itself: quiet models with the correct load index, correct pressure for the real payload, and proper alignment deliver a noticeable effect with zero cosmetic changes.
Second—comprehensive sound insulation. On the W447, the best results come not from patching one door, but from a system approach: doors, door cards, wheel arches, roof, plus a check of the seals. Local tweaks often just shift the noise source rather than remove it. At the same time, don’t mindlessly pack door cavities with material where it can interfere with drainage.
Third—the condition of the seals and door fitment. If the rubber has dried out, the doors don’t sit perfectly, or there are extra whistles, even a good tire won’t deliver its full potential. It’s a small-budget item, but a critical part of the result.
| Upgrade | Why it’s needed | Who it truly benefits |
|---|---|---|
| Quiet tires, correct pressure, alignment check | Reduces drone, jolts over joints, and highway fatigue | Anyone who drives highways at 90–130 km/h and carries people, not just themselves |
| Wheel format toward 406–432 mm, if your version allows it | Gives more tire sidewall and a calmer ride over uneven surfaces | Those who value comfort over the visual effect of a big wheel |
| Comprehensive sound insulation of doors, arches, roof, and trims | Noticeably lowers overall cabin noise and makes conversation easier | For long trips, family routes, transfers, and intercity driving |
| Inspection and replacement of worn seals | Removes whistling, helps soundproofing work properly | High-mileage cars, vehicles after door disassembly, or intensive use |
| Smartphone integration via MBUX, if it’s already in the car | Proper navigation, music, and calls without extra gadgets on the windshield | Those who regularly drive highways and don’t want improvised add-ons in the cabin |
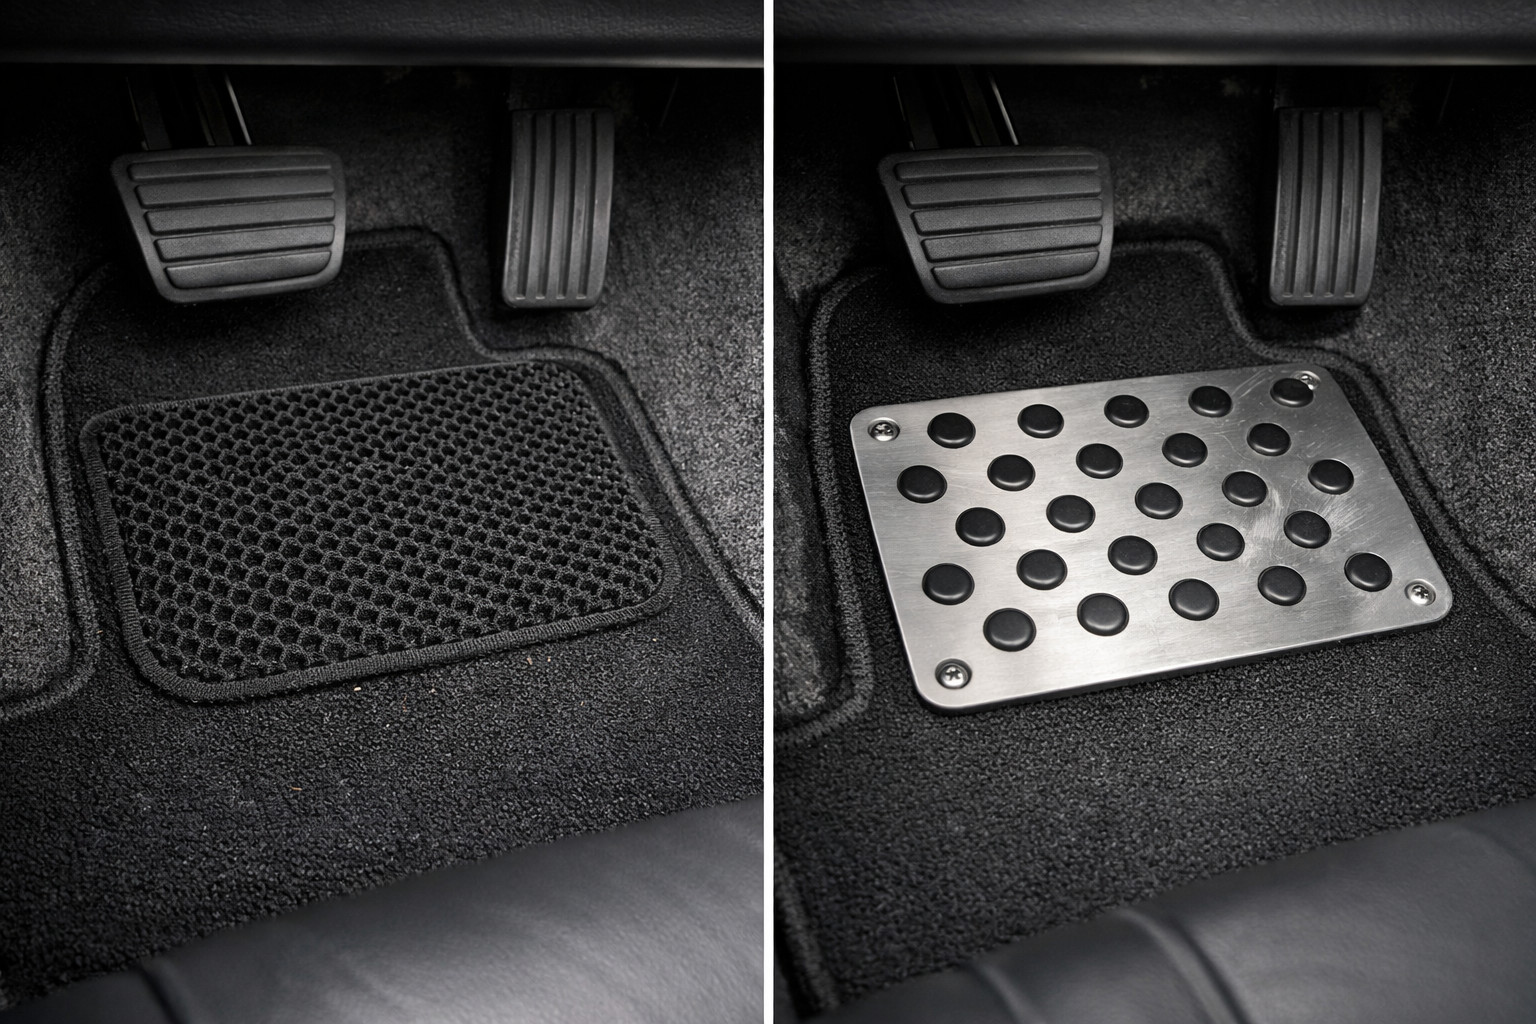
| Mats, seat covers, tablet holder, table, coolbox | Makes passenger travel more convenient day-to-day | Families with kids, shuttles, and anyone who often drives more than 2–3 hours |
DD Tuning expert comment: The most common mistake on the W447 is fitting big wheels, side steps, or chrome first, while keeping noisy tires and old seals. The second typical story is doing only the doors and expecting business-van silence, even though the main highway noise often also comes from the arches, roof, and trims. Before buying interior accessories, always verify the body type, seat rail type, and interior configuration, because not everything fits every W447 version.
Once the base noise and ride are sorted, it makes sense to move to items that improve daily comfort on the road. If the car has MBUX, smartphone integration often just requires using the factory USB port correctly, rather than jumping straight into an expensive multimedia retrofit.
The second stage should serve everyday convenience. If you rarely carry passengers beyond the city, some of these items will simply take up space.
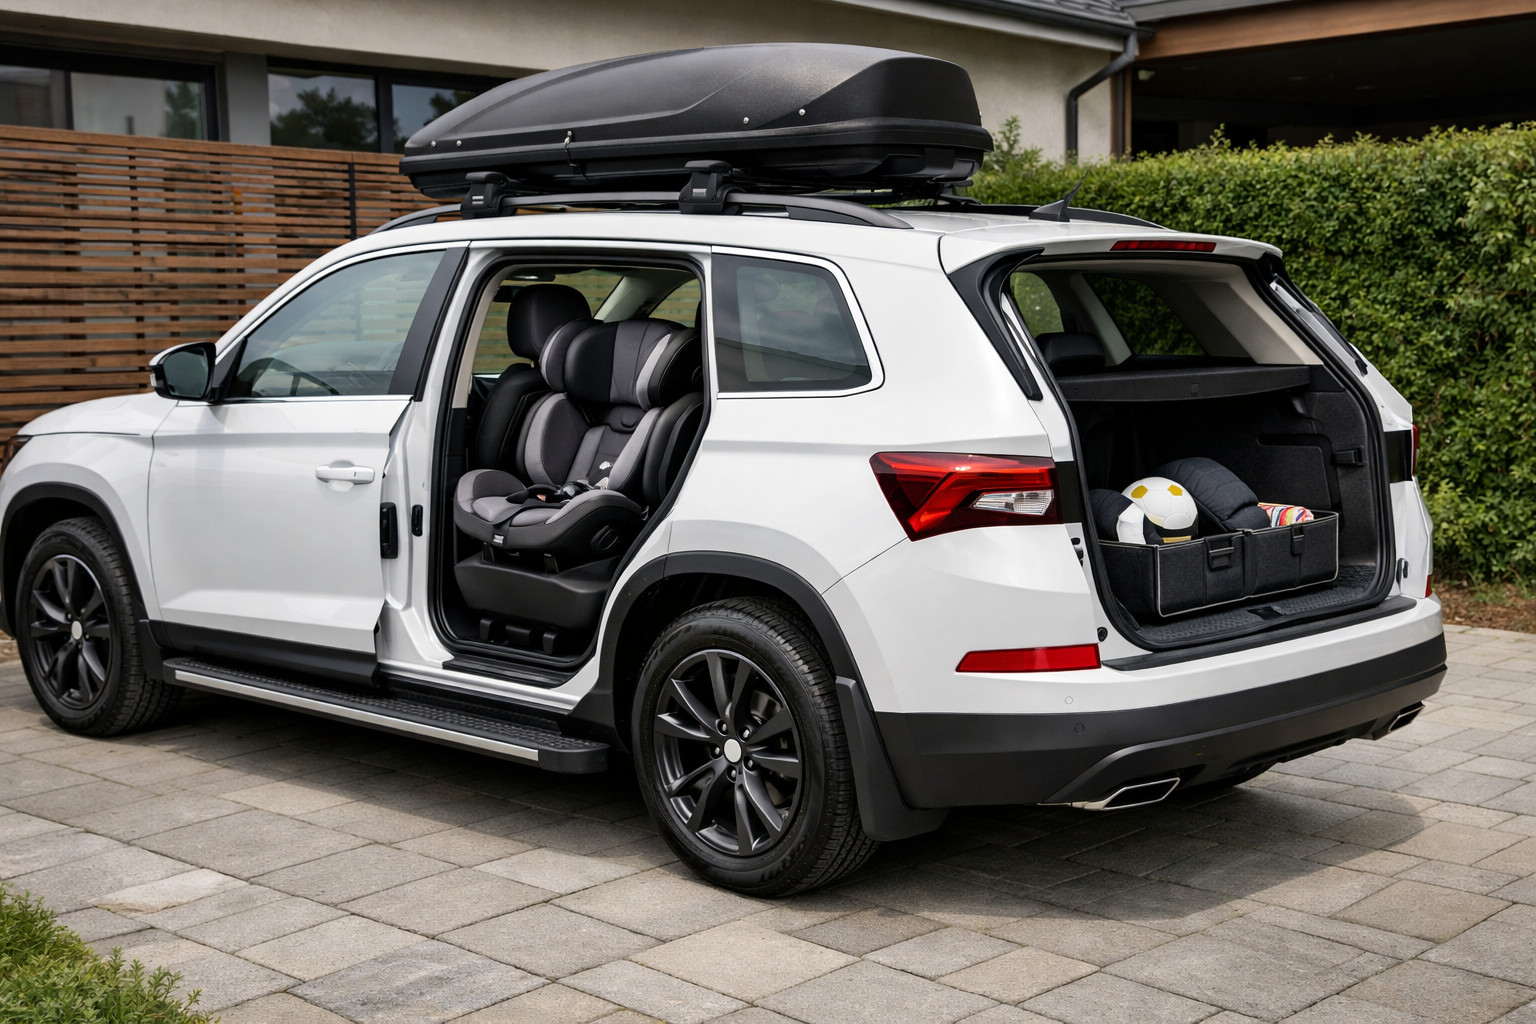
Side steps aren’t about highway silence—they’re about easier boarding and exiting. They’re genuinely useful if the vehicle often carries kids, older passengers, or works as a transfer. But if the W447 is used mainly as a family long-distance cruiser for two adults, side steps aren’t the first budget priority.
Large styling wheels 457–483 mm, spoilers, trims, and chrome almost always deliver more visual effect than real benefit for passenger highway use. The same applies to most cosmetic interior trim pieces: they don’t make the vehicle quieter, roomier, or more convenient.
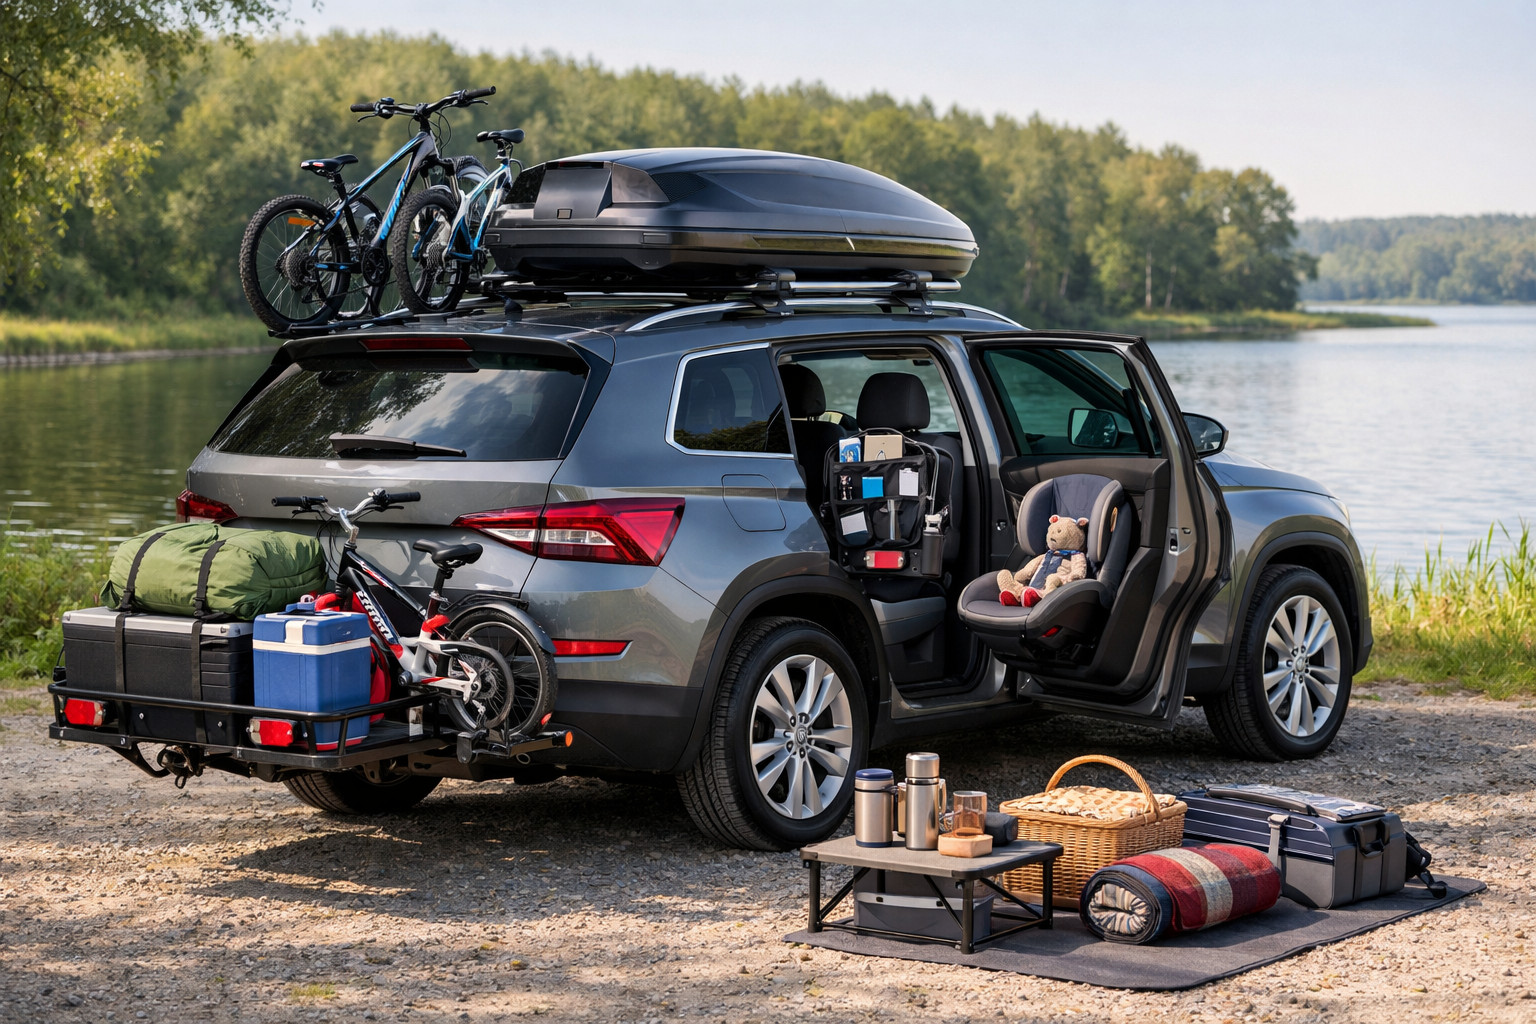
A separate topic is roof luggage. This is about function rather than looks, but remember the vehicle height, additional wind noise, and the fact that on short trips a roof box can annoy more than it helps.
| Area | What to do first | What can be postponed | What isn’t required |
|---|---|---|---|
| Ride and noise | Quiet tires, correct pressure, alignment, suspension inspection | Full roof and side soundproofing if the budget is phased | Large styling wheels |
| Body and sealing | Check seals and door fitment | Additional local tweaks after the base soundproofing | Chrome and decorative trims |
| Interior | Mats and basic organization for small items | Seat covers, tablet holder, table, coolbox | Decorative interior tuning |
| Tech | Set up factory smartphone integration, if available | Multimedia upgrade if you truly lack features | Expensive audio build |
| Exterior mods | Nothing until tires and acoustics are solved | Side steps for easier boarding, a roof cargo solution for a specific task | Body kits, spoilers, decorative elements for looks |
More expensive upgrades only make sense when they solve a specific use case, not a desire to “look more expensive.” If kids or older people often get into the W447, or the vehicle runs in passenger mode every day, then AMG side steps can be justified. But it’s a purchase for boarding convenience and looks, not for highway quietness.
If you truly can’t fit your luggage inside, then it’s worth looking at roof racks and crossbars. It’s the right step for vacations, skis, strollers, or bulky travel gear, but you should accept the trade-off right away: more height, higher system cost, and possible additional wind noise.
If after the base upgrade you’re still not satisfied with the factory tech, then you can move on to electronics for W447. It’s only after tires, alignment, and acoustics that expensive technical upgrades start to feel like a benefit rather than an attempt to mask basic comfort issues.
From a customer’s experience: on a long passenger W447, they initially wanted big wheels and an exterior package, but after a few highway trips the main request became quietness for the second row. They started with quieter tires, an alignment check, and comprehensive soundproofing of the doors, arches, and roof, and only then added mats and a tablet holder. The biggest difference wasn’t the exterior look, but that at speed passengers stopped having to speak louder.
For a Mercedes Vito or V-Class W447 in the passenger-and-highway scenario, the right starting upgrade almost always looks like this: tires, pressure, alignment, then comprehensive sound insulation and a seal inspection, then everyday interior items—and only after that exterior or expensive status upgrades. This order delivers the biggest effect per hryvnia spent.
The material is based on real selection experience, practical work, and real usage scenarios. So the main advice is simple: don’t buy for the W447 what looks good in a catalog if your real task is a calm highway ride, cabin conversation without shouting, and normal comfort for passengers.
| ✔ | Starting with the tires, pressure, and alignment gives a noticeable effect on noise and comfort without major costs. For highway trips, this is a more practical step than immediately fitting decorative elements or large wheels. |
| ✔ | Comprehensive sound insulation of the doors, wheel arches, roof, and trim really reduces the overall noise level in the cabin. This is especially useful on the highway, when the main fatigue comes not from the suspension, but from constant drone. |
| ✔ | Inspecting the seals and door fit can eliminate whistling noises and help the sound insulation work more effectively. This is a low-cost upgrade that is often underestimated on high-mileage vehicles. |
| ✔ | Basic interior items such as floor mats, a tablet holder, a table, and a coolbox really make long trips easier. They are useful specifically in a family or passenger scenario, rather than just taking up space. |
| ✔ | Clear priorities help avoid spending the budget on cosmetic upgrades too early. First comes noise, ride, and sealing, and only then exterior or status-related upgrades. |
| ✘ | Full sound insulation of the W447 is neither a quick nor a cheap solution. In addition, local modifications without a systematic approach may only give a partial effect. |
| ✘ | Large stylish wheels in this scenario often worsen comfort and do not solve the noise problem. On the highway, they may add expenses but provide no noticeable benefit for passenger trips. |
| ✘ | Some interior accessories and solutions depend on the specific body configuration, seat rails, and cabin layout. Without checking compatibility, you can buy an item that simply will not fit in its place. |
| ✘ | A roof rack or box is useful only when there is really not enough luggage space. On short trips, it can add height and aerodynamic noise, which means it can worsen comfort. |
Shipping to EU
Wholesale and retail
Own warehouse
Опис продукту
Подарунки не надаються при оформленні покупки у кредит під 0,01% або при покупці частинами.