13.09.2026
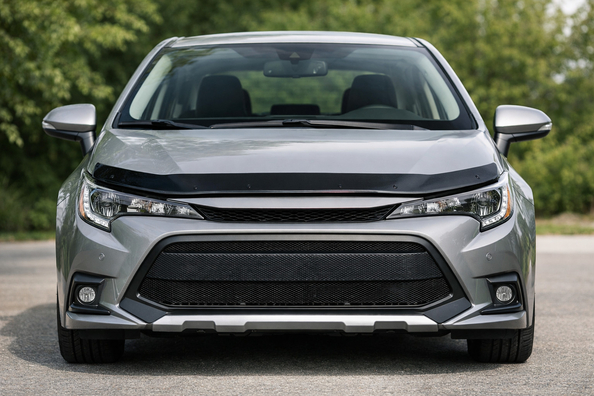

This upgrade plan is for a Toyota Corolla 2019+ owner who wants to reduce chips on the front end, avoid overspending on decorative items, and separately address the problem of insects on the highway. If the scenario is city driving plus regular highway runs, the logic is simple: first protect the paint from impacts, then reduce dirt and spray, and only after that add auxiliary accessories.
For Corolla it’s important not to mix body styles and generations: sedan, hatchback, and different markets can have differences in accessories and mounting points. So any kit should be chosen for the specific car, not for an abstract Corolla 2019+.
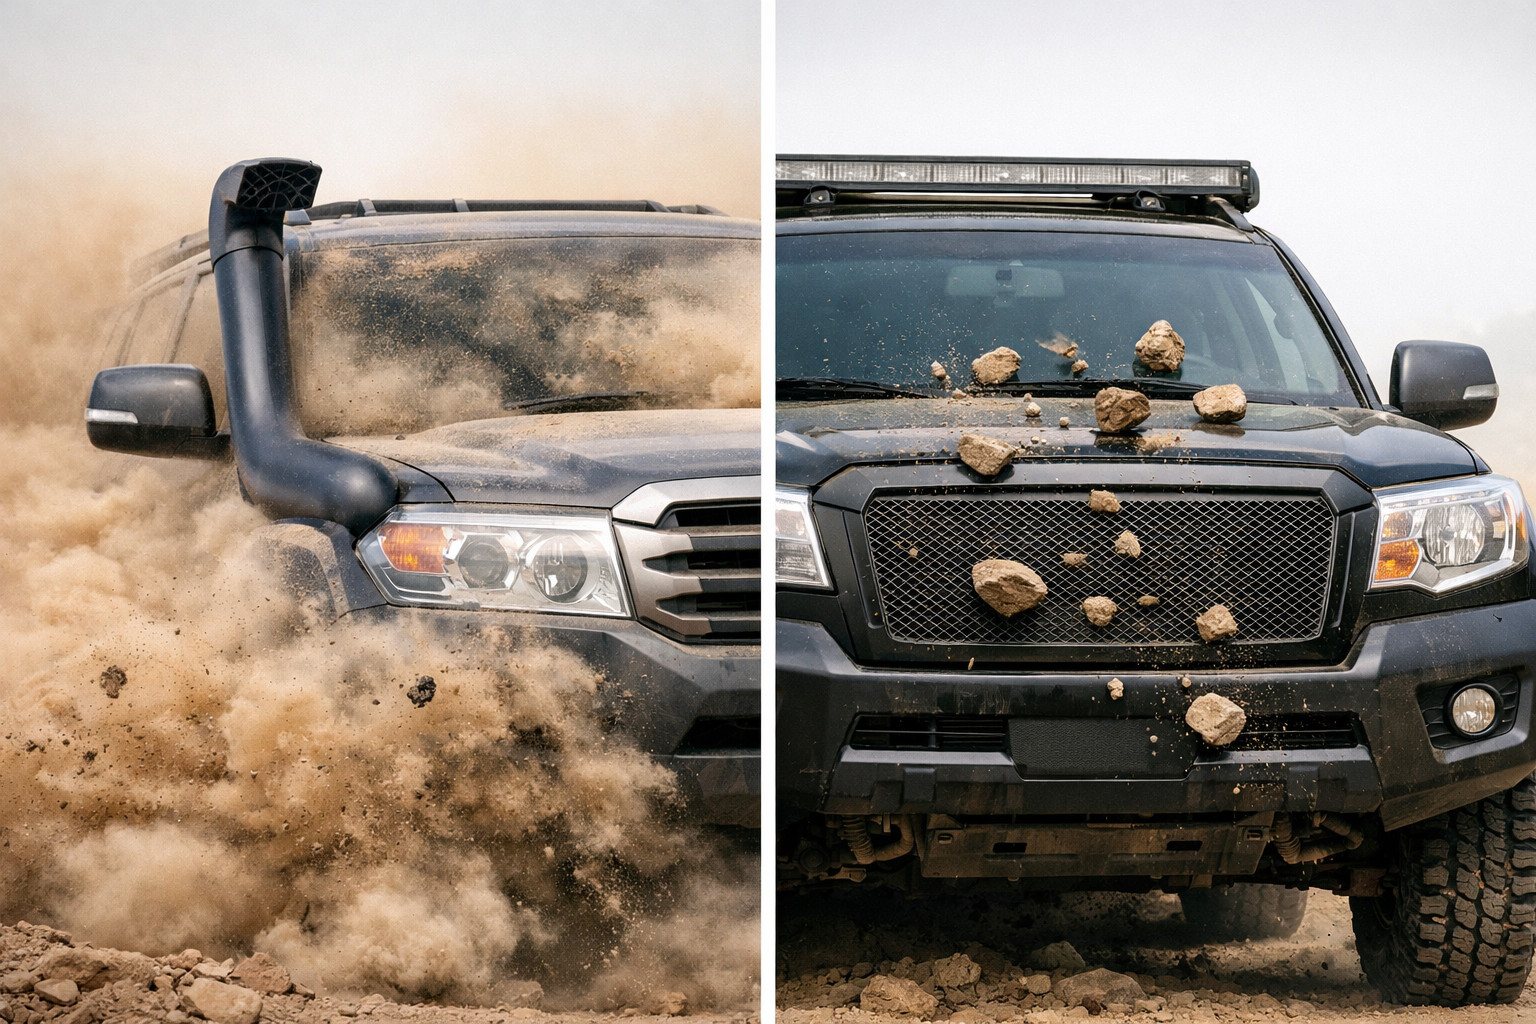
The main task here isn’t to make the front end look nicer, but to reduce paint damage in the areas the Corolla takes hits first: the front bumper, the leading edge of the hood, the fender edges, and the rear parts of the mirrors. This is where small stones, sand, road salt slush, and insect residue hit.
It’s important to separate the roles of the accessories. Paint protection film (PPF) takes the hits from small debris on the paint. Mud flaps reduce dirt and abrasive spray from the wheels, but they won’t save the front bumper from chips. A hood deflector can help with insects and some fine debris, but it doesn’t replace film.
Top priority is PPF on the most vulnerable zones. If the budget is limited, start with the front bumper: it sits low, takes the most sandblasting, and visually ages first. If the car often drives on the highway, it makes sense to add the front part of the hood, the fender edges, and the mirrors right away.
In the OEM protection logic for this model, the hood kit is separate from the film for the front bumper, so don’t assume one set automatically covers the entire front end. A partial install takes a few hours; a more complete package takes longer. After installation, the film needs to be left alone: at least a week without washing and without brush car washes, otherwise you can damage the edge or age the surface faster.
| Upgrade | Why it’s needed | Who it really benefits |
|---|---|---|
| PPF on the front bumper | Takes small impacts from stones, sand, and insect marks | Those who drive on the highway, keep a higher pace, or want to preserve the factory paint longer |
| Film on the hood edge, fender edges, and mirrors | Covers the second risk line after the bumper | Owners of new cars, dark colors, and those who often drive behind trucks or on gravel |
| Mud flaps | Reduce spray, buildup, and abrasive from the wheels; slightly protect the lower body | Those with wet roads, winter, salt, intercity routes, or dirt roads |
| Hood deflector | Helps with insects on the hood edge and partially deflects fine debris | Those most annoyed by a dirty hood after highway driving, not just chips |
| Ceramic coating | Makes maintenance and washing easier, but doesn’t stop chips | Those who already have impact protection covered with film |
In short, the best early return is film on the impact zones. Mud flaps come second, the deflector third.
DD Tuning expert comment: the most common mistake is starting with the deflector because it’s visible, and postponing film until later—when the first chips have already appeared. Another typical story is buying an accessory without checking the body style and mounting points, then trying to make it fit on the car. If you’re installing film, plan for proper installation right away and stop using brush car washes.
As a second stage for this scenario, it’s logical to install mud flaps. They won’t cure the front end from stone hits, but they work well on wet roads, in winter, and wherever dirty abrasive constantly flies from under the wheels. For Corolla, this is a useful addition after film—not a replacement for film.
If the car rarely goes on the highway and spends most of its life in the city on clean asphalt, mud flaps can be postponed a bit. But if there’s winter use, salt, and slush, their benefit is noticeably higher.
A hood deflector is exactly the line between practicality and visual effect. It can be useful when the main headache is insects on the hood edge and windshield after highway trips. But don’t expect film-level protection from it: it won’t save the bumper from chips.
Chrome trim pieces, decorative elements, and other accents don’t solve this task at all. If the budget is one, it’s better spent on paint protection than on something that only catches the eye.
Most often, people waste money on a full bra for the front part of the hood or a cheap, questionable-quality accessory that traps dust and dirt underneath. Over time, this can harm the finish more than it helps. Another common mistake is thinking ceramic or graphene is a substitute for PPF. They’re useful for care, but they don’t work against stone impacts.
Another mistake is expecting mud flaps to do what they can’t. They don’t fully remove tar and don’t protect the front bumper. Likewise, film doesn’t make the car invulnerable to a hard impact: it won’t save you from a dent.
| What to install first | What can be postponed | What isn’t mandatory |
|---|---|---|
| Minimum: film on the front bumper | Minimum: mud flaps | Minimum: hood deflector |
| For frequent highway driving: film on the bumper, hood edge, fender edges, and mirrors | For frequent highway driving: mud flaps right after film | For frequent highway driving: ceramic, if the main task is specifically anti-chip protection |
| For city driving without gravel: localized bumper protection | For city driving without gravel: deflector, if insects are annoying | For city driving without gravel: expanded film package for all secondary zones |
A more expensive scenario is justified when the Corolla is newer, often drives on the highway, is a dark color, or you simply don’t want to repaint the bumper after a season. A reference point for factory pricing is: mud flaps — about $160, film on the front bumper — about $525, a kit for the hood, fenders, mirrors, and door handle cups — about $439, a body protection package — about $528. With numbers like these, it’s worth paying extra only for what actually works in your scenario.
If you need exact options for a specific trim, it’s convenient to start with the HIC hood deflector as auxiliary insect protection, then look at original mud flaps for correct fit and mounting, and for comparing shapes and designs — hood deflectors. If the car is mostly city-driven and without constant highway use, there’s no need to force an expanded budget for the entire front end.
From a customer’s experience: a Corolla owner initially wanted to install only a deflector because insects on the hood after the highway were the most annoying. After selection, he started with film on the bumper and hood edge, and added mud flaps as the second stage; the deflector went on after that. As a result, he covered the main chip problem right away, and the deflector remained auxiliary rather than the main solution.
For Toyota Corolla 2019+, the starter front-end package should be built not around a deflector, but around paint protection. First PPF on the impact zones, then mud flaps, and only after that a hood deflector—if insects and fine debris on the leading edge truly bother you.
This order usually delivers the best value for money and doesn’t force you to pay for marketing clutter. The material is based on real-world selection experience, practice, and real usage scenarios where what matters isn’t loud names, but compatibility, driving conditions, and the correct sequence of upgrades.
| ✔ | Anti-gravel film on the front bumper really takes the brunt of small stone chips, sand, and insect marks. For city driving with regular highway use, it is the most practical first step. |
| ✔ | If you add film to the hood edge, fender edges, and mirrors, the second line of risk is covered. This is especially useful for new cars, dark colors, and driving behind trucks or on gravel roads. |
| ✔ | Mud flaps reduce splashes, residue, and abrasion from the wheels, so the lower part of the body gets dirty less. They work well on wet roads, in winter, and in conditions of salt and slush. |
| ✔ | The hood deflector can be useful specifically for the problem of insects on the hood edge after highway trips. It also partially deflects small debris when extra comfort in care is needed. |
| ✔ | Planning the upgrade in stages makes it possible not to spend money on unnecessary things: first paint protection, then auxiliary accessories. This helps invest the budget in things that really work in a specific scenario. |
| ✘ | The hood deflector does not replace anti-gravel film and does not protect the bumper from chips. If you install it first, the paint damage problem will remain. |
| ✘ | Mud flaps do not protect the front bumper from stones and do not completely remove bitumen or other residue. Their benefit is limited to reducing dirt and abrasion from the wheels. |
| ✘ | Ceramic coating makes washing easier, but it does not stop chips, so as main protection for the front end it is weak. It makes sense only after the impact zones are already covered with film. |
| ✘ | After installation, the film needs time to stabilize: at least a week without washing and without brush washes. Otherwise, you can damage the edge or make the surface deteriorate faster. |
Shipping to EU
Wholesale and retail
Own warehouse
Опис продукту
Подарунки не надаються при оформленні покупки у кредит під 0,01% або при покупці частинами.