16.08.2026
134
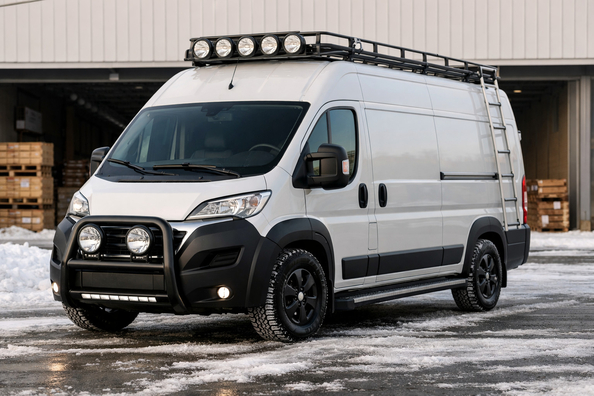
This plan is for a Fiat Ducato 2014+ owner who works with the van every day: hauling cargo, driving in winter, often parking outside, and racking up big mileage. The key here isn’t to “decorate” the van, but to reduce wheelspin, rear-end sag, cold in the cabin, fatigue on long runs, and small failures caused by water, dirt, and constant load.
The upgrade logic is simple: first traction, weight, and suspension; then a dry and warm cabin; then protection for the cargo area and power for equipment; and only after that—visibility, camera, comfort. The exact set depends on the body type, wheelbase, real axle weights, and whether it’s a panel van, passenger version, or a converted vehicle.
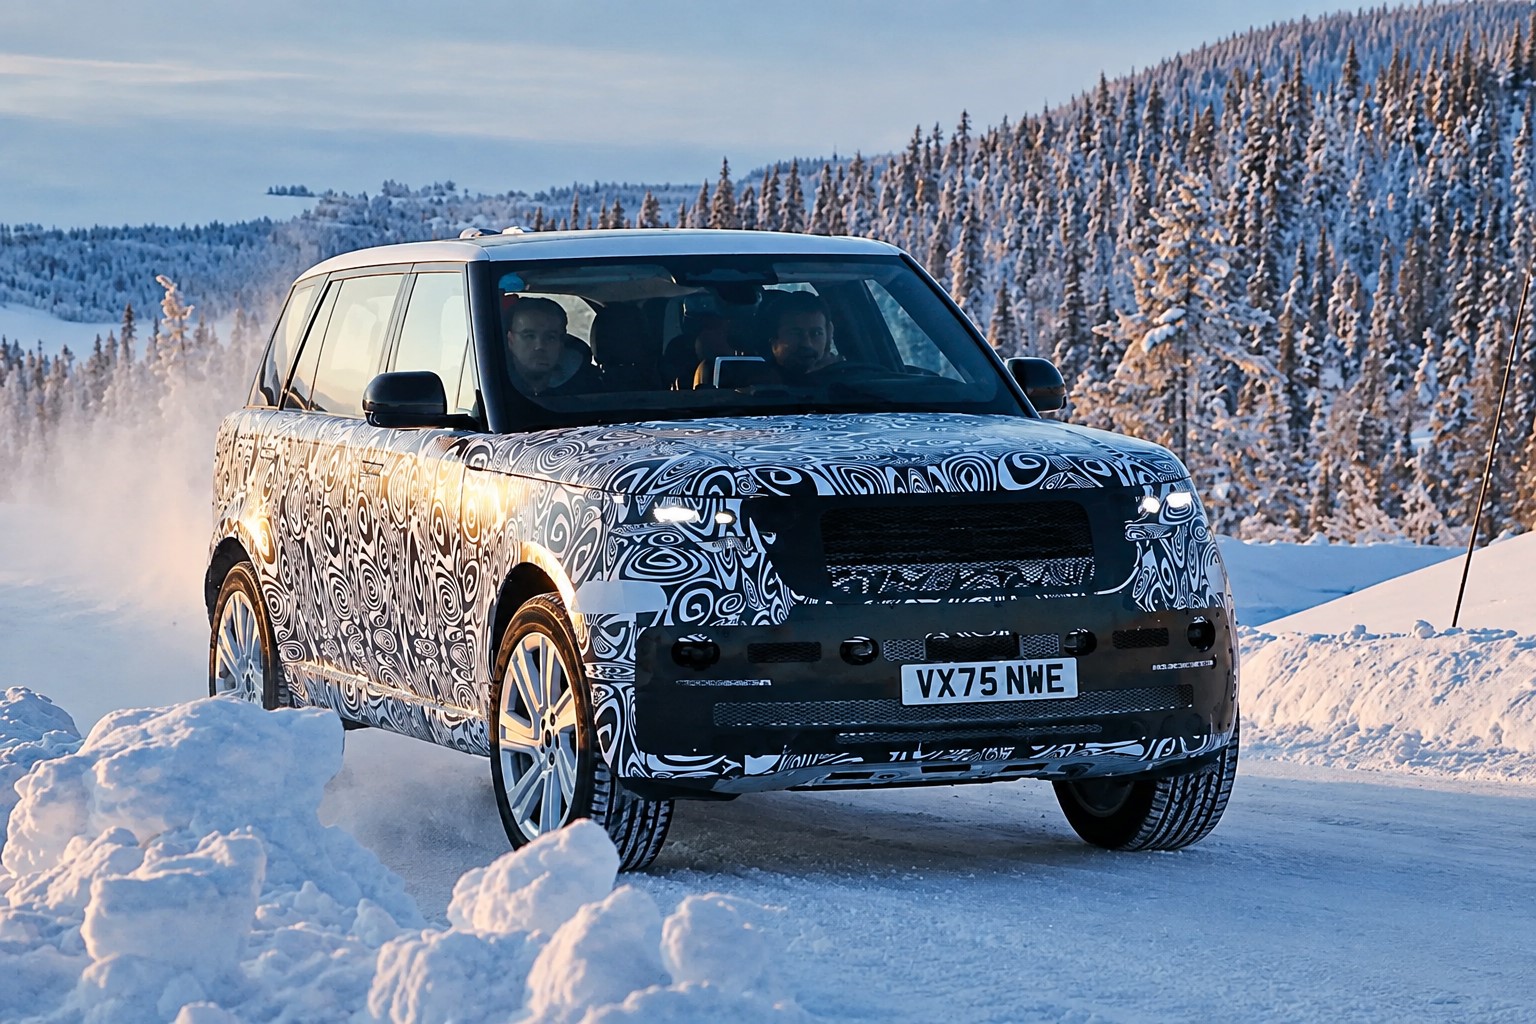
In the “work, winter, high mileage” scenario, a Ducato should pull away confidently on slippery surfaces, not sway under load, not bottom out the suspension on waves/undulations, and not turn every cold morning into a battle with fogged windows and a damp floor. For a courier van, that also means constant trips into courtyards, tight parking, and impacts to the floor and compartment walls from loading.
A separate winter task is not just heating the cabin, but keeping the heat in and removing moisture sources. If there are leaks through the cowl panel, drains, or seals, no expensive comfort upgrade will deliver a proper result. For a heavy or converted vehicle, the first question isn’t looks at all, but rear-axle headroom and how the vehicle behaves under load.
The first stage should eliminate the causes of problems, not the symptoms. If the budget is limited, it’s best to allocate money like this:
If the van works in the city every day and reverses in tight spaces, a rear-view camera sometimes also moves from the second stage to the first. It doesn’t add traction, but it saves nerves and time on route.
| Upgrade | Why it’s needed | Who really benefits |
|---|---|---|
| Commercial winter or all-season tires | Better pull-away, less wheelspin, more stable braking | Anyone who drives in winter, on wet asphalt, in courtyards, and on rural roads |
| Rear suspension reinforcement after weighing | Less sag, better stability under load, calmer response over undulations and in crosswinds | Vans and campers that often run heavy or close to the weight limit |
| Sealing the cowl panel, drains, and seals | Less moisture in the cabin, lower risk of electrical issues and contact corrosion | Vehicles that sleep outside, are washed often, or already show signs of dampness |
| Thermal curtains and insulation for the rear doors | Warmer cabin, less condensation, faster warm-up in frost | Winter vans, campers, vehicles with early departures |
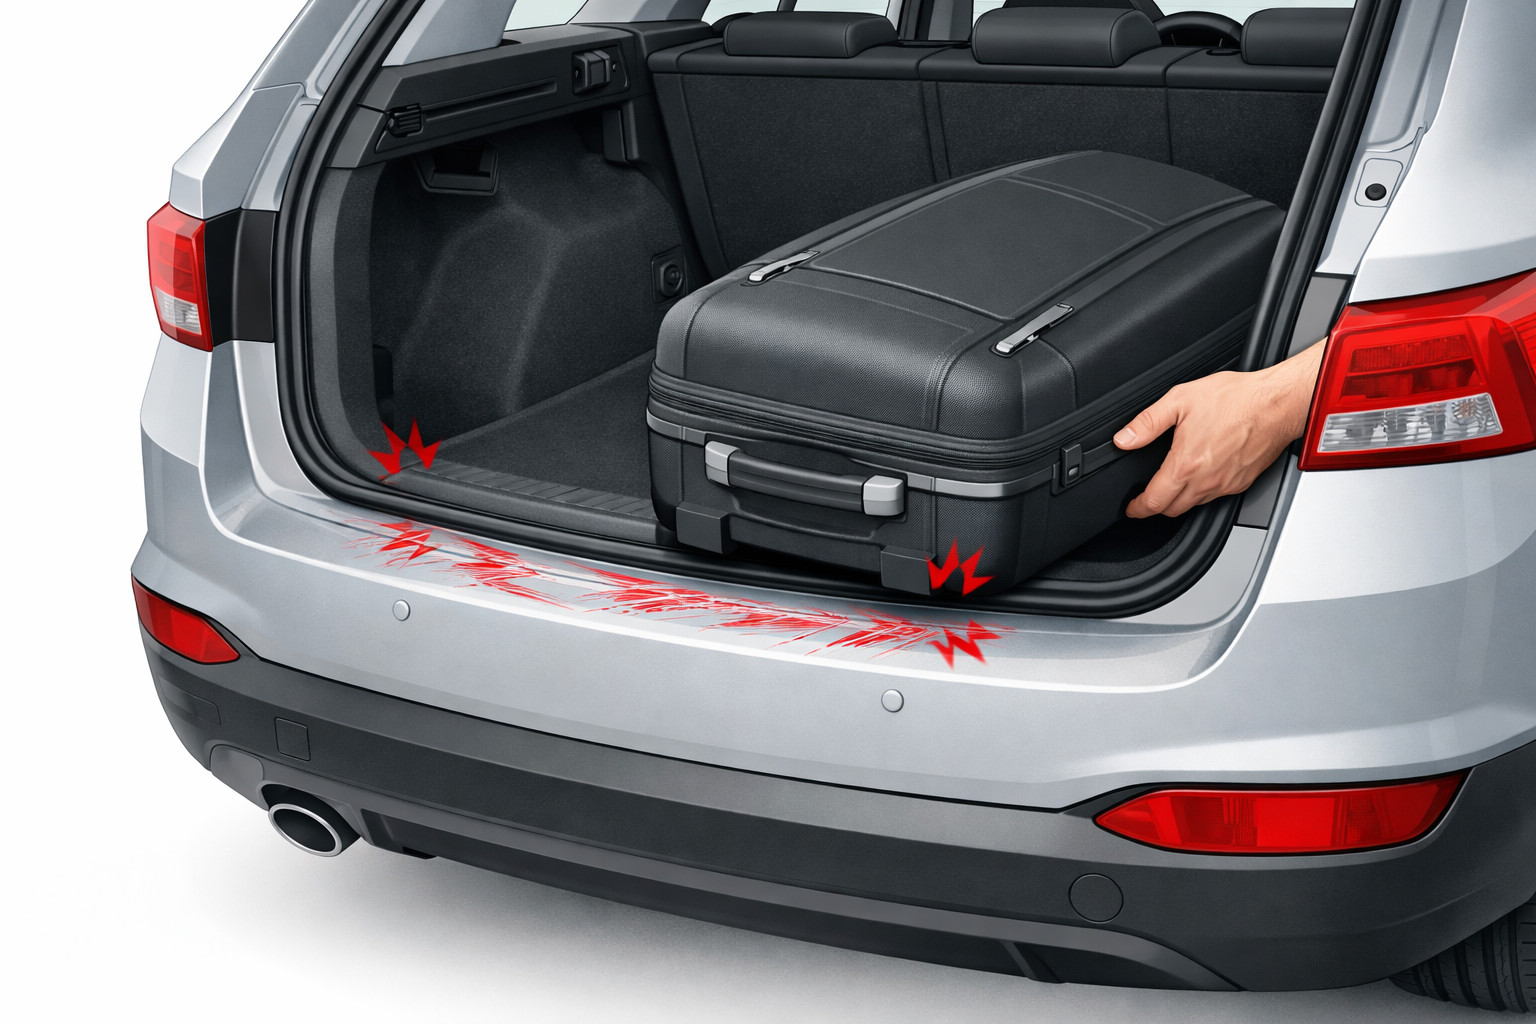
| Protection for the cargo floor and walls | Less body wear, easier cleaning, lower risk of damaging metal and trim | Working vans, service vehicles, delivery fleets |
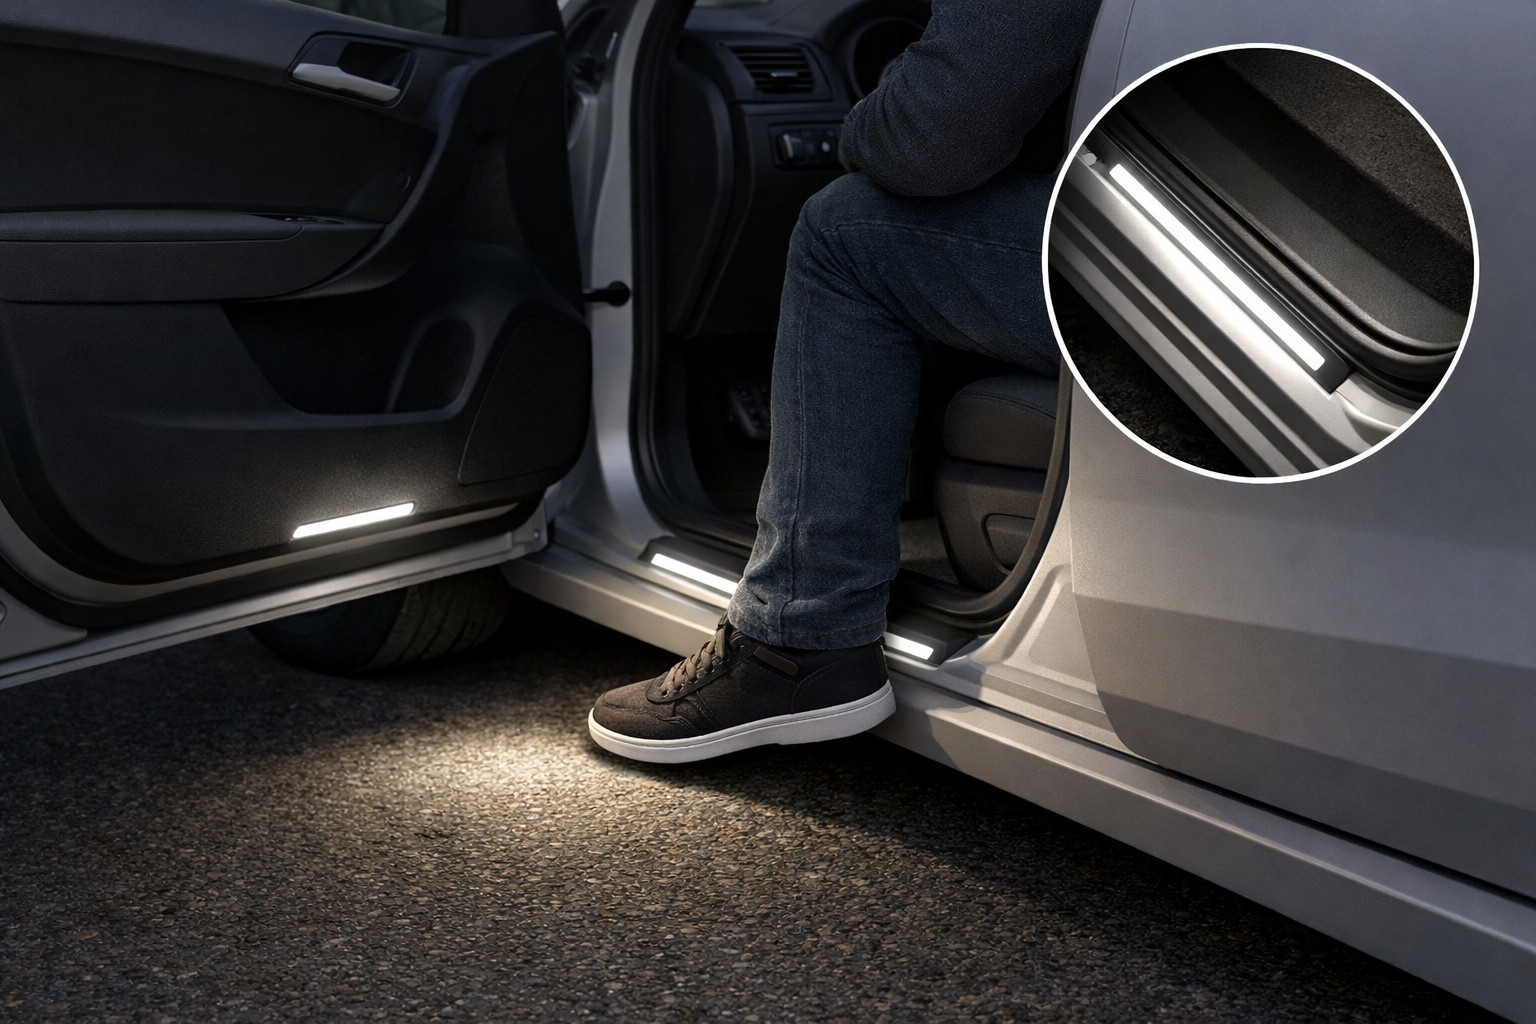
| Lighting and power in the cargo area | More convenient to work in the dark, connect tools or small equipment | Installers, service crews, delivery with morning and evening runs |
| Rear-view camera and navigation that accounts for dimensions | Fewer mistakes in courtyards, at loading ramps, and on unfamiliar routes | City vans, intercity runs, converted vehicles with larger dimensions |
| Parking heater | Warmer morning starts, less discomfort in the cabin, easier to handle overnight parking | Those who often drive in мороз and leave the vehicle outside |
DD Tuning expert comment: the most common mistake on Ducato is buying a suspension setup “like someone on the forum” without knowing the actual axle weights. The second mistake is investing in warmth without fixing leaks through the cowl panel and drains. For selection, a simple order works best: weighing, sealing, tires—and only then the more expensive components.
The second stage starts when the vehicle already drives нормально, doesn’t collect water in the cabin, and doesn’t destroy the body with daily work. Here it makes sense to add what reduces fatigue during the season and over distance: thermal curtains, localized insulation, a parking heater, a camera, navigation that accounts for dimensions, and power for additional consumers.
If you have a van with tools or a conversion, the second stage often includes upgraded electrical supply: a higher-output alternator, a higher-capacity battery, and neat wiring for additional equipment. If it’s more about intercity driving, visibility, maneuvering, and reducing small road stress come first—not decorative items.
Seat covers, shelves, sun shades, visors, interior trims, decorative body elements—these aren’t useless purchases by themselves, but they don’t solve the key задачі of a working Ducato. It makes sense to install them when the foundation is already done: the vehicle doesn’t leak, doesn’t spin its wheels, doesn’t sit on the bump stops, and doesn’t раздражать you with every reverse maneuver.
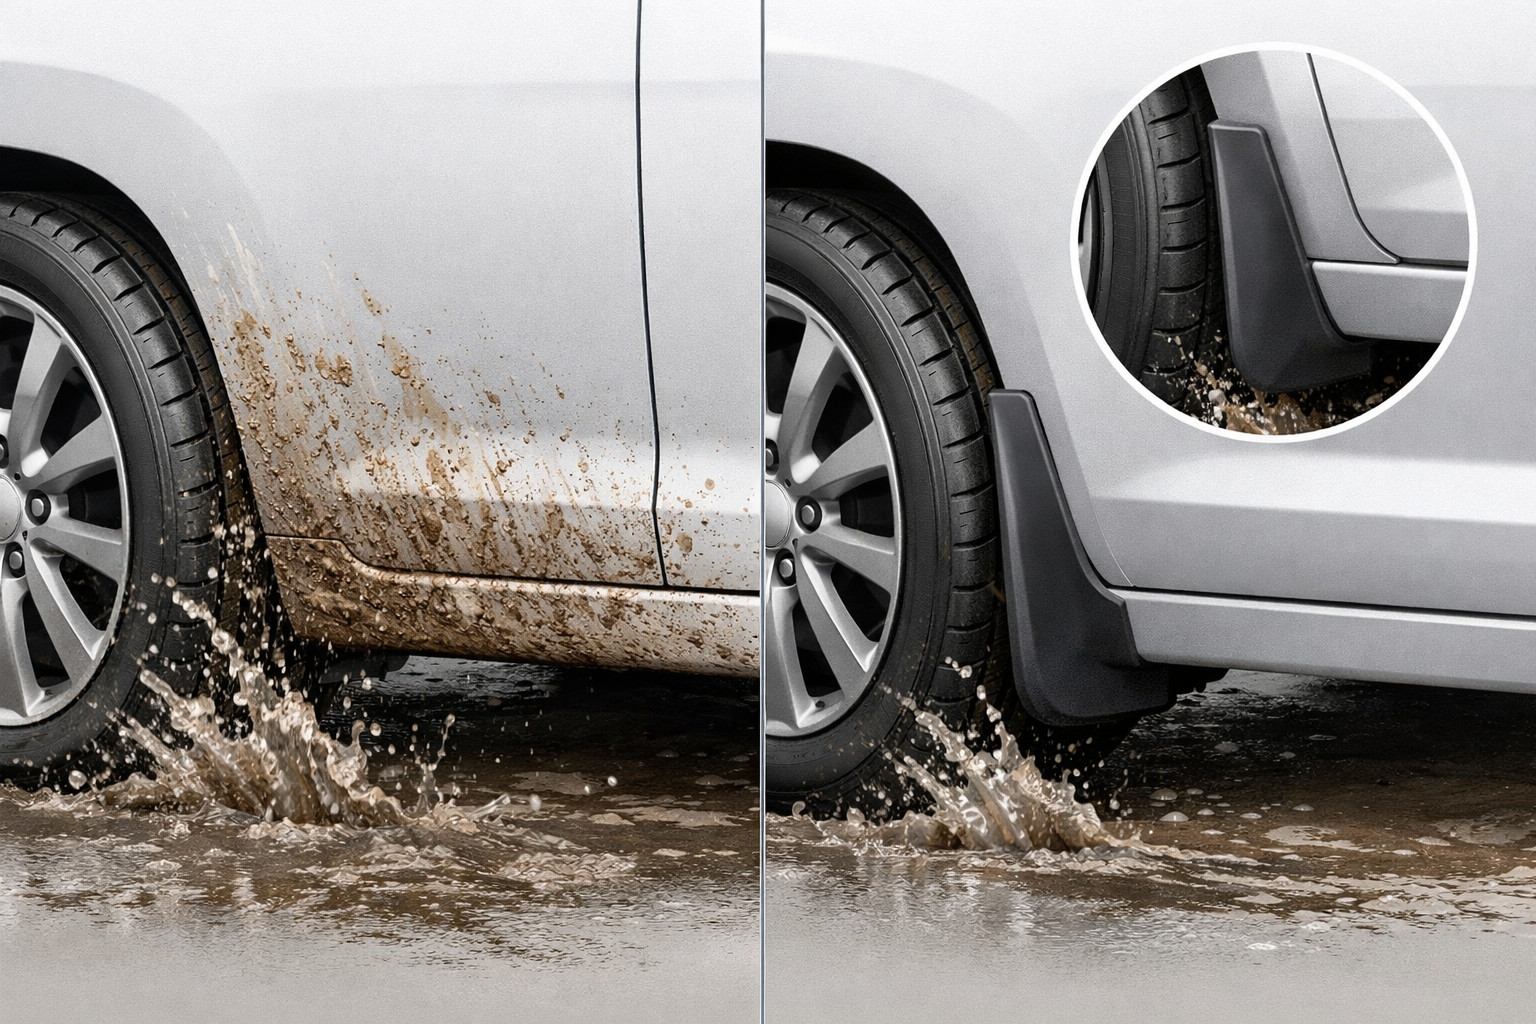
There are a few exceptions. Window deflectors and mud flaps often deliver more real-world value than it seems: it’s easier to ventilate the cabin in the rain, less грязь gets thrown along the sides, and daily use is a bit calmer. But side steps, chrome, and decorative trims only make sense where they truly make entry easier or protect working areas from постоянные impacts.
| Scenario | What to install first | What can be postponed | What isn’t mandatory |
|---|---|---|---|
| Basic working panel van | Tires, sealing, floor protection, cargo-area lighting | Camera, additional power, seat covers | Chrome, decorative trims, body kits |
| Winter operation | Fix leaks, thermal curtains, check air ducts, proper tires | Parking heater, heated options, deflectors | Expensive multimedia, exterior decor |
| Constant heavy load | Weighing, rear suspension inspection, correct load distribution | Auxiliary air assist or an extra leaf, if a basic inspection didn’t solve it | Lowered or purely decorative tuning |
| High mileage and intercity driving | Tires, visibility, a dry cabin, suspension without sway | Camera, dimension-aware navigation, additional heater | Anything that doesn’t reduce fatigue or the risk of mistakes on the road |
More expensive items make sense when you already understand your real use case and aren’t trying to buy one costly component instead of a системный approach. If you need not a one-off purchase but a task-focused комплект, it’s convenient to start from the page solutions for Ducato 2014+, and then filter out what doesn’t add value for your specific van.
An additional heater is justified when the vehicle sleeps outside, there are early departures, long idle periods, or work in мороз. But it’s a good second step after sealing and basic insulation are done—otherwise part of the budget will go into thin air.
Upgrading toward electronics is worth doing with higher-end options if the van is constantly in the city, works with loading ramps, narrow courtyards, and additional consumers. But serious suspension solutions are justified only for vehicles with постоянная load, rear-end instability, or a rear axle close to the limit—not for looks, but for control and longevity.
From a customer’s experience: at first, the person was looking for “something serious for the suspension” because the van нервно moved over undulations and started poorly from the yard in winter. After weighing, it turned out it was smarter to start with tires, fixing a leak in the cowl area, and protecting the cargo compartment—and only then add rear-suspension assistance and cabin warmth. As a result, the vehicle became more predictable every day, not just “stiffer on paper.”
For Fiat Ducato 2014+ in a work/winter/high-mileage scenario, what works best is not cosmetics but sequence: tires and weight control, then a dry cabin and warmth, then protection of working zones—and only after that expensive comfort systems and electronics. In short: first remove weak points, then strengthen what truly works for your load and route, and leave decor for the end.
This material is based on real selection experience, practice, and real use scenarios—not on the desire to sell everything at once. So the main advice is simple: tie every modification to the body type, axle weights, winter in your region, and how your Ducato actually works day to day.
| ✔ | First, it suggests addressing the basic issues — tires, traction, axle weighing, and sealing. This is a practical approach because it removes the causes of wheelspin, sagging, and moisture instead of masking them with expensive components. |
| ✔ | There is a clear priority for a work van: protecting the floor and walls of the cargo area, plus lighting and power for tools. Such upgrades really reduce body wear and make daily work in the dark easier. |
| ✔ | Winter use is considered separately: thermal curtains, local insulation, and checking drains and seals. This helps not only to warm up the cabin faster, but also lowers the risk of condensation and electrical problems. |
| ✔ | The material clearly separates what is essential for work from what can be postponed. The rearview camera, navigation with dimensions, and auxiliary systems are installed after the basics, so it is easier not to spread the budget too thin. |
| ✔ | There is an honest warning against buying expensive solutions blindly, especially suspension. This is useful for the owner because it emphasizes that the effect depends on the actual weight, load distribution, and the vehicle’s condition. |
| ✘ | The plan ties a lot to axle weighing, but does not provide specific norms or weight guidelines for different Ducato versions. Without this, the owner will still have to look for technical data separately or go for weighing. |
| ✘ | Some solutions are presented as a list of directions without a detailed comparison of options, for example for rear suspension reinforcement or an auxiliary heater. Because of this, it is hard to immediately understand what to choose within a specific budget and load. |
| ✘ | The material rightly puts comfort second, but for some drivers this means that real improvements in daily work have to be reached through several stages and expenses. In other words, there is no quick “one upgrade” here. |
Shipping to EU
Wholesale and retail
Own warehouse
Опис продукту
Подарунки не надаються при оформленні покупки у кредит під 0,01% або при покупці частинами.