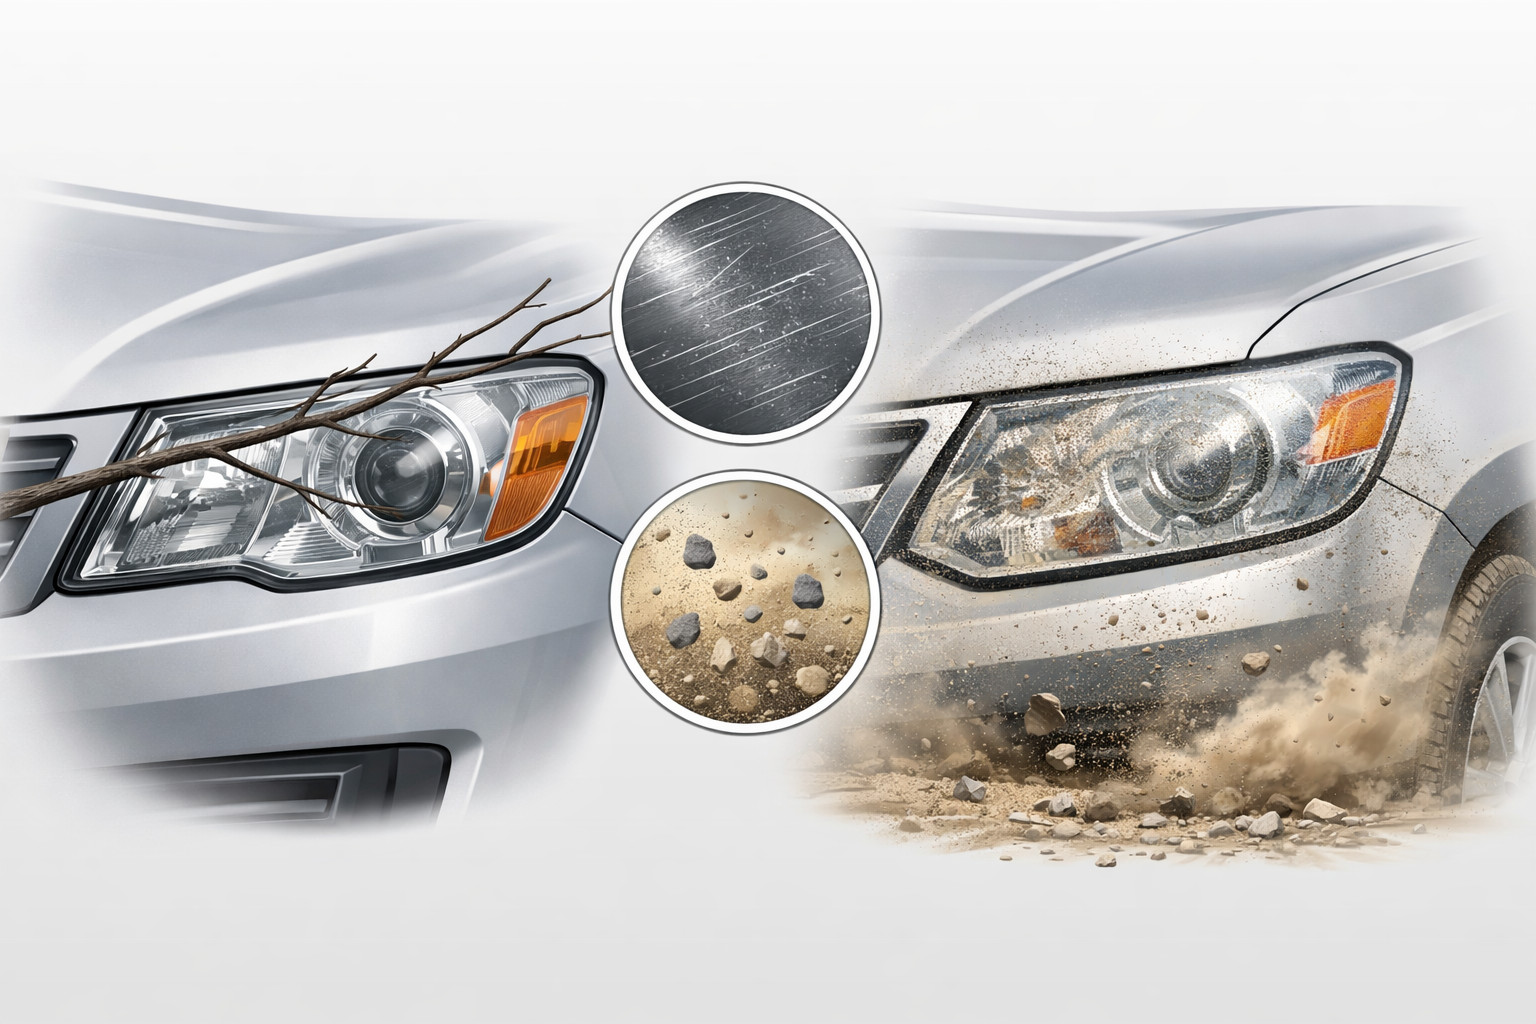
Plastic body kits and bumpers crack in the cold not because “plastic freezes,” but because in low temperatures it absorbs impacts worse: both polypropylene, used for bumpers and facelift kits, and the ABS plastic used for lips, diffusers, and add-ons have notched impact strength at −30 °C several times lower than at +23 °C. That’s why in winter, impacts that in summer would leave only a scratch cause cracks: a frozen snowbank, a curb, ruts, a chunk of ice from the wheel arch. You can protect the part with four things: know its material, don’t expose the lower edge to impacts, wash and clean without sudden actions, and paint, glue, and repair only in warmth.
Contents
In brief
- Frost alone doesn’t break the part — an impact in freezing temperatures does: cold plastic springs back less and splits more often.
- A scratch and an old crack are weak spots. In the cold, a new break starts from them most easily.
- Water in a crack is the enemy. When it freezes, it expands by about 9% and forces the crack open from the inside.
- Fiberglass and carbon are rigid — from an impact they are more likely to crack or chip than to bend.
- Paint, glue, and repair compounds work in warmth — usually from +15 °C, so all winter body-kit work is done indoors.
Why plastic cracks in the cold but bends in summer
Most plastics used to make body kits become stiffer and less tough in the cold. In summer, a part bends slightly from an impact and returns to shape; in winter, the plastic can’t absorb the same energy in time — and it cracks.
- Impact toughness drops several times. Bumper polypropylene hardens in freezing weather: in the data sheets for Borealis Daplen bumper compounds, Charpy notched impact strength is 35–55 kJ/m² at +23 °C and only 6–6.5 kJ/m² at −30 °C. For ABS plastic, used for lips, diffusers, and add-ons, the drop is also several-fold: in the BASF Terluran GP-22 data sheet (Izod) it is 26 kJ/m² at +23 °C and 8 kJ/m² at −30 °C.
- A notch is your scratch. “Notched” tests simulate a part that already has a stress concentrator: a deep scratch, chipped paint, an old crack, a sharp corner. It is exactly from such spots that a fracture starts in the cold. The same bumper polypropylene without a notch in the data sheet does not break even at −20 °C.
- Plastic shrinks more than metal. The thermal expansion coefficient of bumper polypropylene is 50–61 millionths per degree, ABS is 72–108, and steel is about 12. A 1.8 m wide polypropylene bumper cooled from +20 to −20 °C shortens by about 3.5–4.5 mm, an ABS part of the same length by 5–8 mm, and a steel bracket by less than 1 mm. A part installed under tension pulls on fasteners and seams in winter.
- Water and ice. Water that has seeped into a crack or under a lifted edge freezes, expands, and opens the damage a little more each night.
What your body kit is made of and how each material handles frost
The most reliable way to see the material is on the part itself — by the code molded on the back side: >PP< on bumpers, >ABS< on lips and add-ons, and so on. In the front bumper catalog, most parts are from GBT and GT Tuning, for painting; assembled bumpers and facelift kits with full bumpers are made of polypropylene, like OEM ones, while lips, diffusers, add-ons, and spoilers are made of ABS plastic. For vans there are Meliset fiberglass bumpers; in body kit sets there are ABS plastic kits, as well as natural and forged carbon.
| Material | Where it’s found | How it behaves in the cold | What to keep in mind |
|---|
| Polypropylene (PP, TPO) | OEM bumpers; assembled bumpers and facelift kits with full bumpers | Thanks to elastomers it is flexible and resilient, but it hardens in freezing weather: a notched specimen at −30 °C absorbs impact 6–8 times worse than at +23 °C | Mounting tabs and clips break first; welds well; paint over an adhesion-promoter primer for PP |
| ABS plastic | Lips, diffusers, add-ons, spoilers | Holds its shape, but at −30 °C absorbs impacts 2–3 times worse than in summer | Protect from impacts from below; don’t leave cracks and scratches for the winter |
| Fiberglass | Meliset bumpers and add-ons for painting | Rigid: from an impact it cracks or chips rather than bends | Repairs well with resin and cloth and can be repainted |
| Natural and forged carbon | Lips, diffusers, kits | Strong and light, but brittle under impact; damage may be almost invisible from the outside | After a hard hit — inspection by a specialist; repairs are the most difficult |
| Polyurethane (for reference) | Flexible body kits from some manufacturers | The most flexible: it flexes on impact and returns | Harder to paint: elastic additives are required in the paint |
| Steel | Dakar heavy-duty bumpers | Doesn’t crack, but the coating gets damaged by impacts | Cover coating chips before winter so rust doesn’t start |
In more detail about choosing a material regardless of season, we wrote in the article ABS, PP, FRP or carbon: which material to choose for a body kit.
Which winter impacts are most dangerous for the body kit and bumper
- A frozen snowbank in a parking lot. Overnight it hardens like a curb. Driving into it nose-first is the most common cause of winter cracks in the front bumper and lip.
- Curbs and speed bumps hidden under snow. Snow hides the edge, and packed snow raises the road under the bumper. Approach slowly, at an angle, and without braking on the obstacle itself: when braking, the front end dips.
- Ruts and the snow ridge. At speed, the ridge between ruts keeps striking the lower add-ons and diffuser, and the ice in it is hard.
- Chunks of ice from the wheel arches. Built-up ice eventually breaks off while driving, or someone knocks it off with a foot — and along with it snaps the edge of an arch or side skirt add-on.
- Parking “to the touch.” A light tap into another car or a post that in summer would leave a scratch can split the corner of a rear bumper or an add-on in freezing weather.
The lowest and most vulnerable part of the front end is the lip spoiler; how to approach curbs with it and what to do with a crack in the lip, we covered separately in the article bumper lip in winter.
Can you wash a body kit at a car wash in freezing weather, and how to remove ice
You can and should wash it — salt and sand on the paint of the body kit do more harm than the wash itself. What matters is how you wash.
- Keep your distance. Car wash manufacturers recommend a fan nozzle, only as much pressure as necessary, and at least 30 cm distance from the body, with the jet directed at a sharp angle rather than up close. Be especially careful near seams, lifted edges, and cracks: the jet can lift the edge and force water under the part.
- Dry after washing. Wipe the lower bumper edge, seams of add-ons, and gaps near fasteners so water doesn’t freeze there when you leave the wash.
- Don’t knock ice off. A scraper, shovel, or foot on cold plastic is a direct path to chipping. Let the ice melt in a warm parking garage or rinse it off with warm, not hot, water.
- Don’t pour boiling water. A sudden temperature change on a frozen part adds stress exactly where there is already a scratch or crack.
Can you paint and install a body kit in winter
You can, but only in a warm indoor space. Most bumpers and some kits are supplied for painting: first the part is test-fitted on the car, gaps and mounts are checked, and only then is it prepared and painted to match the body color. Fiberglass add-ons often need trimming, sanding, and priming before painting.
- Temperature. Manufacturers of refinishing materials for bumpers state a direct requirement: do not apply below +15 °C. In the cold, paint and clear coat level worse and take longer to dry.
- Primer for polypropylene. A polypropylene bumper is painted over an adhesion-promoter primer for PP and TPO; otherwise the paint bonds poorly to the plastic.
- Paint flexibility. For plastic parts, an elastifier is added to the paint and clear coat — the dosage is specified by the paint manufacturer. A coating that doesn’t flex with the plastic will craze in the cold.
- Leave some extra clearance in gaps. Remember thermal shrinkage: a part fitted tight in a warm bay will pull on its fasteners in the cold. Model-specific bumpers and kits are installed in OEM locations — don’t force them into place.
- Glue and tape. Sealant adhesives and double-sided tapes gain strength only in warmth; on polypropylene, tape is applied over an adhesion primer for polyolefins. After installation, give the adhesive curing time before washing and driving through snow.
You can install a body kit or bumper at the network of certified DD Tuning service centers — the manager will tell you the nearest one.
What to do if a bumper or add-on cracks in the cold
First, assess whether the part is still secure: if an add-on has come loose or is hanging, airflow at speed can tear it off. Temporarily fasten it or remove it. Then proceed based on the material.
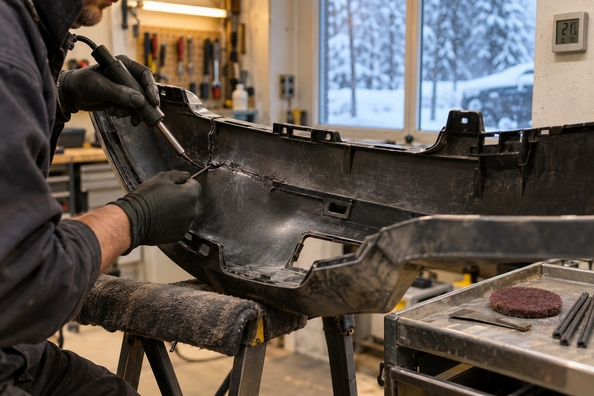
- Polypropylene bumpers and ABS add-ons are thermoplastics, they are repaired by plastic welding or plastic repair adhesive. The plastic type is identified by the code on the back side: you can weld only the same material — a bumper with PP rod, an add-on with ABS rod.
- Fasteners. On a polypropylene bumper, mounting tabs and clips are often the first to break from an impact — they are rebuilt rather than pulling the part into place by force.
- Fiberglass is repaired with resin and fiberglass cloth from the back side, then filled and painted.
- Carbon after a strong impact is best shown to a specialist: delamination inside can be almost invisible on the face side.
- Repairs — only in warmth. For example, the two-component plastic repair adhesive 3M 34240 is applied at +15…+30 °C, and after full cure it works from −40 to +120 °C; on polypropylene it is applied over an adhesion-primer. The repaired part can withstand frost, but the repair process cannot be done in freezing temperatures.
- When it’s проще to replace. A through break across the entire part, mounts torn out together with a piece of the bumper, a missing chunk, severe deformation. Repair together with painting often ends up costing more than a new part, and a patch at the lowest point of the car doesn’t last long.
The main thing is not to put it off until spring: water and frost will open up even a hairline crack, and over the winter it will reach the edge of the part.
How to choose a body kit and bumper for a car that drives in winter
For a daily car that winters outdoors, polypropylene bumpers and paint-ready kits that mount in OEM locations are more practical — the material is the same as factory — as are ABS plastic lips and add-ons. Fiberglass and carbon look great, but they are rigid — they are chosen by those who are ready to protect the lower edge of the car in winter. Match the generation, year, facelift, and the type of OEM bumper (base, M-Sport, AMG, S-Line), as well as openings for parking sensors and the camera.
Estimate real ground clearance: the front lip and lower add-ons lower the bumper’s lowest point, and packed snow takes away a few more centimeters. For an SUV that often leaves asphalt, it’s worth choosing less protrusion. Ready options are in the sections body kits for cars and front bumper lip spoilers.
We deliver via Nova Poshta throughout Ukraine.
How it works
- Wash the lower part of the car
- Before inspection, wash the bumpers, side skirts, and trim: hairline cracks and paint chips are not visible under dirt.
- Inspect the lower edges
- Crouch down and look at the lower edge of the front bumper, lip, diffuser, and wheel arch trim. Look for cracks, deep scratches, and chips down to the primer.
- Check the fasteners and seams
- Lightly pull on each trim piece by hand and inspect the bumper mounting tabs in the wheel arches and underneath. Any movement, a gap between the trim and the bumper, a lifted edge, or a cracked tab is a reason to glue, restore, or tighten the part before frost.
- Cover chips and scratches
- Touch up paint chips down to the plastic (on a polypropylene bumper — over adhesive primer), and polish or prime deep scratches on the lower edge: in cold weather, cracks start from them.
- Repair cracks in warmth
- Weld or seal existing cracks with a repair compound for your plastic in a warm bay, following the curing time specified by the compound manufacturer.
- Measure your ground clearance
- Check at what curb height the bumper or lip already makes contact. In winter, add the height of the packed snow to this and park with a margin.